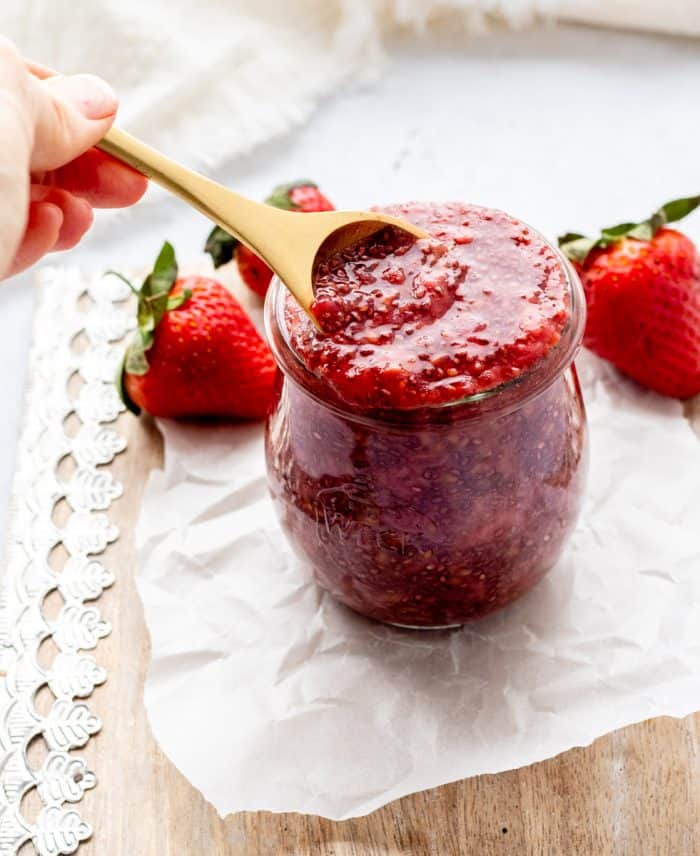
This Strawberry Chia Seed Jam only contains four ingredients and is super easy to prepare. It’s also really flavourful and packed full of fibre and vitamin C. The perfect way to naturally sweeten yogurt, or to add to oatmeal or toast! {Gluten-free, dairy-free & paleo}
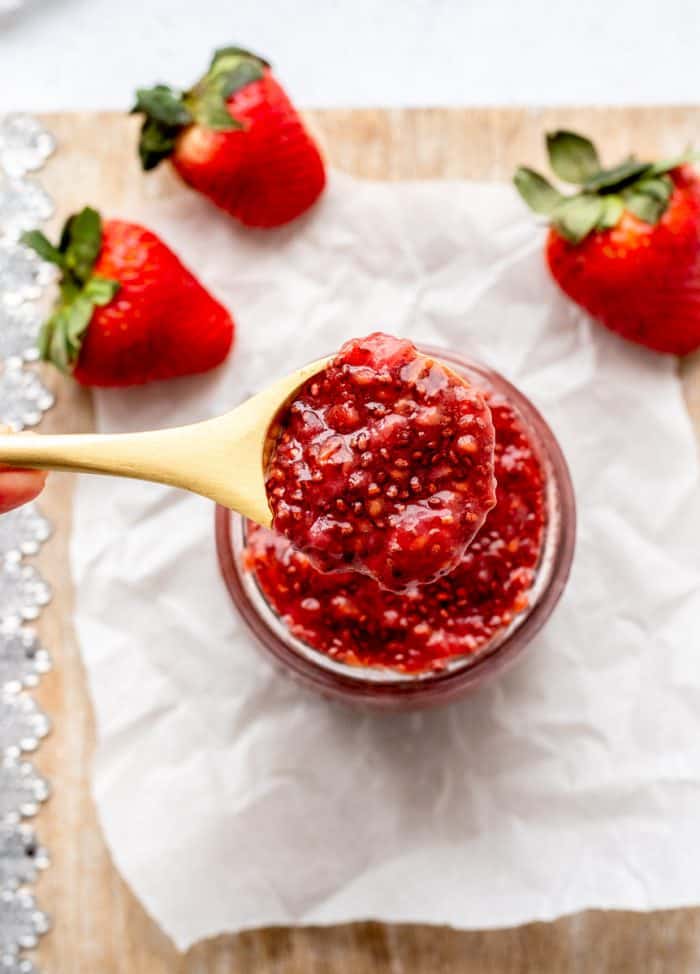
It’s hard to go wrong with this easy homemade strawberry chia jam. It’s made with just four ingredients and it only takes 15 minutes to prepare!
This naturally sweetened jam contains simple ingredients with no refined sugar. With the abundance of nutrients, this is a delicious healthy jam recipe you can feel great about eating!
For more healthy strawberry recipes, be sure to also check out my Mini Strawberry Muffins and Healthy Strawberry Rhubarb Crumble.
Table of Contents
Why Make this Recipe
- Healthy: Chia seeds are full of fibre, omega 3’s, vitamins and minerals. Plus, due to their soluble fibre content, chia seeds act as a natural thickener for this jam so no additional processed ingredients are necessary!
- Plant-based: Because the chia seeds thicken the jam, there’s no need for gelatin and we use maple syrup for a plant-based sweetener.
- Freezer friendly: This chia jam recipe freezes really well, so be sure to make a big batch! You can even freeze it in an ice cube tray and pop out individual servings as you need them!
Ingredient Notes
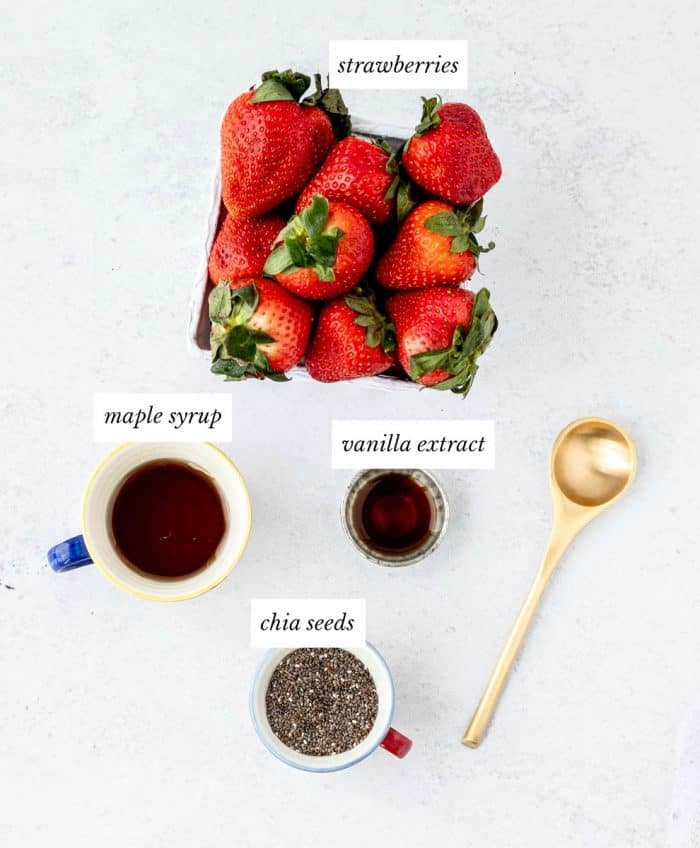
- Fruit: I used strawberries to make this jam, but you can easily swap them for other berries such as raspberries or blueberries.
- Maple syrup: Used to naturally sweeten the chia jam. Use 100% pure maple syrup if possible. If you don’t require the jam to be plant-based, you can use honey instead.
- Chia seeds: Chia seeds are a rich source of nutrients such as fibre, omega-3s and antioxidants. You can use black or white chia seeds for this jam.
- Vanilla extract: For additional sweetness and flavour. Use pure rather than imitation vanilla extract if possible.
Step by Step Instructions
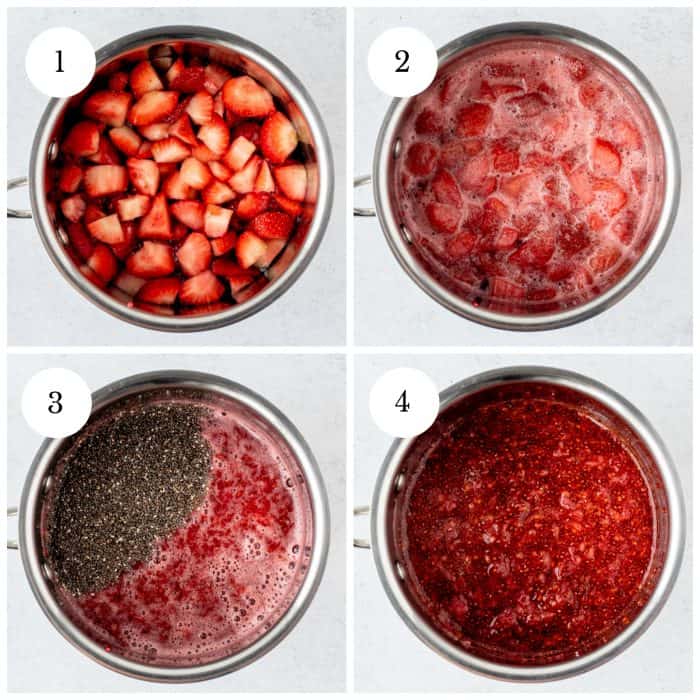
Step 1 – In a medium-sized pot, bring the berries and maple syrup to a light simmer. Reduce heat to medium low, stirring frequently, and continue to simmer for about 5 minutes.
Step 2 – Mash the berries with a potato masher or fork. Leave several berries whole for added texture.
Step 3 – Stir in the chia seeds until thoroughly combined and cook the mixture for about 15 minutes, or until it thickens to desired consistency. Stir frequently so that the jam doesn’t stick to the pot.
Step 4 – Once the jam has thickened up, remove from heat and stir in the vanilla extract. The jam should keep for at least a week in a mason jar or air-tight container in the fridge or store jam in the freezer for later use.
Recipe Tips
- Although the recipe calls for strawberries, you can sub in any type of berry that you prefer.
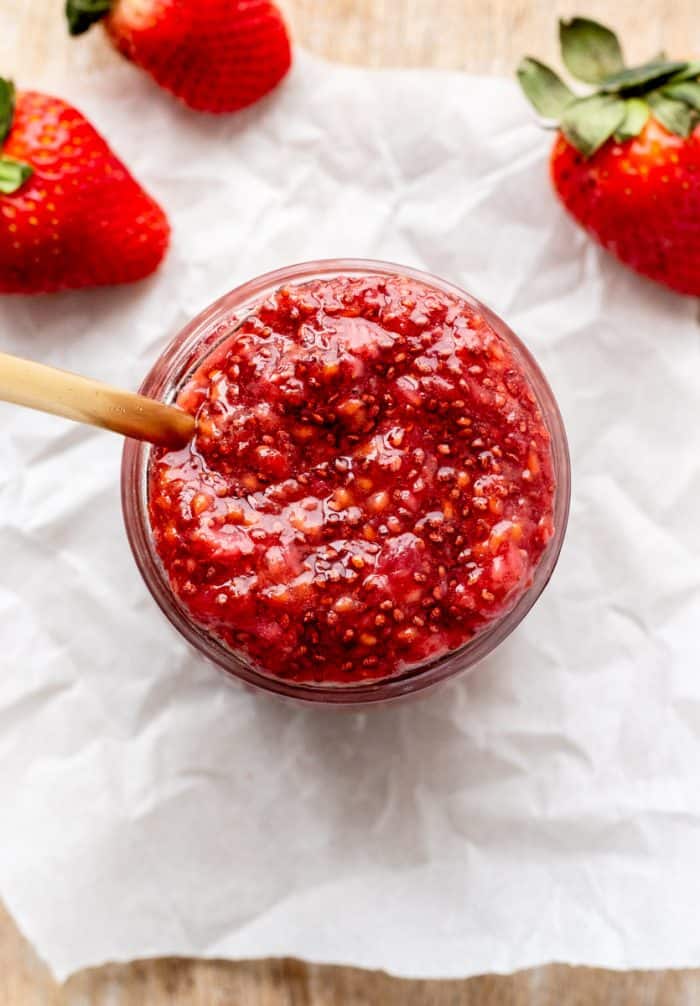
- If you want a smoother jam, make sure that you mash the berries really well. If you prefer a thicker and chunkier jam, leave a few chunks of berries.
- The recipe makes about 1 cup of chia jam or about 8 two tablespoon servings. The nutritional analysis is based on about two tablespoons of jam.
- If you choose to freeze this jam, I recommend freezing it in an ice cube tray and then storing the individual cubes in a ziploc bag. That way, you can simply grab and defrost the individual servings of jam as you require them.
Recipe FAQs
Can I use frozen berries for this jam?
Yes! Either fresh or frozen work really well. You don’t need to thaw the berries before adding them to the pot.
Can I use a different type of berries?
Definitely! I’ve made this jam using both raspberries and blueberries and it turned out equally delicious both times. Cherries or peaches would work well too!
How to store
Once you’ve made the jam, let it cool completely. Store it in a mason jar or air-tight container in the fridge for up to a week.
Can I freeze this jam?
Yes! To freeze, pack the cooled jam into a mason jar, freezer-safe container or ice cube tray and freeze for up to 6 months. Defrost the jam in the fridge overnight before enjoying.
Serving suggestions
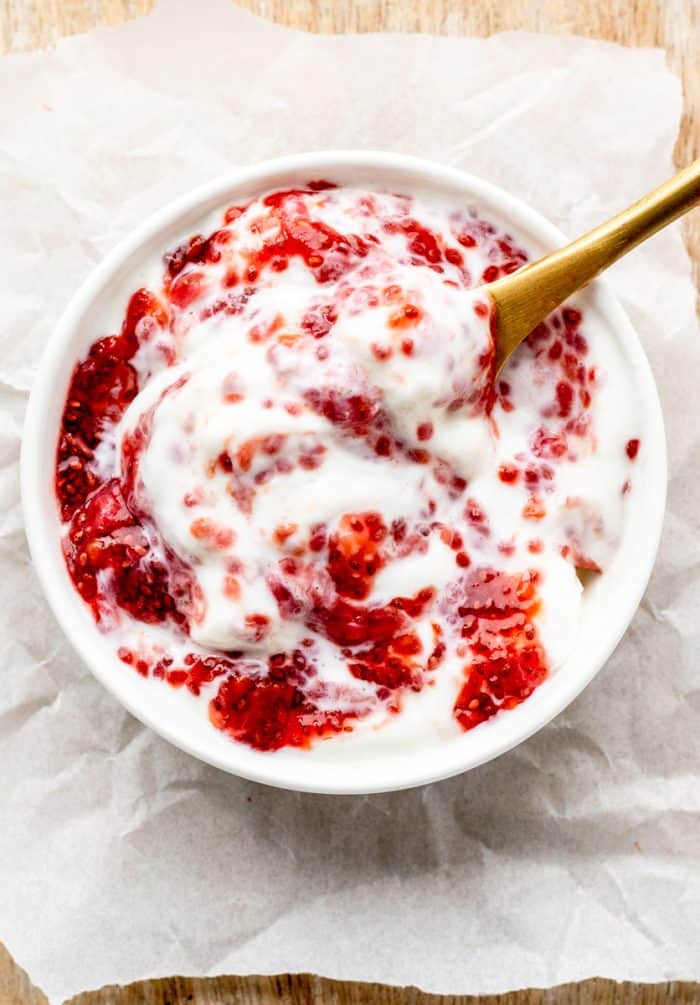
This chia jam is incredibly versatile and tastes amazing served up in the following ways:
- Rolled up in crepes (try these Crepes with Almond Milk)
- Drizzled over waffles (we love these Paleo Waffles)
- Served on toast (or try it on these Low Carb Bagels)
- Mixed into yogurt or cottage cheese
- In creamy oatmeal or overnight oats
- On baked oatmeal (like this Peanut Butter Banana Baked Oatmeal)
- Spread on a sandwich or wrap with peanut butter and banana
- Served on pancakes (like these Banana Protein Pancakes)
- Tossed into a smoothie (like this Strawberry Banana Smoothie)
- On top of cheesecake (like these 3-Ingredient No Bake Cheesecake Cups)
- As a filling for these Vegan Thumbprint Cookies
More similar recipes
- Berry Caprese Skewers
- No-Bake Vegan Lemon Berry Cheesecake Cups
- Homemade Raspberry Fruit-on-the-Bottom Yogurt
- English Trifle with Custard
Did you make this recipe? Scroll down to leave a rating and review!
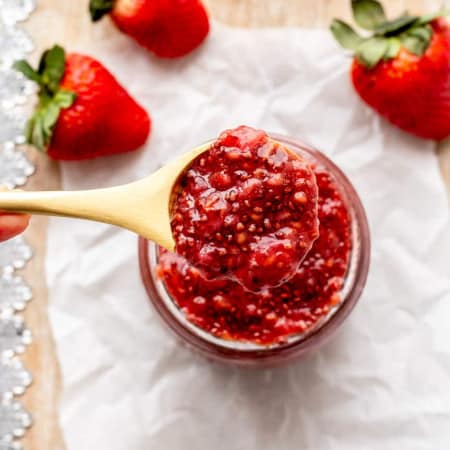
Strawberry Chia Jam
Ingredients
- 3 cups diced fresh strawberries (or sub in preferred berries)
- 3 tablespoons pure maple syrup
- 2 tablespoons chia seeds
- 1 teaspoons pure vanilla extract
Instructions
- In a medium-sized pot, bring the berries and maple syrup to a light simmer. Reduce heat to medium low, stirring frequently, and continue to simmer for about 5 minutes. Mash the berries with a potato masher or fork. Leave several berries whole for added texture.
- Stir in the chia seeds until thoroughly combined and cook the mixture for about 15 minutes, or until it thickens to desired consistency. Stir frequently so that the jam doesn’t stick to the pot.
- Once the jam has thickened up, remove from heat and stir in the vanilla extract. The jam should keep for at least a week in an air-tight container in the fridge or store jam in freezer for later use.
Notes
- Although the recipe calls for strawberries, you can sub in any type of berry that you prefer.
- If you want a smoother jam, make sure that you mash the berries really well. If you prefer a thicker and chunkier jam, leave a few chunks of berries.
- If you choose to freeze this jam, I recommend freezing it in an ice cube tray and then storing the individual cubes in a ziploc bag. That way, you can simply grab and defrost the individual servings of jam as you require them.
- The recipe makes about 1 cup of chia jam or about 8 two tablespoon servings. The nutritional analysis is based on about two tablespoons of jam.
Nutrition
Adapted from Oh She Glows
This recipe was originally posted in May 2015 and was updated in February 2021 to include more helpful tips and photos.
This post may contain affiliate links which means that I may make a small commission at no extra cost to you. I only promote products that I love and feel will benefit my readers :)


I have a question in regards to the chia seeds, would the amount used be the same if I used grounded chia seeds?
That’s a great question! I haven’t personally tried making this jam with ground chia seeds, but I would think that using the same amount would be fine. If in doubt, you could always add slightly less and then increase the amount a little bit at a time until it’s thickened up to your desired consistency. Let me know how it goes if you try it out!
I really liked the consistency of the jam. I was expecting it to be sweeter, as most jams are, but then I realized that the flavor of the fruit was good, and I needed to cut on sugar anyways. So I am happy with the results. I used frozen berries and it was easy to defrost them over a low-heat stove top. I am trying to prepare a bunch of breakfasts in a jar for work days so this is perfect to add to my overnight oats. Thanks!
Thanks so much for the feedback! The great thing about this jam is that it’s easily adaptable, so you can always add a touch more maple syrup…or just let the natural flavor of the fruit shine through :) Love the idea of adding it to overnight oats!
I just discovered your blog when looking for healthy crepe recipes. I can’t wait to try all of your recipes, they look fabulous!
Oh that’s awesome! I’m so excited to have you here! I hope you enjoy the recipes if you decide to try them out :)