These Sweet Potato Bars taste like a cross between pumpkin pie and a loaf, except there’s no added sugar! Keep a batch of these bars on hand for a quick, easy and healthy snack or treat! {Gluten-free, paleo & no added-sugar}
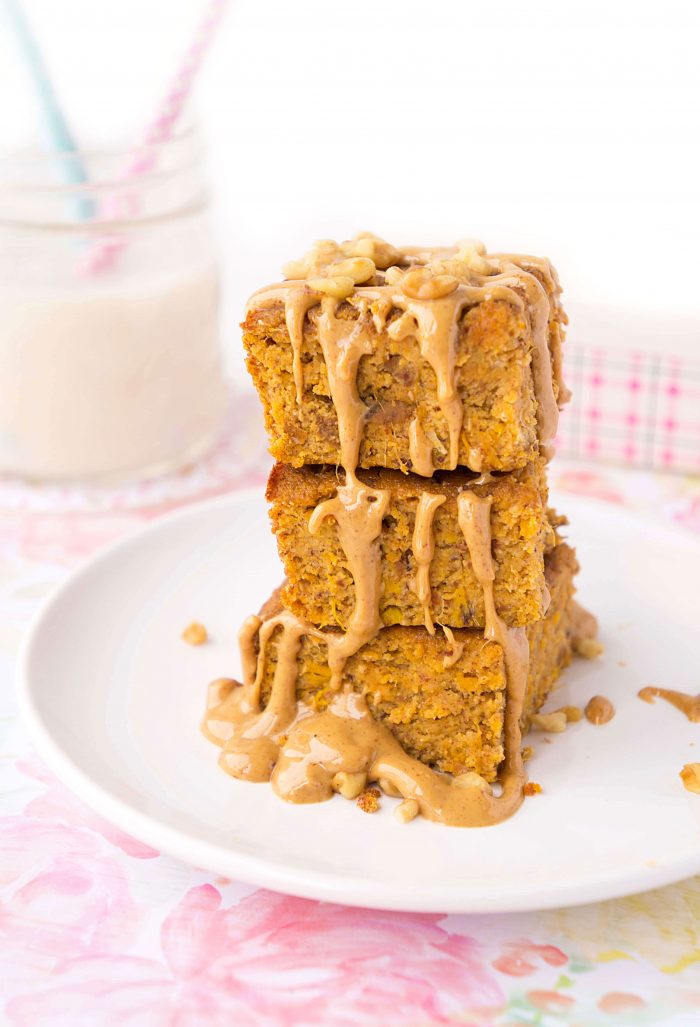
Table of Contents
Sweet Potato Bars Recipe
I am officially in love with these sweet potato bars.
What started as a snack recipe experiment for our baby soon turned into a brand new convenient snack for mom (AKA me).
Not to say that I don’t share the bars with the rest of my family, but I’d definitely say that I’ve done the most taste testing out of all of us.
And reasonably so.
These things are DE-LICIOUS and so convenient to have on hand.
There are a few reasons why I’m seriously crushing on these sweet potato bars.
Why make this recipe
- They are nutrient dense. How many bars offer a serving of vegetables and also contain vitamin A, fibre, potassium, magnesium and healthy fats (among many others) with no added sugar? The answer to that question? Not many.
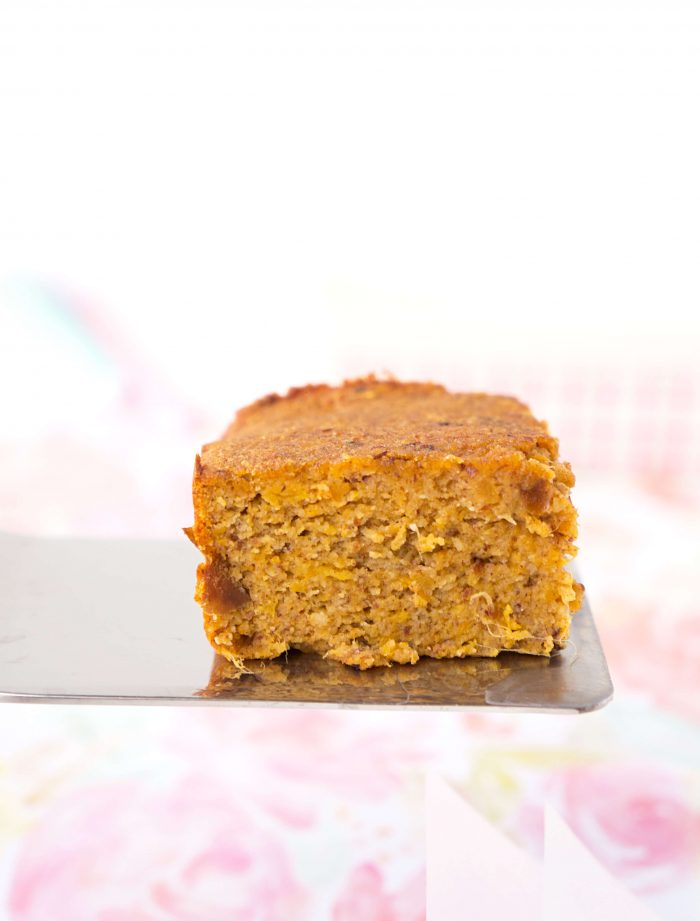
- They taste like a cross between pumpkin pie (according to my husband) and a moist dense loaf. It’s basically like sweet potato cake.
- These bars are filling! Because they are fairly dense, they make for a satisfying snack or treat.
- They are freezer-friendly, so you can make up a bunch in advance and store for later use! Like when you seriously need a snack and can’t find anything decent to eat in the fridge or cupboard…
- They make the perfect easy grab and go snack or breakfast on the run.
- They’re great for little ones and adults!
I’m sure I could come up with more reasons, but let’s move on to how you can whip up a batch of these yummy bars.
How to cook the sweet potato
For these bars, you’ll need one cup of mashed sweet potato. You can achieve this in a number of different ways.
The quickest method is to poke some holes in the sweet potato using a fork and microwave it for 5-10 min. Once soft, scoop out the flesh and mash.
Alternatively, you can peel and dice the sweet potato and steam the cubes in a covered steamer basket for 20 minutes on the stove or until soft enough to mash.
Lastly, you could pierce the skin and pop the sweet potato in the oven for 40-50 minutes and scoop out the flesh once cooked.
You can choose the best option for you depending on time and your preferred method.
How to sweeten up the bars with no sugar added
So the key to adding a nice touch of sweetness to these bars without dumping a bunch of refined sugar in the mix is by using dates.
Now I’m not talking chunks of chopped dates. We’re going for more of a date paste.
The way to achieve this is to soak the dates (since they’re usually rock hard) in boiling water for at least 2 hours.
Generally, I like to let them soak overnight for best results. That way they really soften up so you can essentially just mash them in with the sweet potato and other ingredients.
If you have a few small chunks here and there, that’s okay, but we mostly want to achieve a consistency that can easily be combined into the mixture. This is especially important if you’re trying to disguise the dates for the non-date lovers in the house.
I’m sure we all know a few of those.
Serving Suggestions
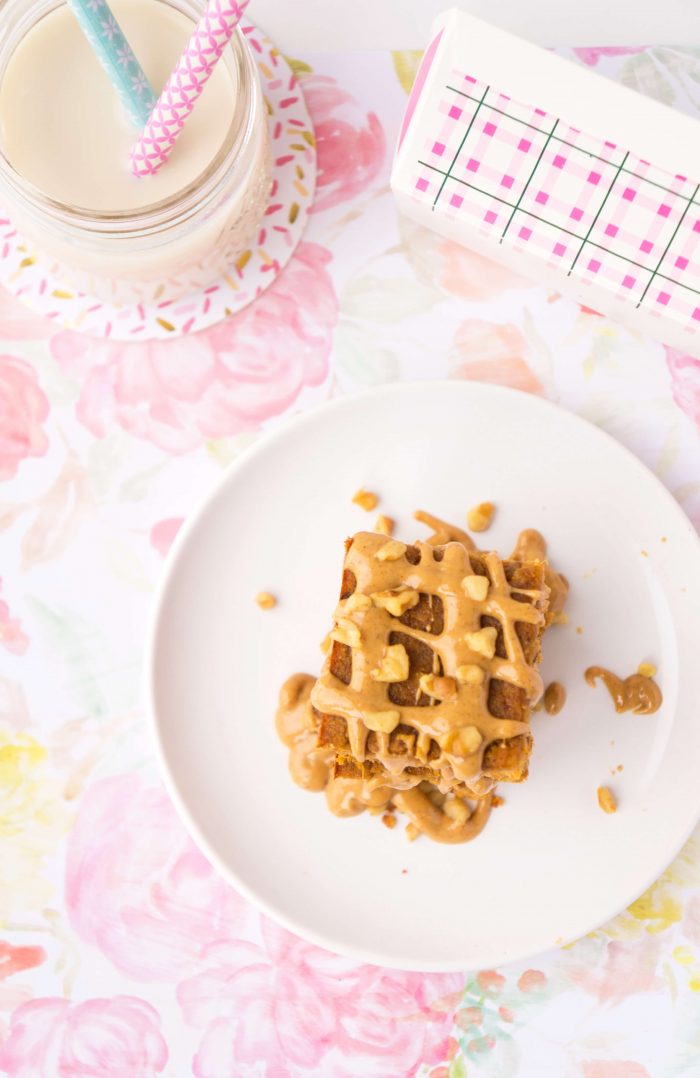
So here’s the thing with these bars. They taste amazing on their own, but they taste even more amazing with a few extra toppings:
My personal faves are:
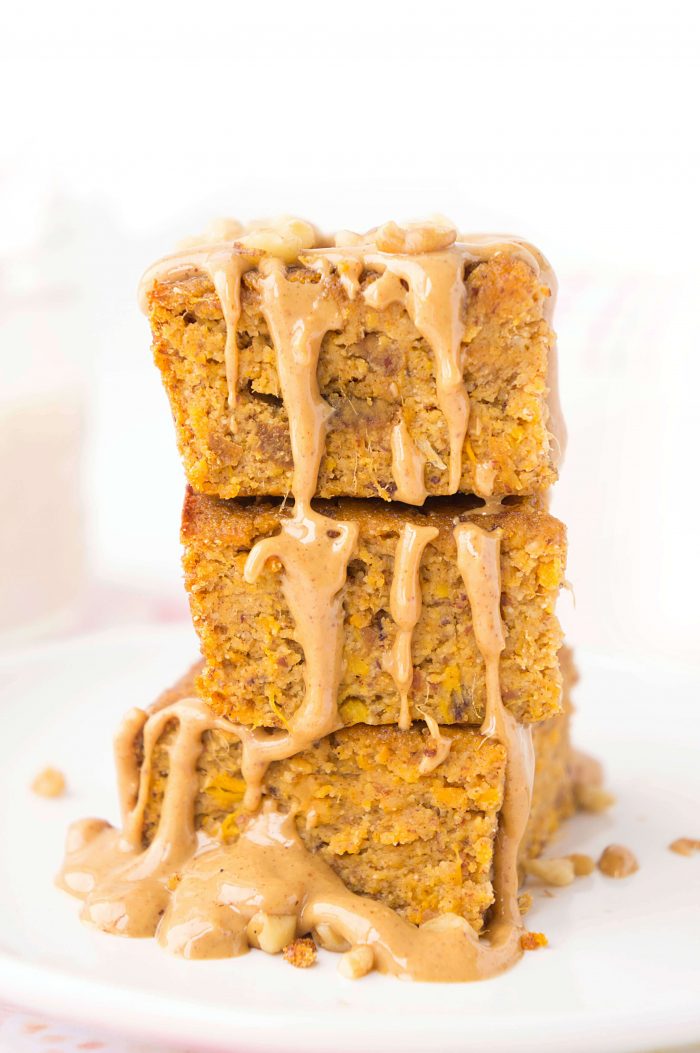
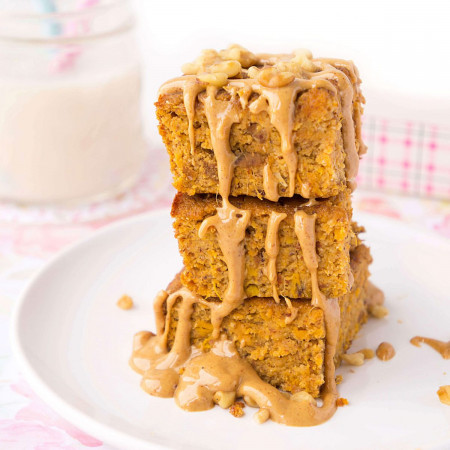
- A drizzle of peanut butter or almond butter (preferably the drippy kind)
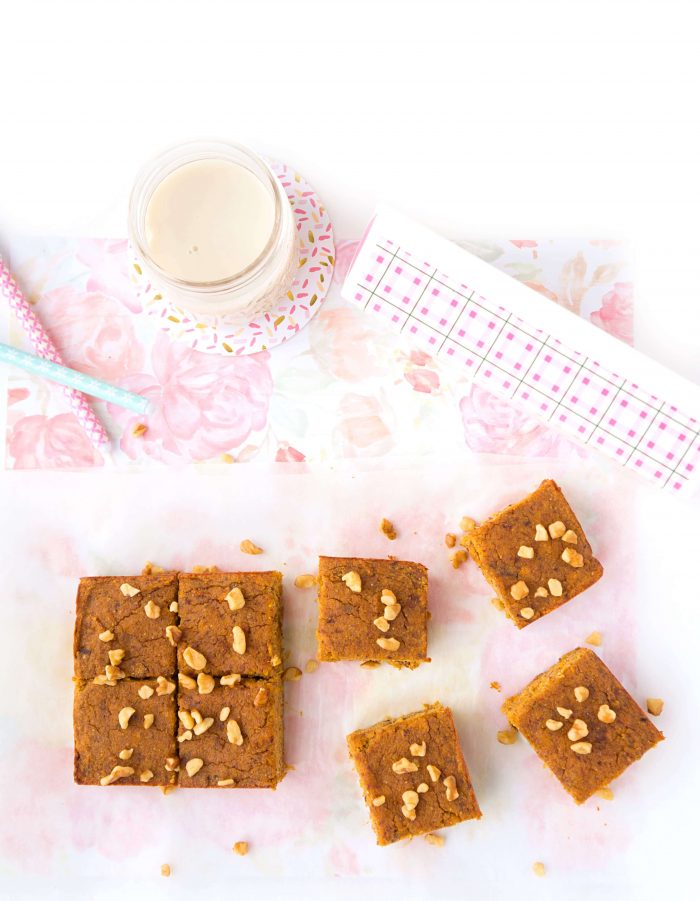
- A sprinkle of chopped nuts such as chopped pecans or walnuts
- Or if you’re feeling a little more indulgent, you could top with some coconut whipped cream.
- You can even make your own cream cheese frosting. Try the easy frosting recipe that I paired along with these Flourless Carrot Cake Muffins!
Talk about yum!
How to store the bars
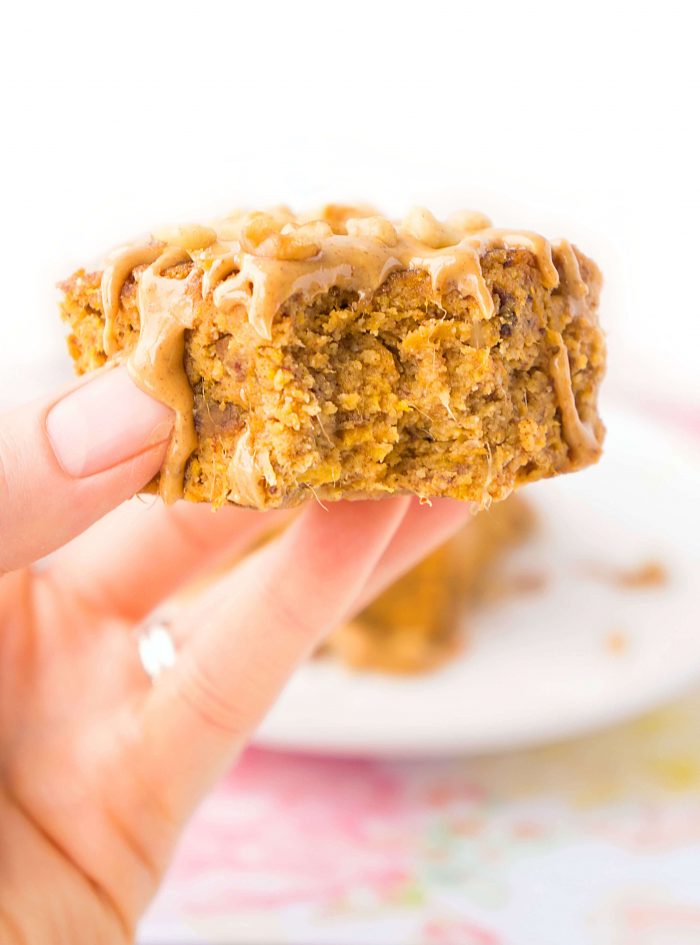
So once you make up a batch of these bars, you can store them in the fridge for up to 3 days. Beyond that, I would cut them into individual bars and freeze them.
How to freeze
You can either wrap them individually with saran wrap or put them in individual ziploc bags.
I love this particular option because they’re perfect pre-portioned snacks that you can take with you on the run.
You don’t even have to think twice about what to have when the snack attack hits.
Another option is to store them in a container separated by parchment paper so that they don’t stick together.
Usually these bars are good in the freezer for up to 3 months.
How to Defrost bars
When defrosting these bars, either place a bar in the fridge overnight or pop it in the microwave for about a minute.
That way it gets all warm and delicious.
And DON’T forget those toppings.
That’s my secret to the ultimate easy and yummy sweet potato bars.
More Easy Bar Recipes
- Larabar Recipe
- Vegan Lemon Bars
- Healthy Granola Bar Recipe
- Key Lime Protein Bars
- Peanut Butter Protein Bars
- Oatmeal Breakfast Bars
Sweet Potato Bars
Ingredients
Wet ingredients:
- 1 cup mashed sweet potato about 1 large sweet potato
- 1/4 cup dates soaked for at least 2 hours in boiling water, and drained
- 1 tbsp. coconut oil melted
- 1 egg
- 1 tbsp vanilla extract
Dry ingredients:
- 1/2 cup almond flour
- 1/8 cup coconut flour
- 1/2 tsp. cinnamon
- 3/4 tsp. baking powder
Optional Toppings:
- Nut butter i.e. peanut butter or almond butter
- Chopped nuts i.e. walnuts or pecans
- Homemade cream cheese frosting
Instructions
- Preheat oven to 350 degrees F.
- Mix all of the wet ingredients together in a medium sized bowl. Mash the softened dates into the sweet potato mixture until evenly distributed and mostly smooth.
- Mix dry ingredients together in a small bowl, making sure to break up any lumps.
- Add the dry ingredients to the wet ingredients and mix until well combined.
- Grease a 9×5 inch loaf pan.
- Place the sweet potato mixture into the greased loaf pan and smooth the top with spatula until mixture is evenly distributed.
- Bake for 35-40 minutes or until inserted toothpick comes out clean.
- Allow to cool for several minutes before cutting. Serve with desired toppings.
Nutrition
Recipe adapted from Physical Kitchness
This post may contain affiliate links which means that I may make a small commission at no extra cost to you. I only promote products that I love and feel will benefit my readers :)


Thanks Elysia. I was worried about the strong flavor of the other 2. I will try making the whole thing with coconut flour and an extra egg.
No problem! Hope it works out for you!
The bars turned out! I used 1/4 cup coconut flour and 2 eggs. I also added a few tablespoons of coconut milk to thin the batter a bit more. Then topped them with pumpkin spice cream cheese icing! My son who can be picky loves them too.
So glad the bars worked out for you and that your son loves them too!! Love the addition of the pumpkin spice cream cheese icing! That sounds amazing!!!
Can I substitute the almond flour with more coconut flour or quinoa or chickpea flour (I have those on hand)? I would like to make these nut free for kids school snacks.
Coconut flour tends to be highly absorbent so you may need to adjust the quantity of the liquid if you use it as a sub for the almond flour. You could try eliminating the almond flour and add 1/4 cup total coconut flour, while also adding an extra egg. I can’t guarantee that this will work, as I haven’t tested it myself, but let me know how it goes if you try it out!
I don’t have too much experience working with the quinoa or chickpea flour, but I do know that they tend to have a stronger flavour than the almond flour. You might be able to detect those flavours in these bars, so I would test the coconut flour first. Hope that helps!
Do you think these would hold up if i were to make them in a mini muffin pan for bites? (Not expecting them to puff up like muffins, of course). Just cut the time?
I haven’t tried it myself, but I can’t see why not! Keep me posted on how they turn out!