These Zucchini Taco Boats are bursting with delicious flavour, making for the ultimate lower carb, protein packed meal. And don’t forget to add those tasty toppings for even more flavour in every bite! These stuffed zucchini boats can be cooked up in 30 minutes, so it’s the perfect easy weeknight meal! {Gluten-free & keto-friendly}
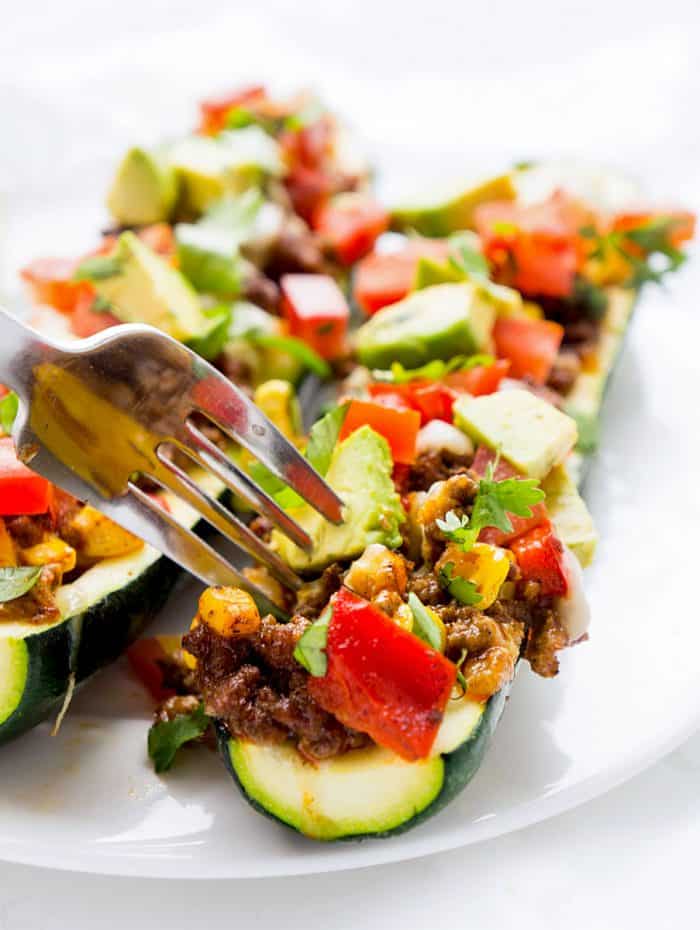
These zucchini taco boats are a fun and lighter twist on your traditional tacos. Each of the zucchini halves are stuffed with a mouthwatering ground beef taco filling and can be topped with a wide variety of toppings, so they’re easy to customize!
Made with simple ingredients and requiring minimal prep, these Mexican zucchini boats are a great weeknight meal!
Table of Contents
Why Make this Recipe
- Great for Meal Prep – What’s amazing about these zucchini boats is that you can make them in advance and store them in the fridge for several days, making them perfect for meal prep! They store and reheat really well, and are the perfect vehicle for getting in that protein and those fibre rich veggies.
- Healthy option – By replacing the typical tortilla with zucchini, it helps to lower the carb count and reduce the calories of the dish so it’s a lighter option. Zucchini is also a good source of fibre, making it more filling and satisfying. The beef adds that kick of protein which can help once again with that feeling of fullness!
- Family friendly – This zucchini boat recipe is great for the whole family! Allow family members to add their own toppings to customize the boats to their liking. Even kids love these stuffed boats and the name is fun too!
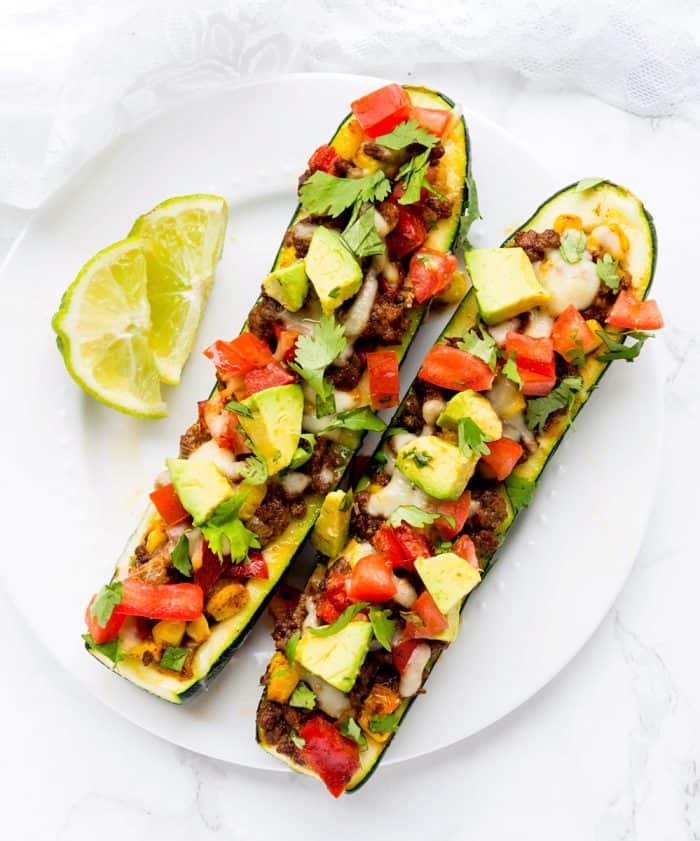
Ingredient Notes
Zucchini – Forms the base of this recipe and is used to hold the delicious taco filling. I like to use zucchinis around 8-9 oz in size to make them easier to fill.
Ground beef – I used extra lean ground beef to reduce saturated fat content. You could also sub in ground chicken or turkey or black beans if you want to make it a vegetarian option.
Corn – I used frozen corn kernels, but you could also sub in corn fresh off the cob or canned corn if that’s what you have on hand.
Red pepper – You could also use another colour pepper if desired.
Onion – Use yellow onion or sub in red onion if preferred.
Spices – A combination of chili powder, garlic powder, oregano, and cumin were used to flavour up the enchilada sauce. You could also add in some red pepper flakes or cayenne to kick up the heat a bit.
Cheese – I used mozzarella but you could also sub in provolone, Monterery Jack, Gouda, or your preferred cheese.
Step by Step Instructions
The first thing you’ll want to do is prepare the homemade enchilada sauce.
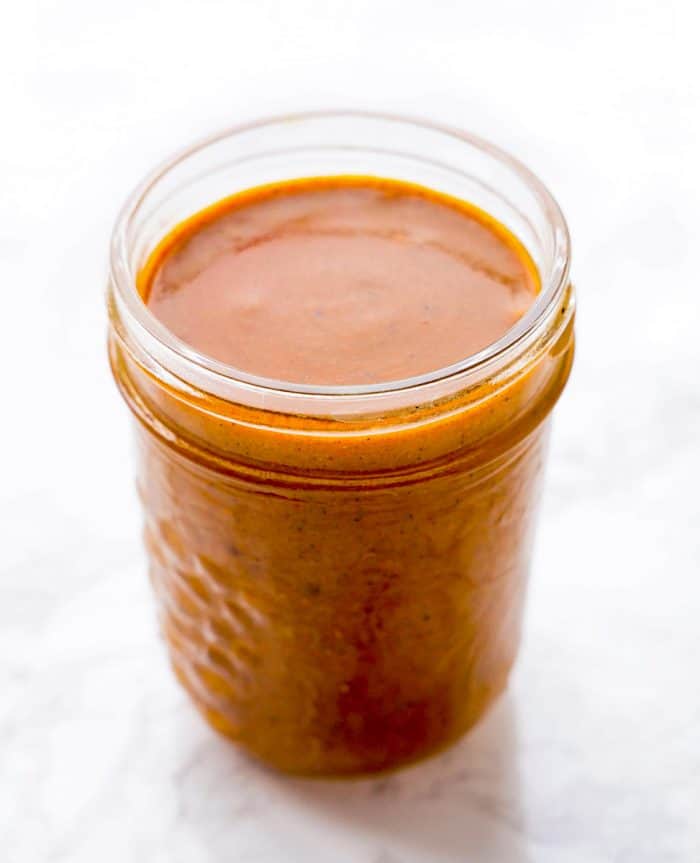
To prepare it, you’ll need to add some flour and olive oil to a small sauce pan. Give it a little stir and then add in all of the spices.
Next, add in the broth slowly. I did half a cup at a time and then whisked it after each addition to get rid of any lumps. Bring the sauce mixture to a boil and then allow to simmer for 10-15 minutes.
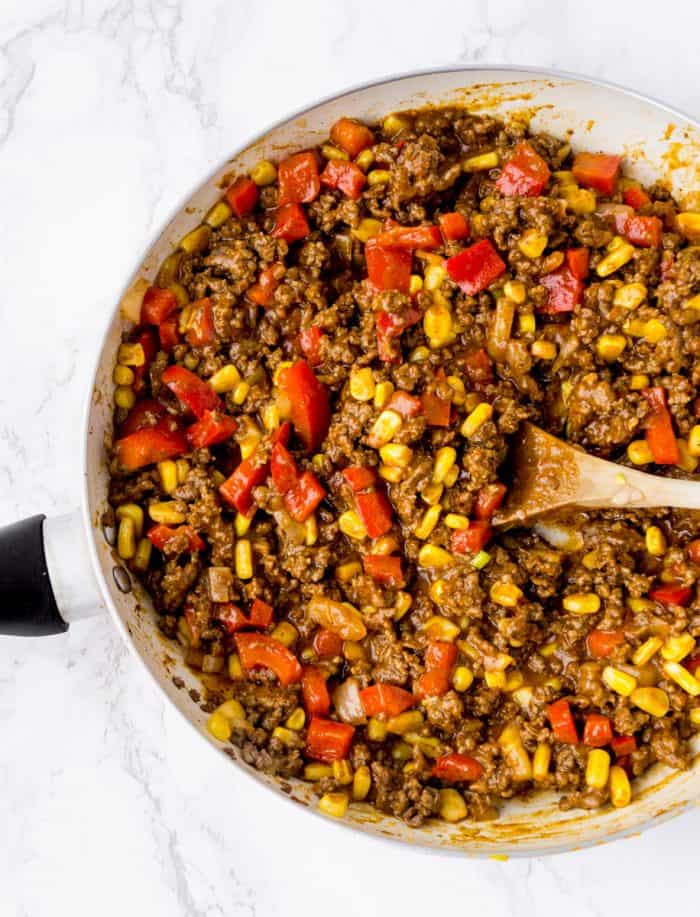
While the sauce is simmering, fry up the vegetables in a bit of olive oil in a frying pan. Once fragrant and softened, remove from the pan and cook the ground beef until no longer pink.
Add the veggies back to the pan.
Pour in the enchilada sauce and give it a good stir until the beef and vegetables are coated.
Next, prepare the zucchini. Cut off the end of the zucchini with the stem and slice in half lengthwise.
Take a spoon and slide it across the middle of the zucchini length wise to remove the seeds. It should create a bit of a trench. That’s where the beef mixture will go.

Top each zucchini half with the beef and vegetable mixture so that it fills the trench.
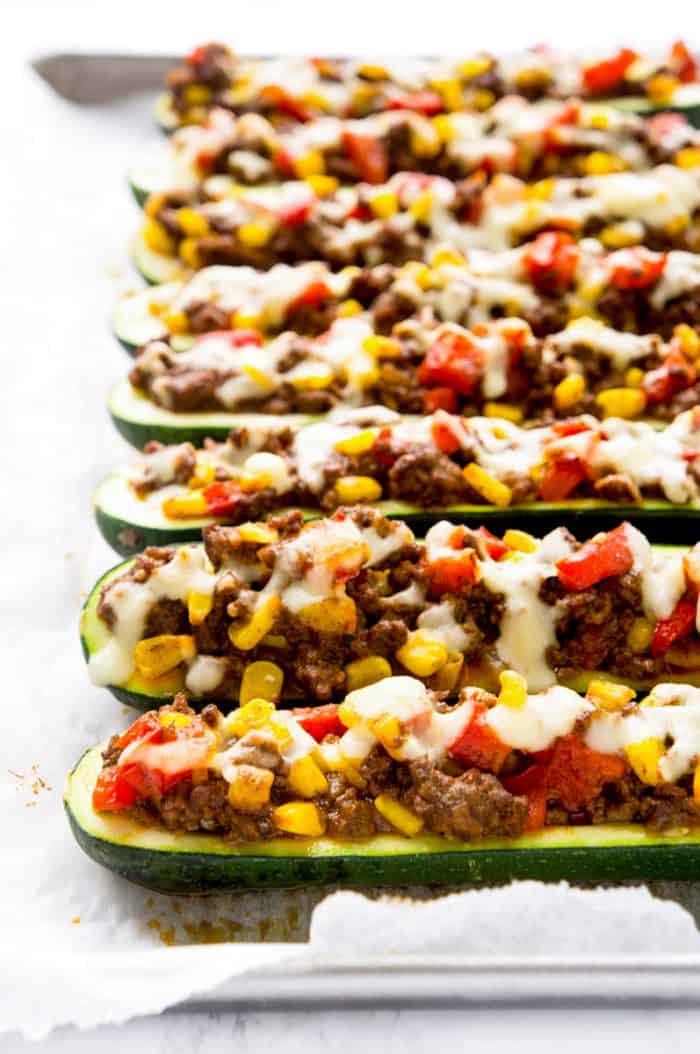
Sprinkle each zucchini half with mozzarella cheese.
Place in the oven for 20 minutes at 375 degrees F to allow the zucchinis to cook and the cheese to melt.
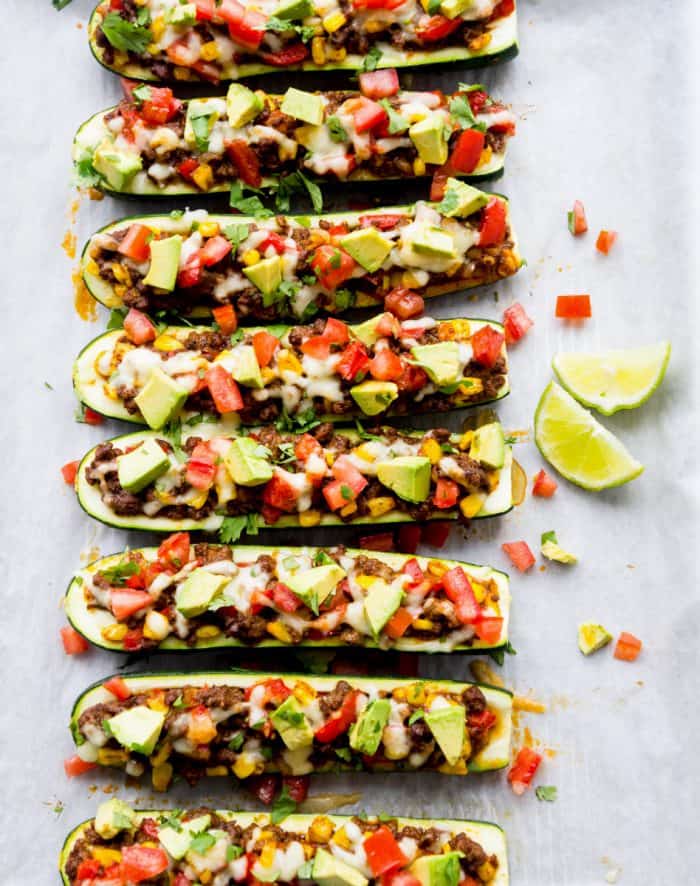
Top with desired toppings.
Recipe Tips
- I recommend using zucchinis that are equal in size, so that they finish cooking at the same time. Go for medium sized ones around 8-9 oz each if you can find them, since they will hold the beef and vegetable mixture better. Trying to stuff that mixture into a super small zucchini can be a bit finicky. You want the zucchini to be large enough that you can fit the filling in, but not so large that they don’t fit on the baking sheet.
- If using a larger zucchini, you may wish to bake the shells for about 5-10 minutes before filling. This will help the boats to become tender enough by the end of the baking time.
- I used whole wheat flour for the enchilada sauce but you can use any type of flour you prefer including regular all-purpose flour or gluten-free flour.
- Make up a batch of the enchilada sauce in advance to make this recipe even more quick and easy. You can even double the batch and freeze extras for later!
Recipe FAQs
How to store
Store these stuffed zucchini boats in the fridge covered or in an air-tight container for up to four days.
Can you freeze zucchini boats?
Although I haven’t personally tried it myself, I wouldn’t recommend freezing the zucchini boats because zucchini contains a lot of moisture and may become mushy once it’s thawed out.
However, you can freeze the taco meat filling for the boats in a freezer safe container for up to two months. When ready to use, allow the filling to thaw, divide it among the fresh zucchini halves, top with the cheese and pop them into the oven to bake.
How to reheat
This recipe reheats well in the microwave or oven.
For microwave: On a microwave safe plate, reheat 1-2 boats at a time for 1-2 minutes or until heated through.
Oven: Preheat oven to 350 degrees F. Bake for 15-20 minutes or until heated through.
Is this recipe spicy?
These boats do have a bit of a kick but I wouldn’t consider them to be super spicy. In my opinion, it’s the perfect amount of spice! You could always add more or less spice if desired.
Can you eat the skin of zucchini boats?
Yes, the skin is where the majority of the fibre is found so you can certainly eat it to obtain some extra nutrients!
Serving suggestions
Although you could just eat these zucchini boats as is, what really takes them to the next level is heaping them up with delicious toppings!
After all, these ARE exactly like tacos, except this time, they’re in zucchini, not tortilla form. I recommend that you DON’T skip this step.
Some suggested toppings are:
- Diced tomato
- Avocado
- Cilantro
- Salsa
- Greek yogurt or sour cream
- Green onion
- Lime juice

More similar recipes
- Beef Nachos Supreme
- Ground Beef and Quinoa Taco Bowls
- Beef & Quinoa Chili
- Crock Pot Taco Meat
- Eggplant Parmesan without Egg
- Chicken Enchilada Stuffed Sweet Potatoes
- Healthy Sheet Pan Chicken Fajitas
- Sweet Potato Taco Bites
- Healthy Chicken Enchilada Recipe
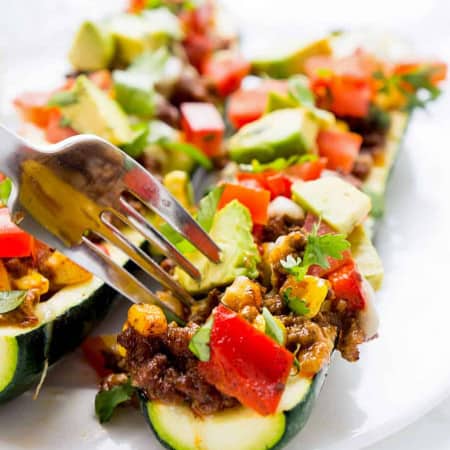
Zucchini Taco Boats
Ingredients
For the enchilada sauce
- 2 tbsp. olive oil
- 2 tbsp. whole wheat flour can also sub in all-purpose or gluten-free flour
- 2 tbsp. chili powder depending how much of a kick you like
- 1/2 tsp. garlic powder
- 1/4 tsp. oregano
- 1/4 tsp. cumin
- 1/2 tsp. salt
- 1 1/2 cups broth no salt added
For the stuffed zucchinis
- 1 tsp. olive oil
- 1 red pepper diced
- 1 small onion diced
- 1 cup corn
- 1 lb extra lean ground beef
- 4 large zucchinis
- 3/4 cup shredded mozzarella cheese
Optional Toppings:
- Diced tomato
- Avocado
- Cilantro
- Sour cream or Greek yogurt
- Sliced green onion
- Lime juice
Instructions
- Preheat the oven to 375 degrees F. Line a baking sheet with parchment paper.
- Add olive oil and flour to a small saucepan. Stir and cook for one minute. Add the rest of the spices and stir. Gradually add the broth and whisk to remove any lumps. Bring to a boil and allow to simmer for 10-15 min or until slightly thickened.
- Meanwhile, cook the vegetables in olive oil over medium heat for 5-7 minutes. Set aside. Add beef to pan and cook until no longer pink, about 4-5 minutes. Return the vegetables to the pan.
- Add the enchilada sauce to the mixture and stir to combine.
- Cut the zucchini in half lengthwise and scoop out the seeds from the centre using a large spoon to create a trench. Place the zucchinis on the prepared baking sheet.
- Fill the centre of each zucchini with beef and vegetable mixture. Top evenly with shredded cheese.
- Bake in oven for 20 minutes. Serve with desired toppings.
Notes
- I recommend using zucchinis that are equal in size, so that they finish cooking at the same time. Go for medium sized ones around 8 oz each if you can find them, since they will hold the beef and vegetable mixture better. Trying to stuff that mixture into a super small zucchini can be a bit finicky. You want the zucchini to be large enough that you can fit the filling in, but not so large that they don't fit on the baking sheet.
- If using a larger zucchini, you may wish to bake the shells for about 5-10 minutes before filling. This will help the boats to become tender enough by the end of the baking time.
- I used whole wheat flour for the enchilada sauce but you can use any type of flour you prefer including regular all-purpose flour or gluten-free flour.
- Make up a batch of the enchilada sauce in advance to make this recipe even more quick and easy.
Nutrition
This recipe was originally posted May 2019 and was updated to include better tips in April 2021.
This post may contain affiliate links which means that I may make a small commission at no extra cost to you. I only promote products that I love and feel will benefit my readers :)


These were really good! I usually used canned enchilada sauce but was out, so I decided to look for a recipe that made the sauce,too.
Since I like my food a bit more spicy, I did substitute hot chili powder for a portion of the chili powder in recipe. And lastly, I chopped up one canned chipotle pepper in adobo sauce and added that and some of the adobo sauce while the enchilada sauce was simmering. It added just the right amount of heat for me.
These additions could be made to a some of the enchilada boats, while others cooked as written, when you have family members (children, perhaps!) that don’t eat spicy foods.
This recipe is a keeper- no more canned enchilada sauce for me!
Thanks:)
Thanks Amy! So glad you enjoyed the recipe! I bet the modifications that you made were delicious — great for when you’re looking to kick the heat up a notch! Thanks so much for sharing your feedback!