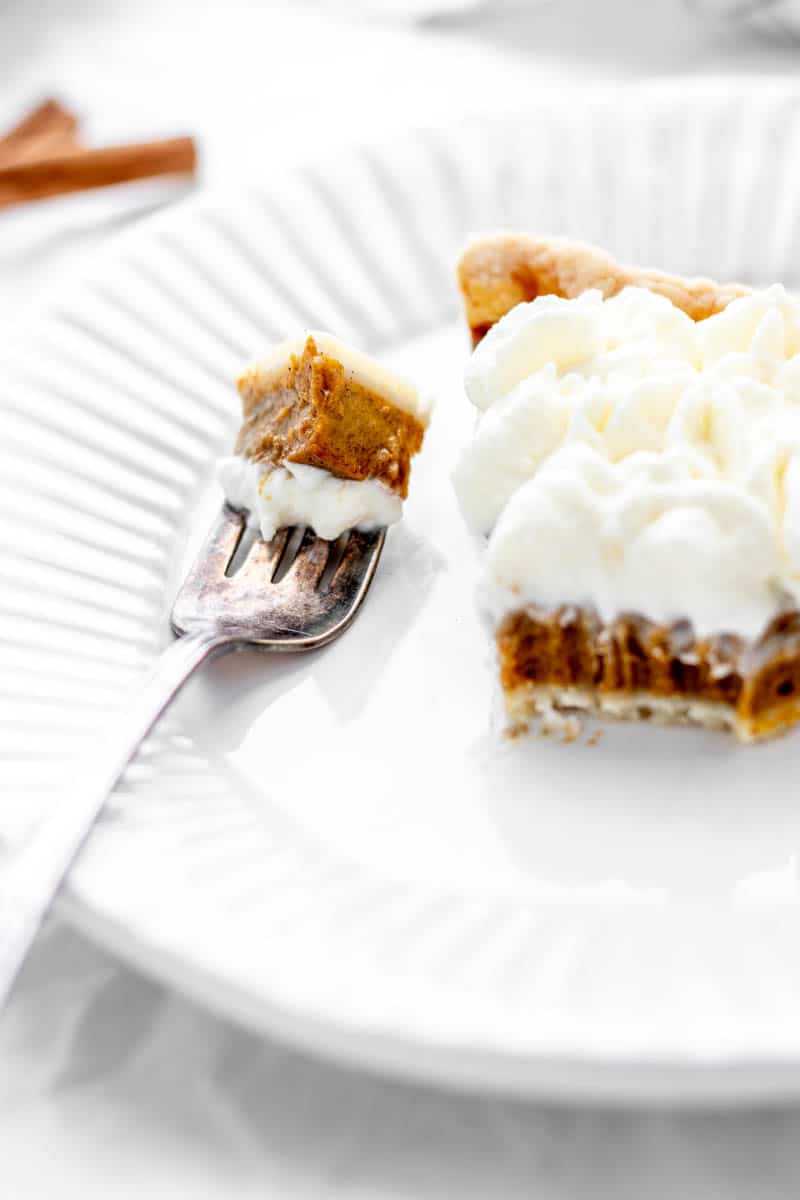
One bite of this healthy pumpkin pie recipe without evaporated milk, and you’ll never go back! The creamy and fluffy pumpkin pie filling is made from scratch with almond milk, maple syrup, and pumpkin pie spice for a healthy, lower sugar dessert. Simple to make and the perfect option for holidays! {Dairy-free & Gluten-free-friendly}
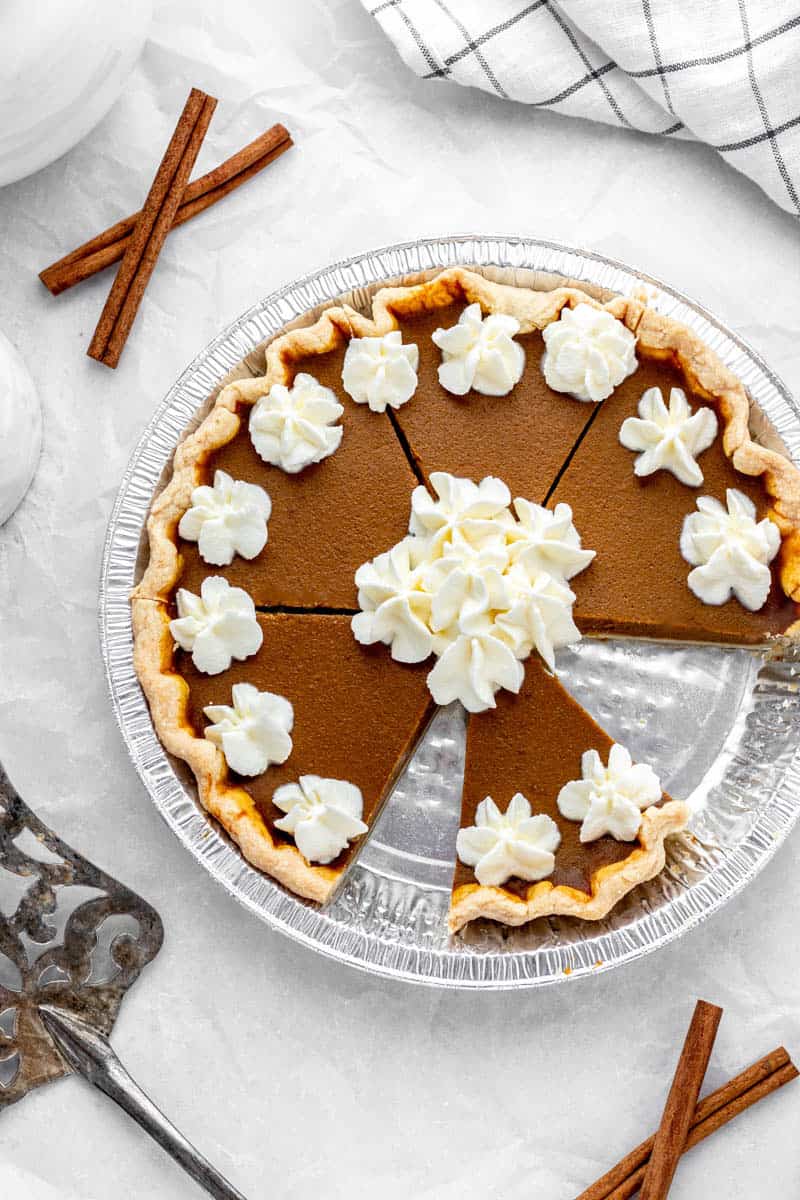
Healthy Pumpkin Pie Recipe – No Evaporated Milk!
If you’re a pumpkin lover, you’re going to love this easy pumpkin pie recipe without evaporated milk! It’s totally crave worthy and my go-to dessert recipe for the fall.
Made with just a few simple ingredients, this healthy pumpkin pie recipe is fluffy, and so tasty you’d never guess it’s full of nutrients, too.
Not only is the pumpkin filling made from scratch, it’s also non-dairy and low sugar, too. As a result, it meets a wide variety of dietary needs and is perfect for all your gatherings.
Better yet, you can prep it in under 15 minutes before baking it to perfection! All you’ll need are a few basic ingredients, most of which you’re likely to have on hand already.
With the combination of warm pumpkin spice, a soft and creamy center, and crisp crust, it’s guaranteed to be loved by all.
For more healthy pumpkin recipes, be sure to check out this Pumpkin Pudding Cake and Healthy Pumpkin Bread!
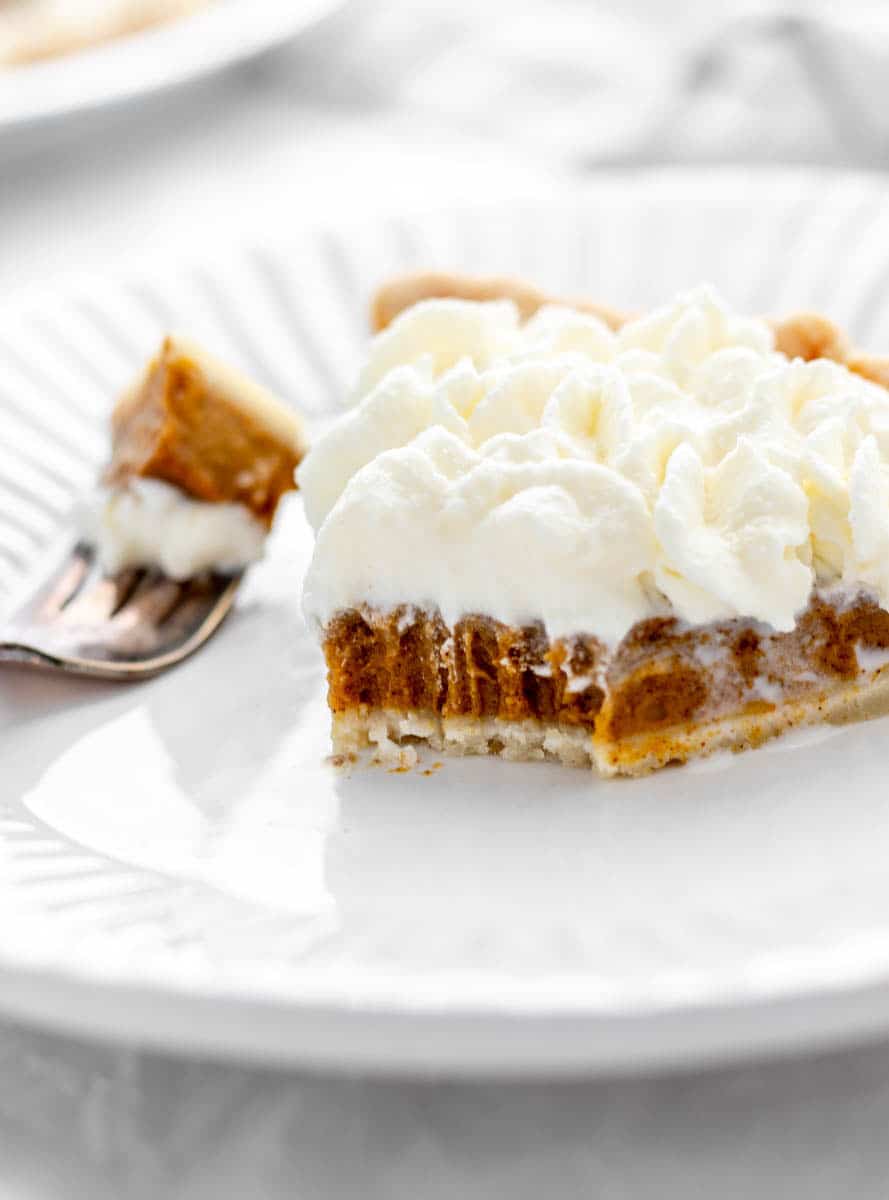
Why We Love This Almond Milk Pumpkin Pie
- Tastes Gourmet – Thanks to the use of plenty of pumpkin spice and sweet maple syrup, the ingredients in this almond milk pumpkin pie combine to create a rich flavour that tastes just like the classic pumpkin pie from your local bakery!
- Easy – We use a pre-made pie crust so all you have to do is combine the ingredients, pour the mixture into the unbaked pie shell and pop it in the oven! From start to finish, it’ll be done in about an hour. The hardest part is waiting to take a bite!
- Nutritious – Unlike traditional pumpkin pie recipes that are loaded with extra sugar, this homemade pumpkin pie recipe without condensed milk or heavy cream is lightened up and features simple, wholesome ingredients for a low sugar, better-for-you dessert. It also contains vitamin A, C and fibre to keep you feeling satisfied.
Required Ingredients
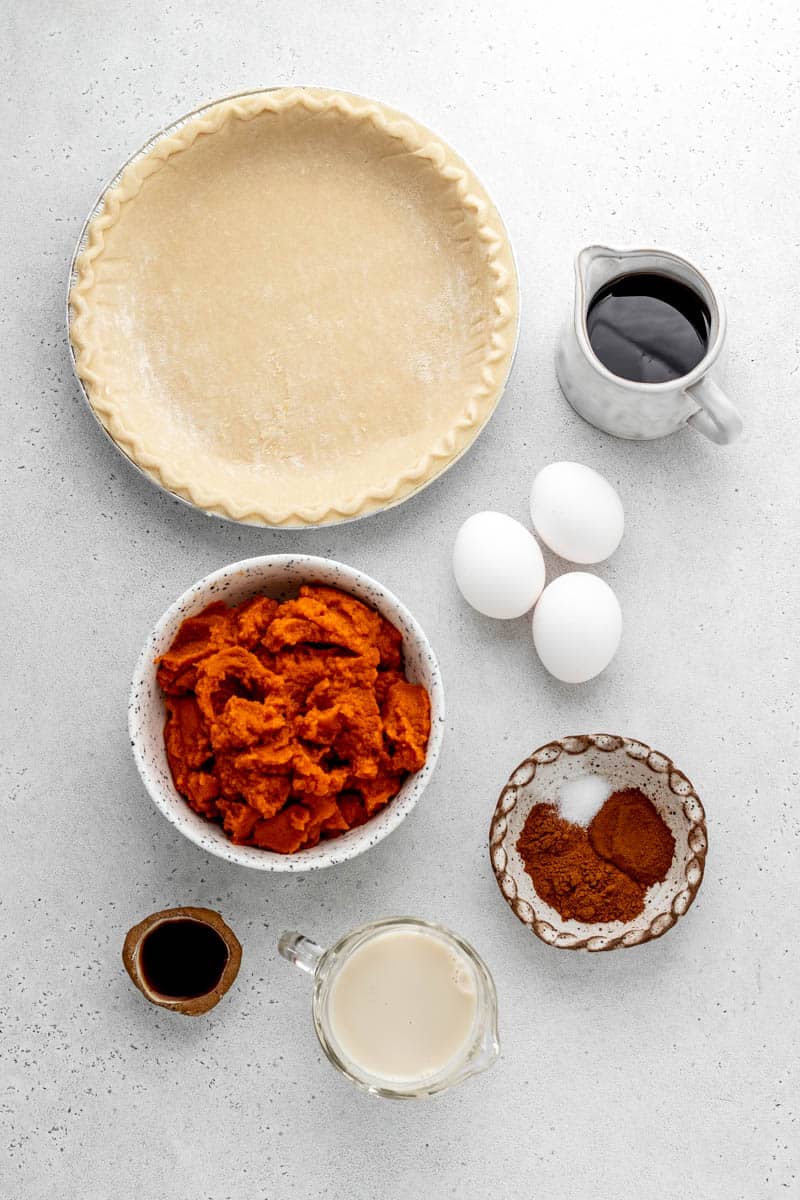
- 100% Pure Pumpkin Puree: This forms the base of your filling and is a great source of vitamin A and C. Just make sure you use pure unsweetened canned pumpkin puree and not pumpkin pie filling as it’s made with extra sugar and spices.
- Eggs: The combination of whole eggs and an egg yolk helps provide structure to the filling to form a custard-like consistency.
- Maple Syrup: Used to enhance the sweetness of this healthy pumpkin pie without the need for refined sugar. For the best taste, I recommend 100% pure maple syrup. Or, swap it out for honey, if you prefer.
- Arrowroot Starch: Helps to thicken up the pumpkin pie filling slightly so that it sets and is easier to cut. If you don’t have arrowroot starch, cornstarch works just as well.
- Almond Milk: When combined with arrowroot, almond milk can be used to magically replace the evaporated canned milk and provide a creamy texture. Use plain unsweetened almond milk.
- Flavour Enhancers: Vanilla extract, pumpkin pie spice, cinnamon and salt are used to create the classic sweet and spicy pumpkin pie flavour we all love. Feel free to adjust the spices according to your personal taste preferences.
- Pie Crust: Using a pre-made crust makes baking a breeze! One 9-inch deep pie crust or two shallow 9-inch crusts are all you’ll need to save hours in the kitchen. A graham cracker crust can also be used.
How to Make Pumpkin Pie Spice: To make your own pumpkin pie spice, simply mix together 3 tablespoons cinnamon, 2 teaspoons ground ginger, 2 teaspoons nutmeg, 1 1/2 teaspoons ground allspice and 1 1/2 teaspoons ground cloves. Measure out 2 teaspoons of the spice mix for the pie!
How to Make Pumpkin Pie without Evaporated Milk – Step-by-Step
Follow the steps below for a delicious pumpkin pie!
Step 1: Prepare Pumpkin Pie Filling from Scratch
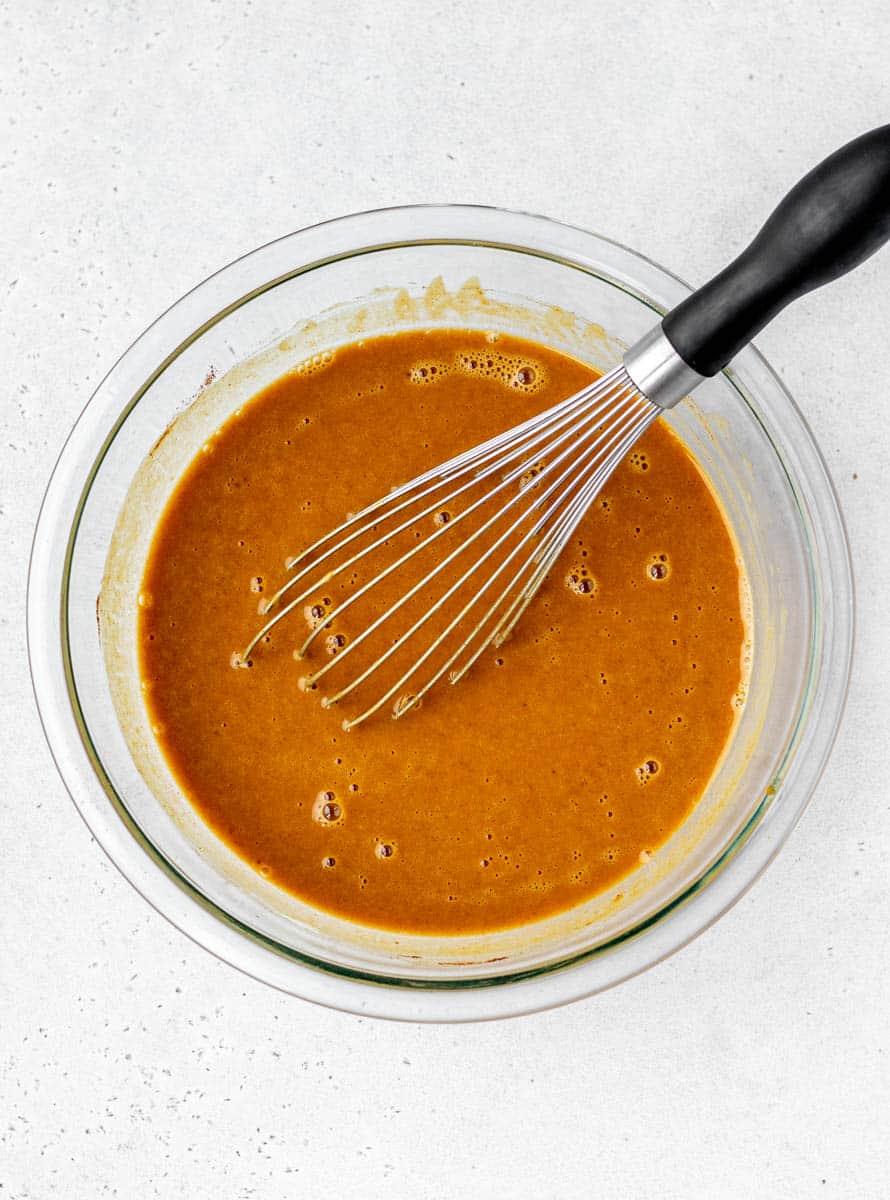
- Preheat the oven to 350 degrees F.
- Add the pumpkin puree, eggs, egg yolk, maple syrup, almond milk, arrowroot, vanilla extract, and spices to a large mixing bowl. Whisk together until all of the ingredients are just combined.
Step 2: Bake in the Oven
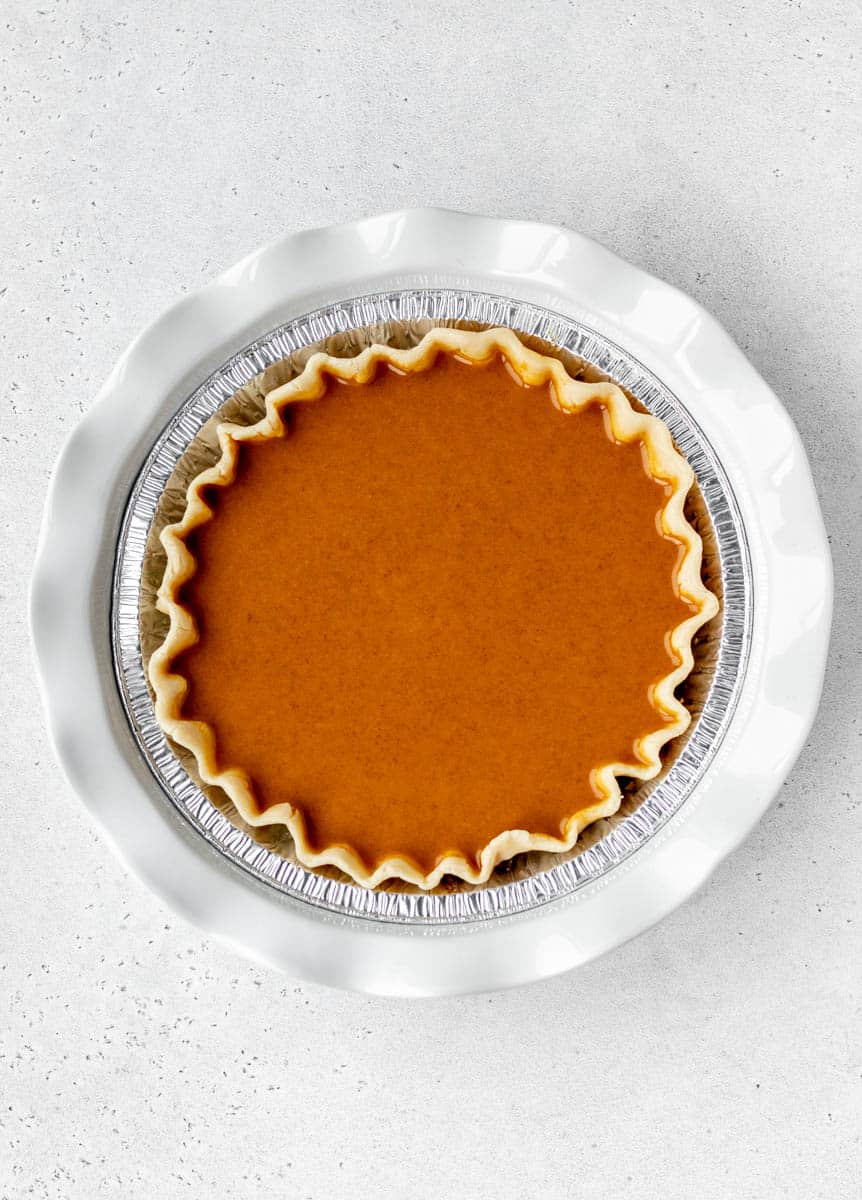
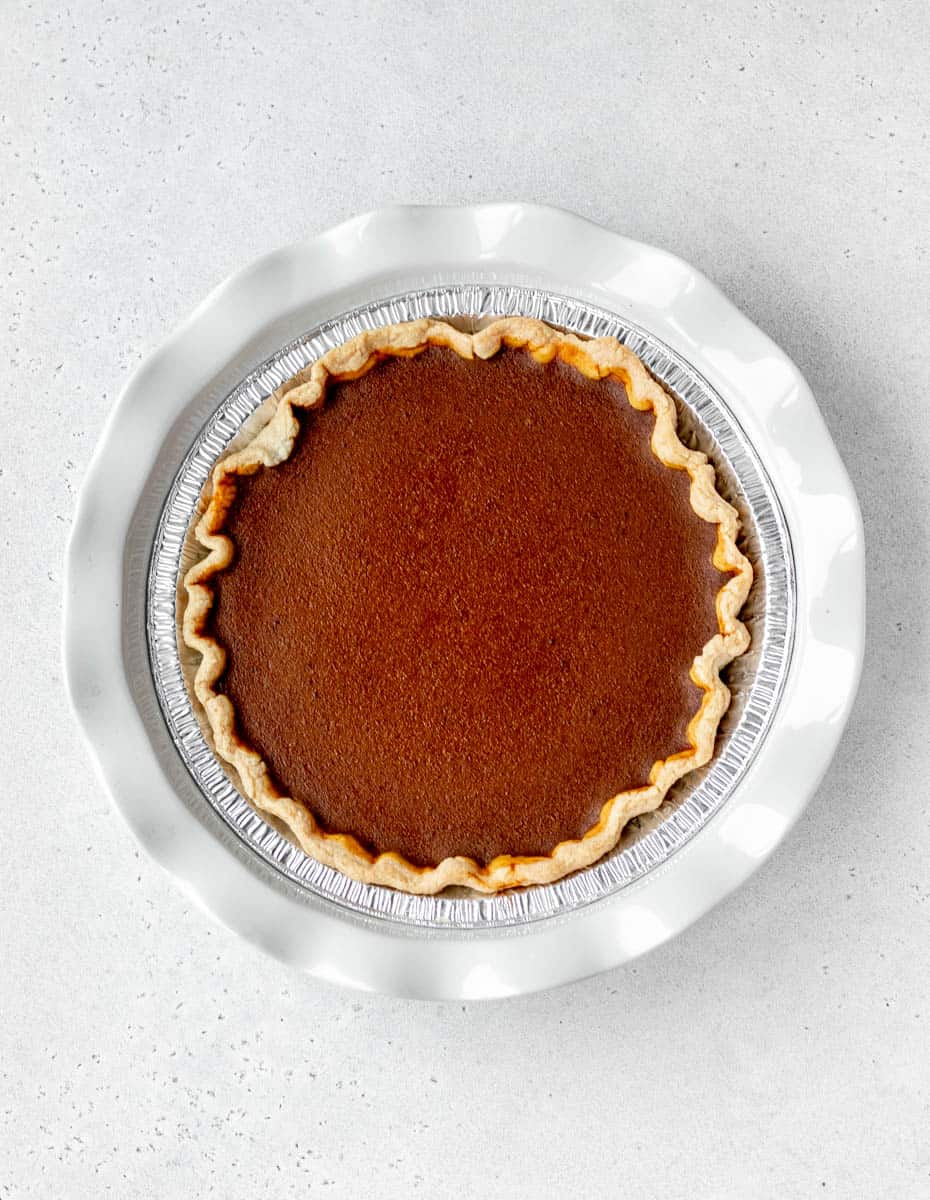
- If using an aluminum pie tin, place it inside a glass pie plate or on a baking sheet. Or, place the pie crust directly inside a 9-inch pie plate.
- Pour the prepared pumpkin pie filling into the crust.
- Bake for 50-60 minutes.
How to Tell when Pumpkin Pie is Done
Every oven bakes a little differently, so you’ll want to check for doneness after 50 minutes. You’ll know your almond milk pumpkin pie is finished when a knife inserted into the center of the pie comes out clean.
Also, if the edges of the pie are set, but the middle is still slightly jiggly, that’s a good indication that your pie is done.
Keep scrolling to the recipe card below for the full printable recipe!
Tips for the Best Pumpkin Pie Recipe
- The pumpkin pie filling makes enough to fill two shallow 9-inch pie crusts or one 9-inch deep dish pie crust. You can either make your own homemade pie crust and place the pie dough in a deep dish 9-inch pie pie pan or purchase the crusts already made. You can usually find pre-made crusts in the freezer section of your grocery store or health food store.
- The pumpkin pie filling may seem quite runny when you first pour it into the pie crust(s). Don’t worry, it will firm up when baking and continue to set while cooling.
- Allow the pumpkin pie to sit in the fridge for at least 4 hours or overnight before serving (let it cool fully before placing it in the fridge). This will allow sufficient time for the pie filling to set.
- If using an aluminum pie tin, place it inside of a glass pie plate, then bake as usual. The glass dish will transfer the heat more evenly through the aluminum and result in a more well cooked pie. It also makes it easier to transfer both in and out of the oven.
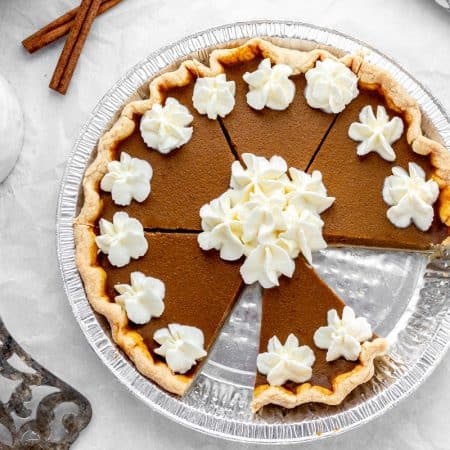
- For the photos, I used a store-bought frozen pumpkin pie crust that I allowed to thaw out at room temperature. I then fluted the edges using this technique. It’s a personal preference if you want to customize your pie crust.
- If the edges of the crust start to brown too fast, use a pie crust shield or piece of foil to cover it.
Recipe FAQs
If your pumpkin pie cracks in the centre, it’s likely because it was over baked. To prevent this from happening, be sure to keep an eye on it in the oven and watch for signs of doneness. In addition, follow the instructions precisely, and place your pie on the lower rack so it’s farther away from the heat.
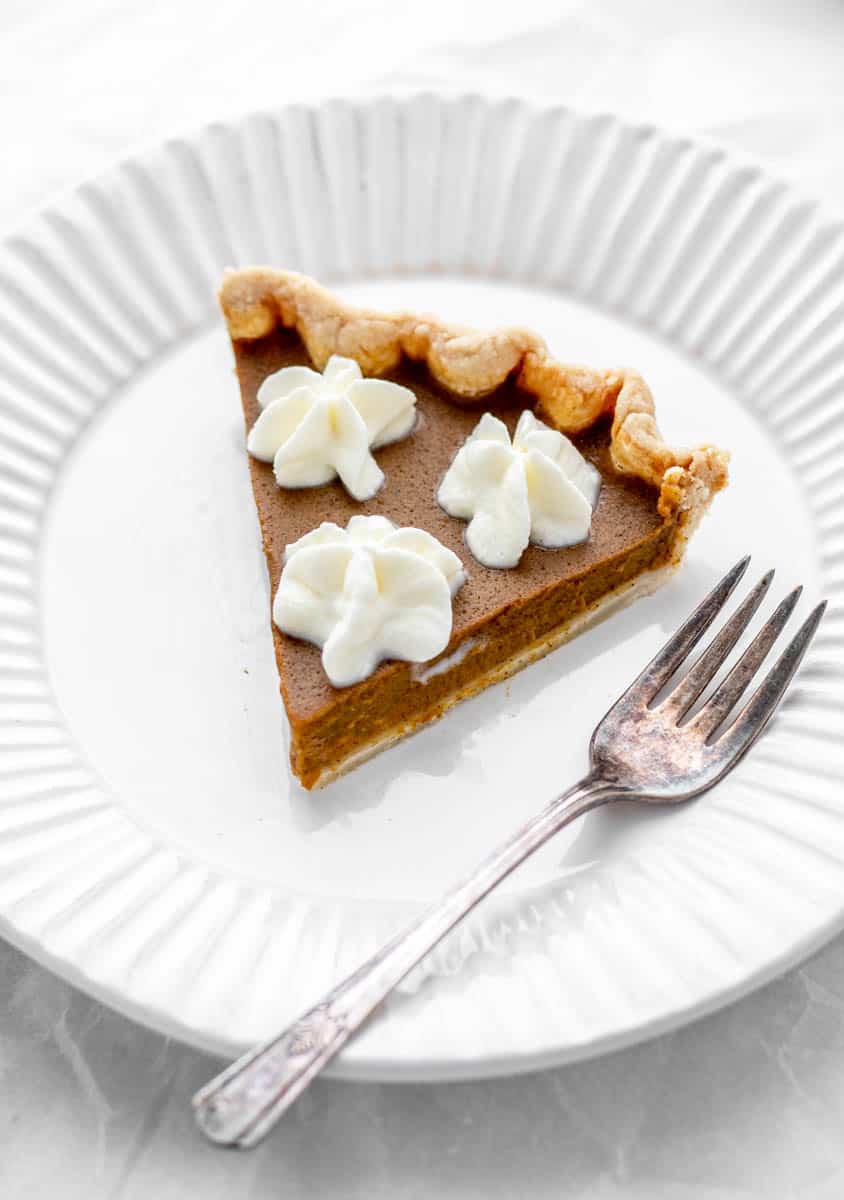
For the best results, let your pie cool for at least four hours in order for it to firm up before serving.
According to the FDA, fully baked pumpkin pies can sit out at room temperature for up to 2 hours and still be considered safe. Note that the two-hour time period doesn’t include the time needed to allow the baked pie to cool completely, which is equally important for food safety.
When loosely covered with tin foil or plastic wrap, this pumpkin pie recipe without evaporated milk will stay fresh in the fridge for 3-4 days.
Yes! When stored properly, you can freeze pumpkin pie for up to 1 month.
Storage Guidelines
Refrigerator: Keep your pie covered with plastic wrap, or store individual slices in an airtight container for up to 3-4 days.
Freezer: Let your pie cool completely, and then tightly wrap it in plastic wrap followed by tin foil. Then, place it on a level shelf in your freezer for up to 1 month.
To defrost: When you’re ready to eat, remove your pumpkin pie from the freezer, remove the tin foil and plastic wrap, and let it thaw in the fridge for at least 12 hours. Whatever you do, don’t let it thaw at room temperature! Otherwise, it will become soggy.
How to Serve Pumpkin Pie
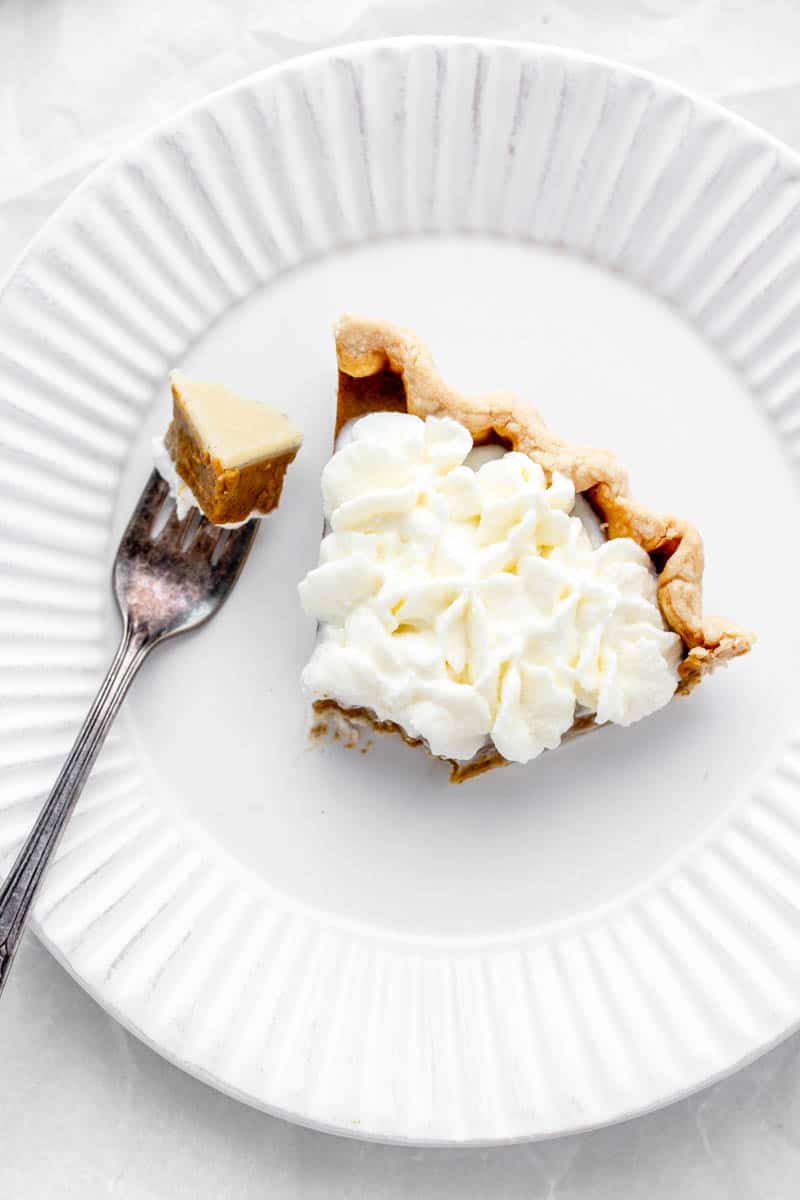
Most commonly, pumpkin pie is sliced and served cold or at room temperature, but feel free to warm it up a bit if you prefer. Either way, it’s super tasty on its own.
You can also boost the flavour and top this healthy pumpkin pie with:
- A dollop of regular whipping cream
- Coconut whipped cream
- Vanilla ice cream
- Chopped walnuts or pecans
- Caramel sauce
Recipe Variations
- To make gluten-free: Use a gluten-free pie crust. You can either make your own or purchase a gluten-free pie crust from the store.
- To make dairy-free: Use a vegan pie crust or a pie crust made with no butter. You can often find these at Whole Foods or other health food stores.
- To make low sugar/sugar-free: Use a sugar-free maple syrup instead of regular maple syrup.
- To make nut-free: Use coconut milk instead of almond milk.
- For crustless pumpkin pie: Skip the crust and pour the pumpkin pie filling in a 9-inch pie dish.
More Healthy Pumpkin Recipes
- Healthy Pumpkin Breakfast Cookies
- Healthy Pumpkin Protein Pancakes
- Pumpkin Oatmeal Muffins
- Pumpkin Balls
- No Bake Pumpkin Cheesecake Bites {Vegan}
Did you make this recipe? Scroll down to leave a star rating and review!
Healthy Pumpkin Pie Recipe without Evaporated Milk
Ingredients
- 1 15oz can 100% pure pumpkin puree (or 2 cups pumpkin puree)
- 2 whole eggs plus one egg yolk whisked
- 1/2 cup maple syrup
- 1/2 cup unsweetened almond milk
- 2 tablespoons arrowroot powder (or cornstarch)
- 1 tablespoon vanilla extract
- 2 teaspoons pumpkin pie spice
- 1 teaspoon cinnamon
- 1/4 teaspoon salt
- 1 9-inch deep dish pie crust (or 2 shallow 9-inch pie crusts)
Instructions
- Preheat the oven to 350 degrees F.
- Add the pumpkin puree, eggs, egg yolk, maple syrup, almond milk, arrowroot, vanilla extract, pumpkin pie spice, ground cinnamon, and salt to a mixing bowl. Whisk all of the ingredients together until combined.
- If using an aluminum pie tin, place inside a glass pie plate. (If you don't have a pie plates, you can also place the tin on a baking sheet). Alternatively, you can place the pie crust directly in a 9-inch pie plate. Pour the pumpkin pie filling into the crust.
- Bake for 50-60 minutes or until a knife inserted into the centre comes out clean.
- Remove the pie from the oven and allow it to cool on a wire rack. For best results, allow the pie to cool for at least 4 hours to firm up before cutting.
- Serve at room temperature with a dollop of whipped cream and a sprinkle of cinnamon, if desired.
Notes
- The pumpkin pie filling makes enough to fill two shallow 9-inch pie crusts or one 9-inch deep dish pie crust. You can either make your own homemade pie crust and place the pie dough in a deep dish 9-inch pie pie pan or purchase the crusts already made. You can usually find pre-made crusts in the freezer section of your grocery store or health food store.
- The pumpkin pie filling may seem quite runny when you first pour it into the pie crust(s). Don’t worry, it will firm up when baking and continue to set while cooling.
- Allow the pumpkin pie to sit in the fridge for at least 4 hours or overnight before serving (let it cool fully before placing it in the fridge). This will allow sufficient time for the pie filling to set.
- If using an aluminum pie tin, place it inside of a glass pie plate, then bake as usual. The glass dish will transfer the heat more evenly through the aluminum and result in a more well cooked pie. It also makes it easier to transfer both in and out of the oven.
- For the photos, I used a store-bought frozen pumpkin pie crust that I allowed to thaw out at room temperature. I then fluted the edges using this technique. It’s a personal preference if you want to customize your pie crust.
- To prevent cracking: Familiarize yourself with the signs that a pumpkin pie is done baking to prevent over-baking the pie. Another helpful trick is to bake the pie in the lower third of the oven. This will help brown the crust of the pie while keeping the filling further from the top heating element.
- If the edges of the crust start to brown too fast, use a pie crust shield or piece of foil to cover it.


Leave A Review: