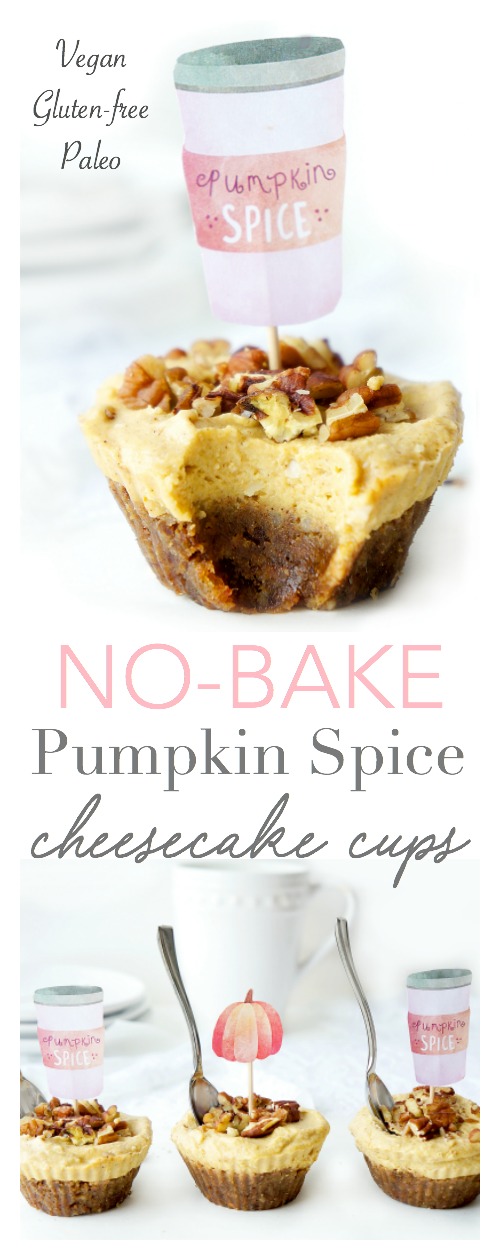
These No-Bake Vegan Pumpkin Cheesecake Bites make a healthier autumn-themed treat that taste sweet and decadent, while still offering lots of nutrients and no refined sugar. Perfect healthier dessert option to satisfy those pumpkin pie cravings! {Gluten-free, dairy-free, vegan & paleo}
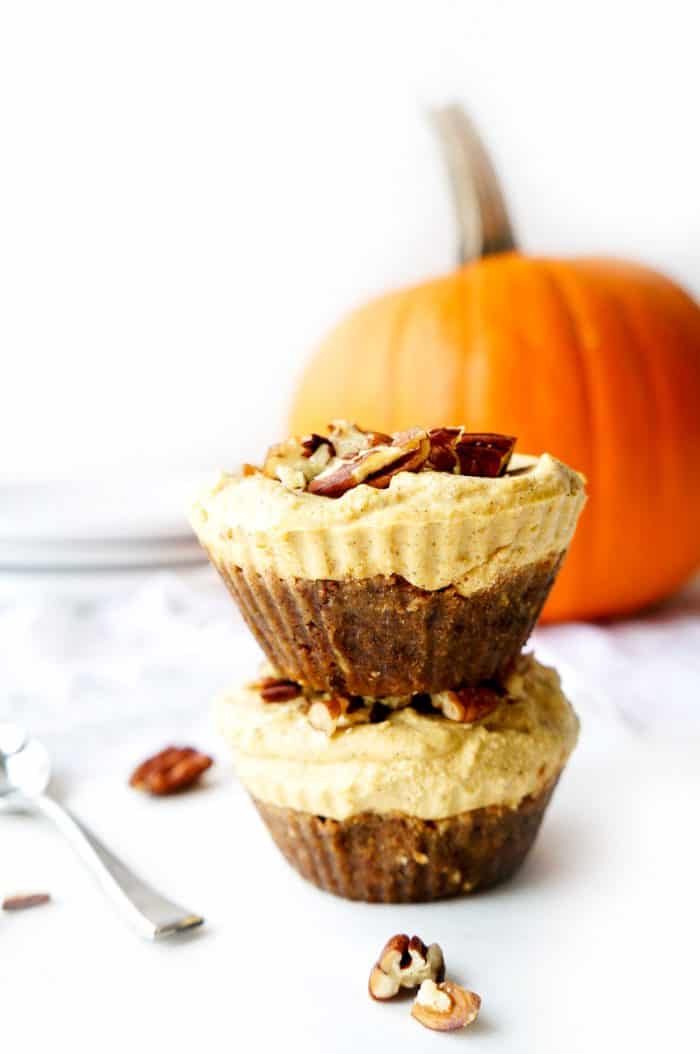
I’m so excited to introduce you to these no-bake pumpkin cheesecake bites, which also happen to be made without cream cheese so they’re the perfect vegan option! These bites make for a delicious healthier treat to indulge in during the autumn season and are also great for serving up as a fun holiday dessert!
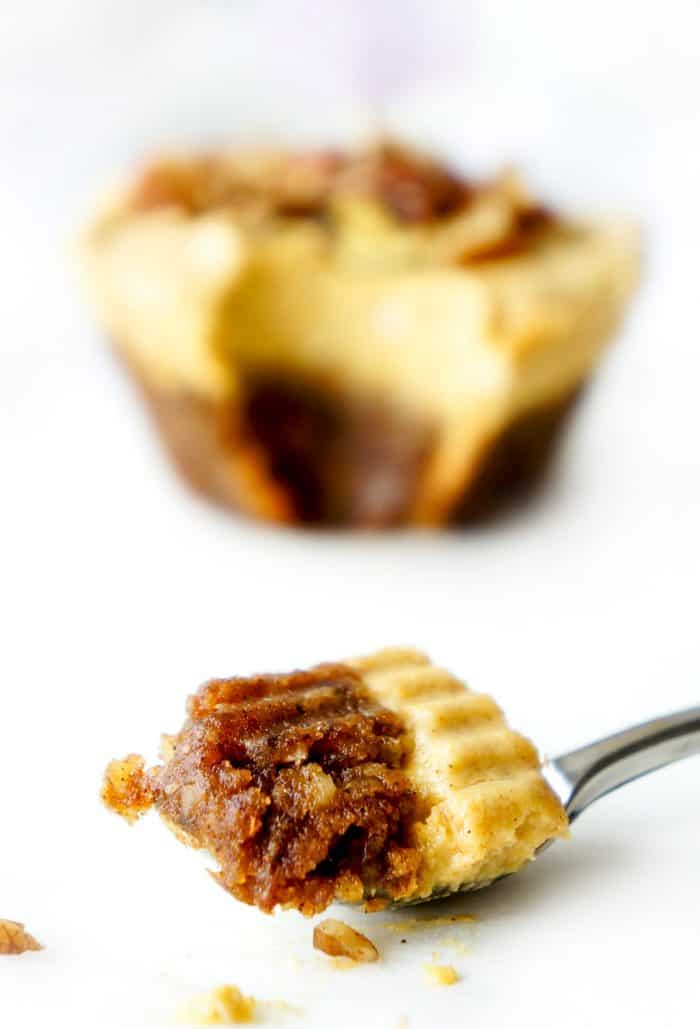
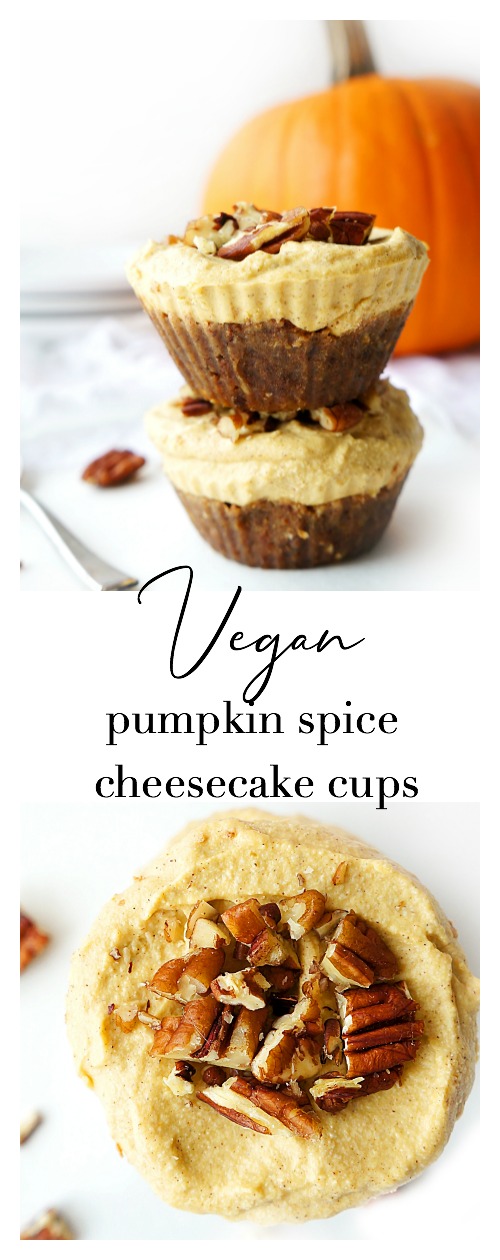
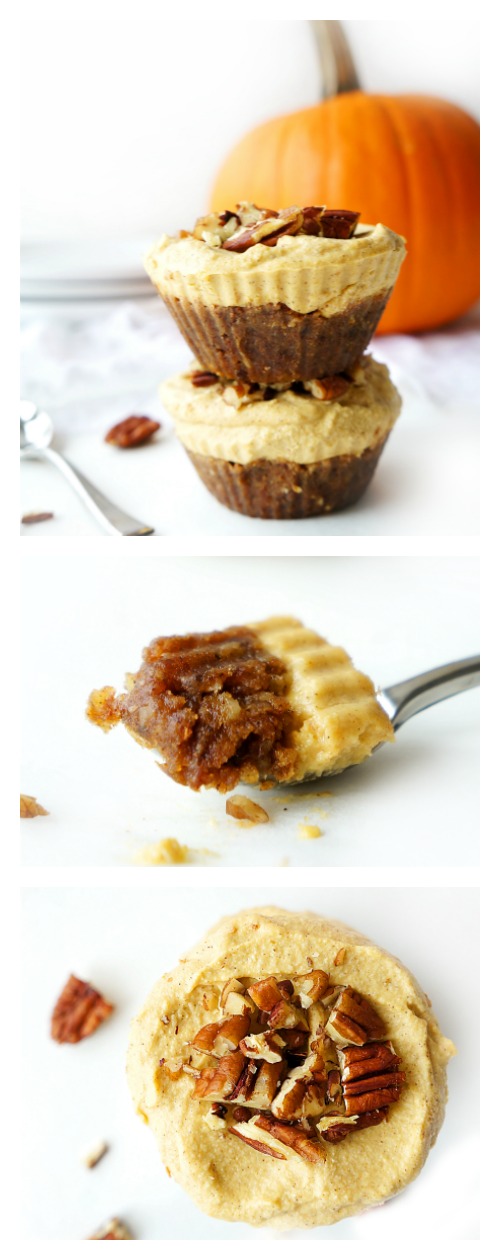
The bottom chewy layer, which is basically a culmination of pumpkin spice flavour mixed with dates and nuts, results in a crust that tastes like a pecan tart. It was inspired by my No-Bake Pumpkin Balls. I wanted a nice sweet “crust” to compliment the less sweet, yet creamier, “cheesecake” layer.
Finally, the “cheesecake” layer is topped with some nuts to add the crunch factor. So delicious!
If you’re looking for more no-bake vegan cheesecake recipes, check out these Peppermint Cheesecake Bites or Berry Cheesecake Bites!
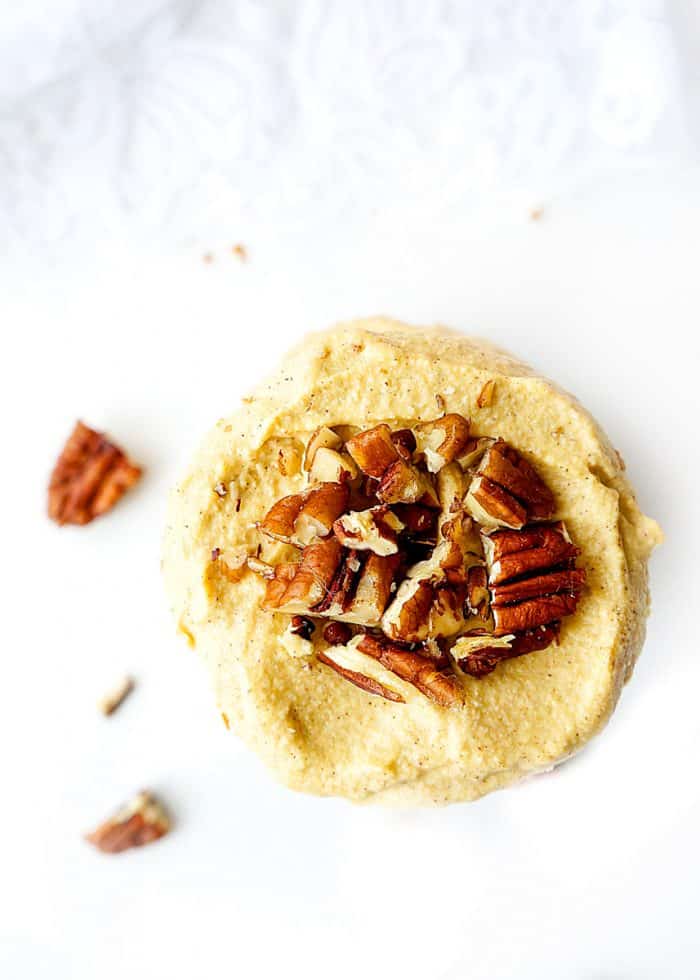
Table of Contents
Why Make this Recipe
- Minimal added sugar – The best thing about these bites (beyond the fact that they’re delicious, of course) is that there’s minimal added sugar, and what has been added is a bit of pure maple syrup. We’ve sweetened these cups up using primarily dates, so you’re not only getting the natural sweetness, you’re also getting the addition of the fibre and magnesium.
- Heart-healthy – Next, with the addition of walnuts, pecans and cashews, there are plenty of monounsaturated fats and omega-3s, in addition to fibre, to keep that heart ticking.
- Portion-controlled – Because these bites are made in muffin cups, they’re perfectly portioned and much kinder to the waistline than your typical cheesecake. Enough said!
- No-Bake – These pumpkin cheesecake bites are no-bake so they’re really easy to prepare. And as an added bonus, they can be stored in the freezer for a quick healthier dessert option for when that sweet tooth kicks in.
- Great for entertaining – They’re perfect for serving up when you have company and have a great presentation. Simply make up a batch ahead of time, store in the freezer and let them sit at room temperature for about 20 minutes before serving.
Ingredient Notes
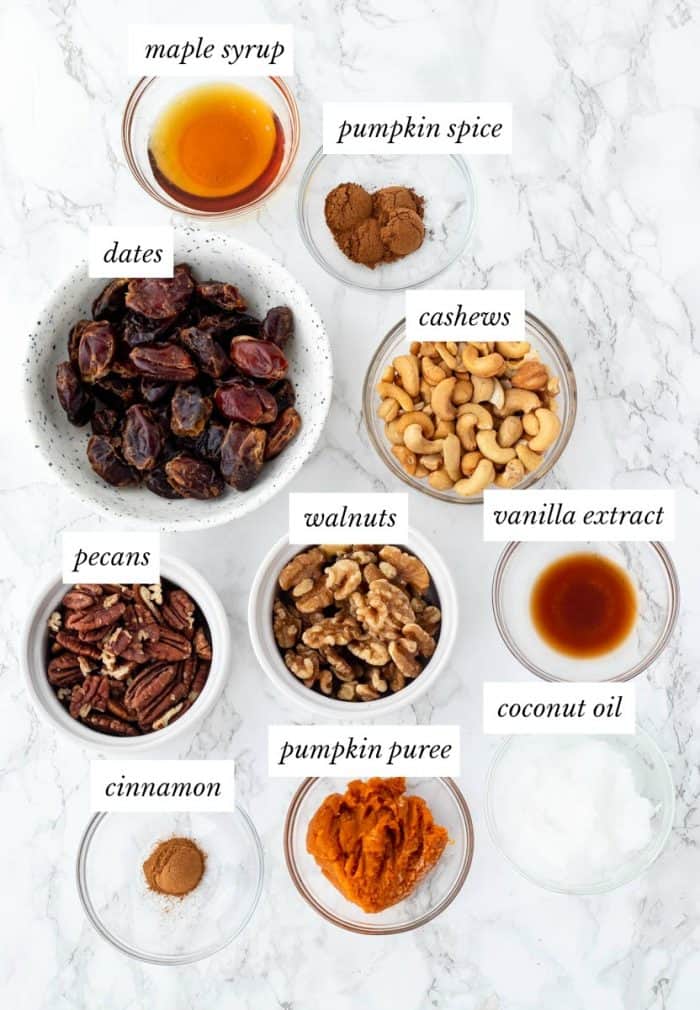
Dates – The dates provide a great natural sweetness, so minimal added sugar is required. Use softer pitted dates for best results. You can use Medjool dates or regular dates. Soak them in boiling water before blending if they’re too hard to blend.
Cashews – When soaked and blended, the cashews form a nice creamy “cheesecake” layer. Cashews are the secret ingredient to making this pumpkin cheesecake both dairy-free and vegan since no cream cheese is required! I used roasted and unsalted cashews, but you can sub in raw as well.
Nuts – I used a combination of raw walnuts and pecans to form the crust layer, but feel free to sub in your favourite nuts.
Pumpkin puree – Use 100% pure pumpkin puree, either canned or fresh. Be careful not to get the pumpkin pie filling. The can looks very similar to the pumpkin puree, but the filling contains quite a bit of added sugar.
Coconut oil – The coconut oil helps the cheesecake layer solidify when placed in the fridge or freezer and also adds and a subtle coconut flavour. Use 100% unrefined extra virgin coconut oil if possible.
Maple syrup – The maple syrup adds a subtle sweetness to the cheesecake layer. Use 100% pure maple syrup if possible. You can also sub in honey, if desired.
Step by Step Instructions
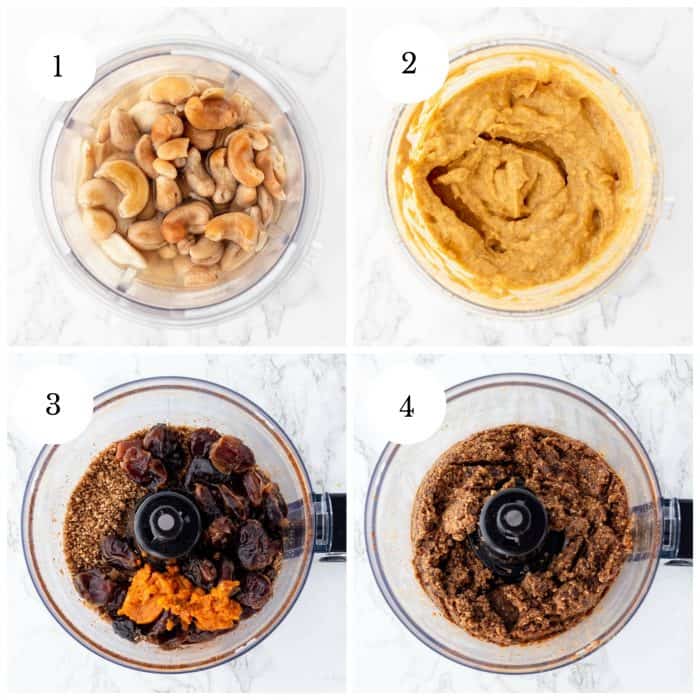
Soak cashews in hot water for at least 2 hours. At the same time, soak dates in boiling hot water for 5 minutes to soften.
Combine all ingredients for the cheesecake layer in powerful blender or Ninja. If you find that the cheesecake layer is having trouble breaking down in the blender, add some almond milk or water one tablespoon at a time until desired consistency is reached. The mixture should be smooth but still pretty thick.
For the crust, add the pumpkin spice, pecans and walnuts to a food processor and blend until mixture is crumbly. Next, add in the dates, pumpkin puree and vanilla extract and blend until mixture comes together and is slightly sticky.
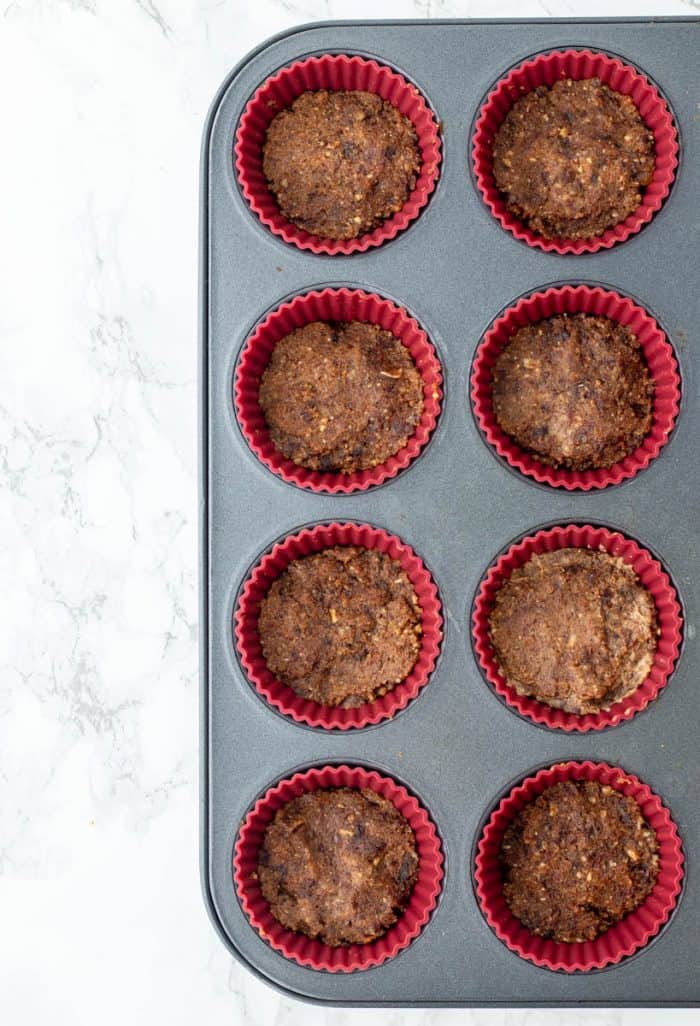
Line muffin tin with 9 silicone baking cups. Divide the crust mixture evenly between the cups and press into the bottom of the cup until the surface is packed down and flat.
Spread the cheesecake mixture over the crust with a spatula until relatively smooth and flat. Garnish with chopped pecans, if desired.
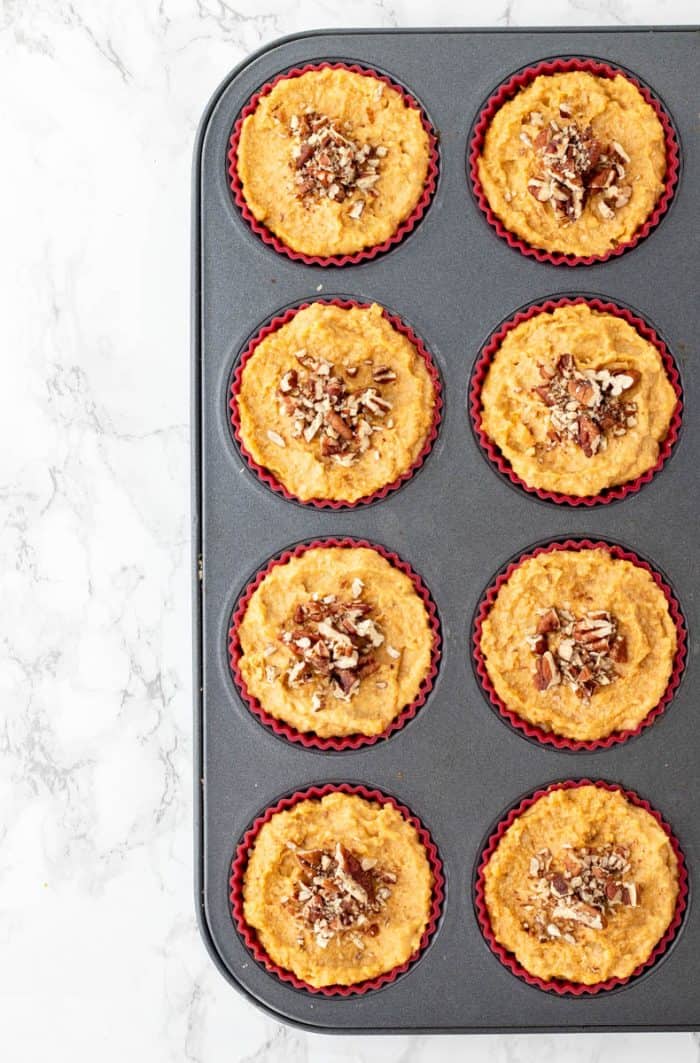
Place in freezer for at least an hour to allow the cups to harden. Consume frozen, cold or at room temperature.
Recipe Tips
- If your dates are hard, soak them in boiling water for 5 minutes before blending to soften them.
- If you’re finding that the cheesecake layer is having trouble breaking down in the blender, add some almond milk or water one tablespoon at a time until desired consistency is reached. The mixture should be smooth but still pretty thick.
- Use a powerful blender (I love the Ninja) for the ultimate creamy cheesecake layer. You’ll need one that’s powerful enough so that there are no chunks of cashews left behind.
- Use your hands or a small spatula to press the crust layer into the silicone cups. Wet your hands or spatula to prevent mixture from sticking.
- These mini pumpkin cheesecakes are best eaten when partially frozen so that they stay somewhat firm. You can eat them at room temperature too but the cheesecake layer will be more creamy.
Recipe FAQs
How to Store
You can store these cups in the fridge in an airtight container for up a week.
Can you freeze these cheesecake cups?
Yes! In fact, I actually recommend that you do freeze them! I find that they taste best when still partially frozen since this helps them solidify.
To freeze: Place in a freezer-safe air-tight container or large ziploc bag for up to one month.
To thaw: Allow them to thaw at room temperature for about 15-20 minutes before serving.
Serving Suggestions
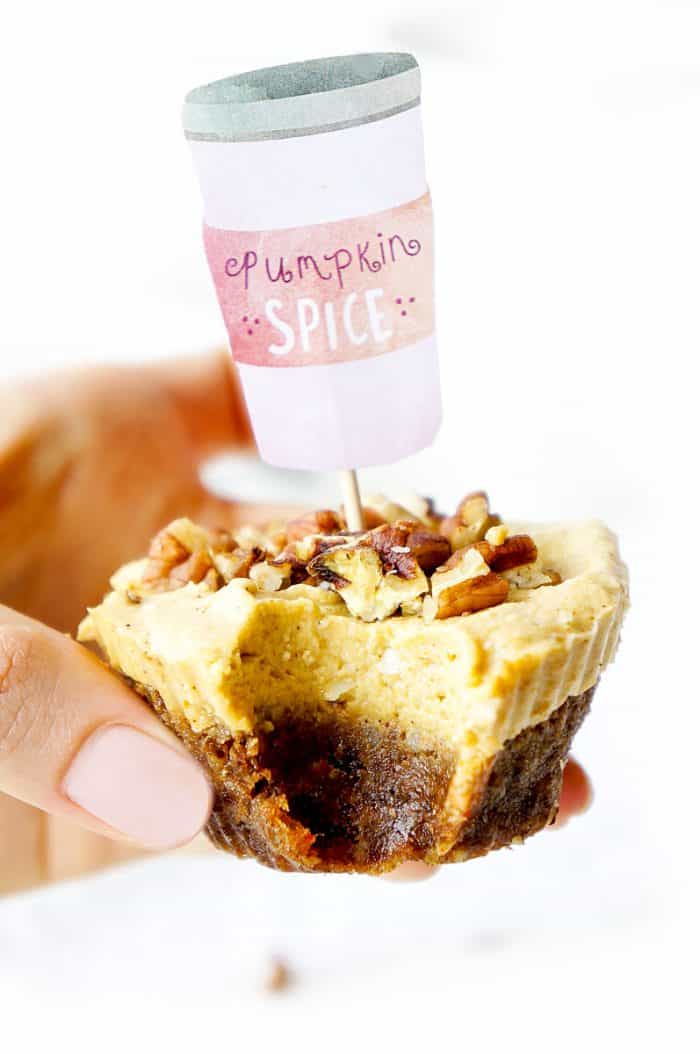
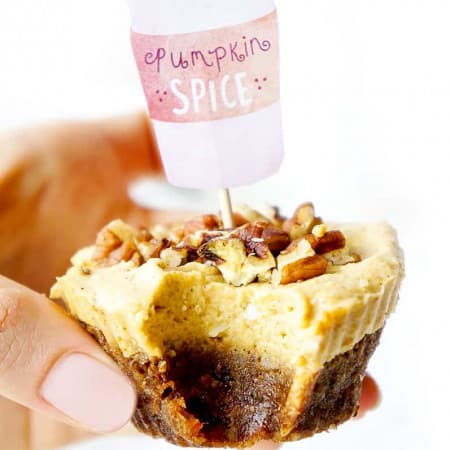
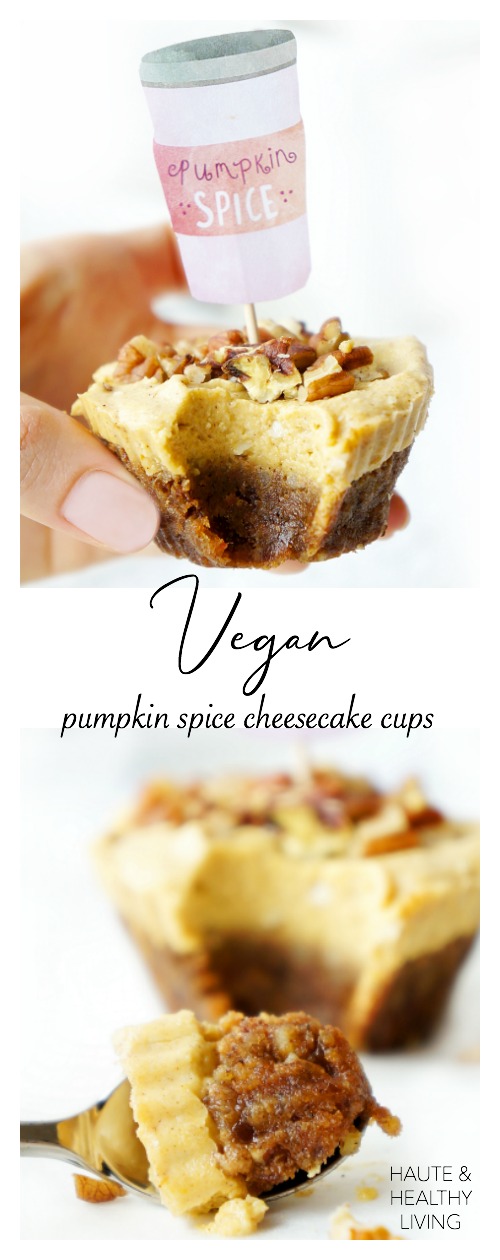
You can either serve these bites up as is or spruce them up with these cute little toothpick toppers, which you can download below!
Super cute, right?!
Did you make this recipe? Scroll down to leave a rating and review!
More similar recipes:
- Easy Pumpkin Pie without Evaporated Milk
- Healthy Pumpkin Cake with Applesauce
- 3-Ingredient No Bake Cheesecake Cups
- No-Bake Vegan Strawberry Cream Cheesecake Cups
- No-Bake Apple Crumble
- Pumpkin Oatmeal Muffins
- No-Bake Oatmeal Energy Balls
- No-Bake Carrot Cake Energy Bites
- No-Bake Healthy Cookie Dough Cups
- Peanut Butter Protein Bars
- Larabar Recipe {4-ingredients}
No Bake Pumpkin Cheesecake Bites {Vegan}
Ingredients
For the “crust”:
- 1 cup dates pitted
- 2 tsp pumpkin pie spice
- 1/2 cup pecan pieces
- 1/2 cup walnut pieces
- 2 tbsp pure pumpkin purée can use fresh or canned
- 1 tsp vanilla extract
For the cheesecake mixture
- 1 cup cashews soaked for at least 2 hours
- 4 tbsp coconut oil
- 2 tbsp maple syrup
- 1/2 tsp cinnamon
- 1/4 cup pure pumpkin purée can use fresh or canned
- 1 tsp vanilla extract
Optional Toppings
- Garnish with chopped pecans if desired
Instructions
- Soak cashews in hot water for at least 2 hours. At the same time, soak dates in boiling hot water for 5 minutes to soften.
- Add the pumpkin spice, pecans and walnuts to a food processor and blend until mixture is crumbly. Next, add in the dates, pumpkin puree and vanilla extract and blend until mixture comes together and is slightly sticky.
- Combine all ingredients for the cheesecake mixture in a powerful blender or Ninja until smooth. You may need to add a bit of almond milk or water to help smooth it out if you're having trouble getting the mixture smooth.
- Line muffin tin with 9 silicone baking cups. Divide the crust mixture evenly between the cups and press into the bottom of the cup until the surface is packed down and flat. Spread the cheesecake mixture over the crust with a spatula until relatively smooth and flat. Garnish with chopped pecans, if desired.
- Place in freezer for at least an hour to allow the cups to harden. Consume frozen, cold or at room temperature.
- Store in the fridge for up to a week or in the freezer for up to a month.
Notes
- If your dates are hard, soak them in boiling water for 5 minutes before blending to soften them.
- If you’re finding that the cheesecake layer is having trouble breaking down in the blender, add some almond milk or water one tablespoon at a time until desired consistency is reached. The mixture should be smooth but still pretty thick.
- Use a powerful blender (I love the Ninja) for the ultimate creamy cheesecake layer. You'll need one that's powerful enough so that there are no chunks of cashews left behind.
- Use your hands or a small spatula to press the crust layer into the silicone cups. Wet your hands or spatula to prevent mixture from sticking.
- These mini pumpkin cheesecakes are best eaten when partially frozen so that they stay somewhat firm. You can eat them at room temperature too but the cheesecake layer will be more creamy.
Nutrition
This recipe was originally posted in September 2018 and was updated in November 2020 to include more helpful tips and photos.
Adapted from my No-Bake Lemon Berry Cheesecake Cups
This post may contain affiliate links which means that I may make a small commission at no extra cost to you. I only promote products that I love and feel will benefit my readers :)






Can the coconut oil be replaced? I’m allergic!
Hi Rachel! The coconut oil is what helps the “cheesecake” mixture to solidify. You could try leaving it out, but it may result in the top layer being more creamy and less of a cheesecake consistency. I’m sure it would still be good though! Let me know how it goes if you try it out!
I love being able to have bite-sized treats for my guests. What a delicious idea
Thanks Nicole! It’s a great option to serve when entertaining!