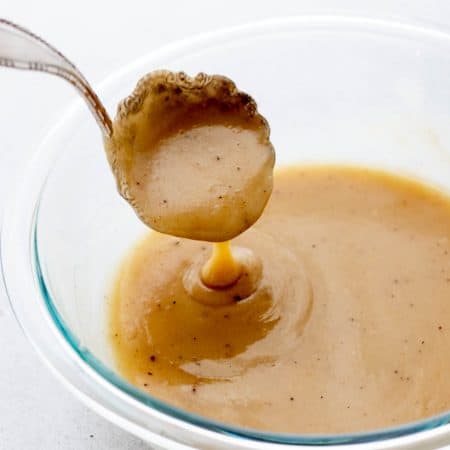
Learn how to make gravy without drippings for a simple, homemade option perfect for turkey or chicken dinner, mashed potatoes, and more. Made in less than 30 minutes, this easy gravy recipe is delicious enough to serve for Christmas or Thanksgiving dinner, yet simple enough to whip up for quick weeknight meals! {Gluten-free-friendly}
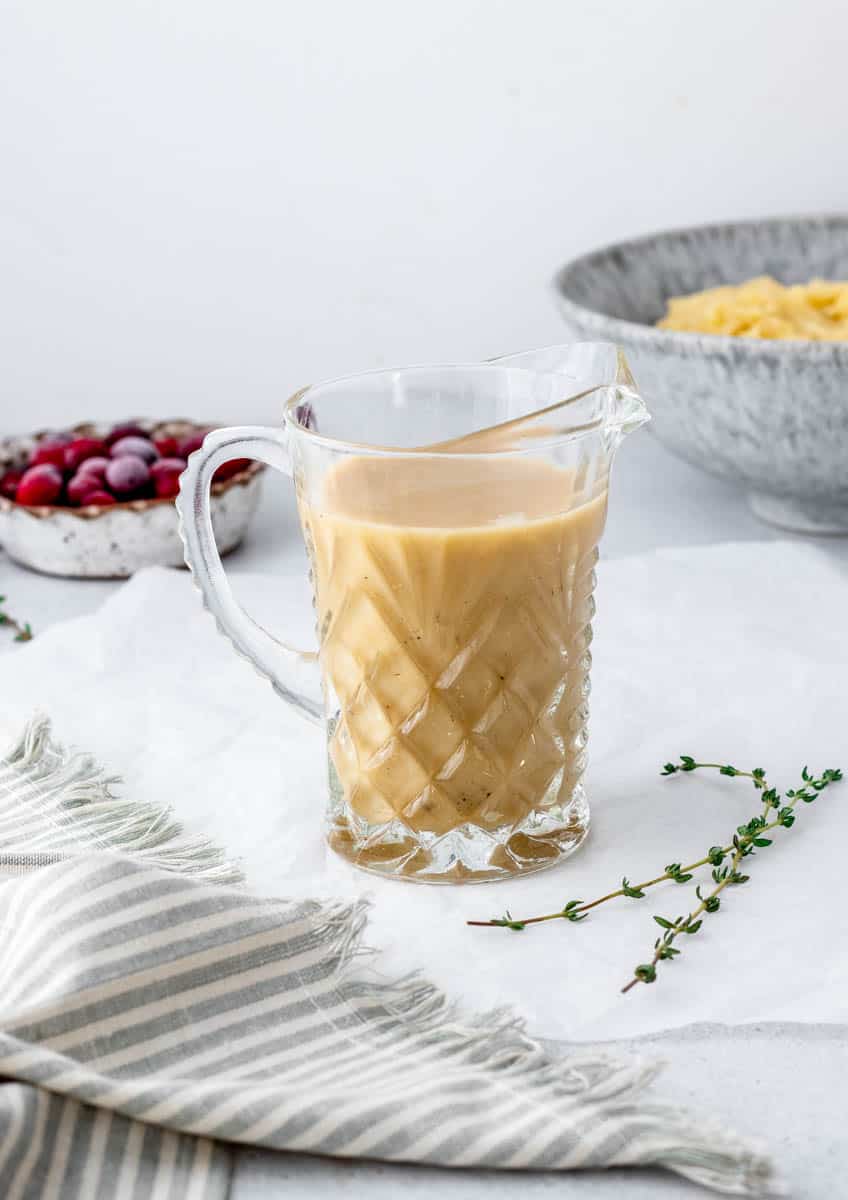
Easy Turkey Gravy Recipe – No Drippings!
Some common complaints I hear when it comes to gravy is that it’s either made with a bunch of processed ingredients from a packet or requires a ton of time since you have to cook the turkey first in order to get the pan drippings. Well, not anymore!
This delicious gravy recipe without drippings is made with simple and wholesome ingredients for a healthy, low-sodium option perfect for Thanksgiving day, Christmas, and everything in between.
Personally, I love to serve this creamy turkey gravy alongside Slow Cooker Turkey Roast and mashed potatoes for a boost of moisture and even more savoury flavour.
It’s loaded with all the flavours of your classic turkey gravy but requires half the work. All you have to do is combine the ingredients on the stovetop, strain it, and it’s good to go!
For more easy flavour additions, be sure to check out my Dairy-Free Basil Cashew Pesto and Healthy Cranberry Sauce!
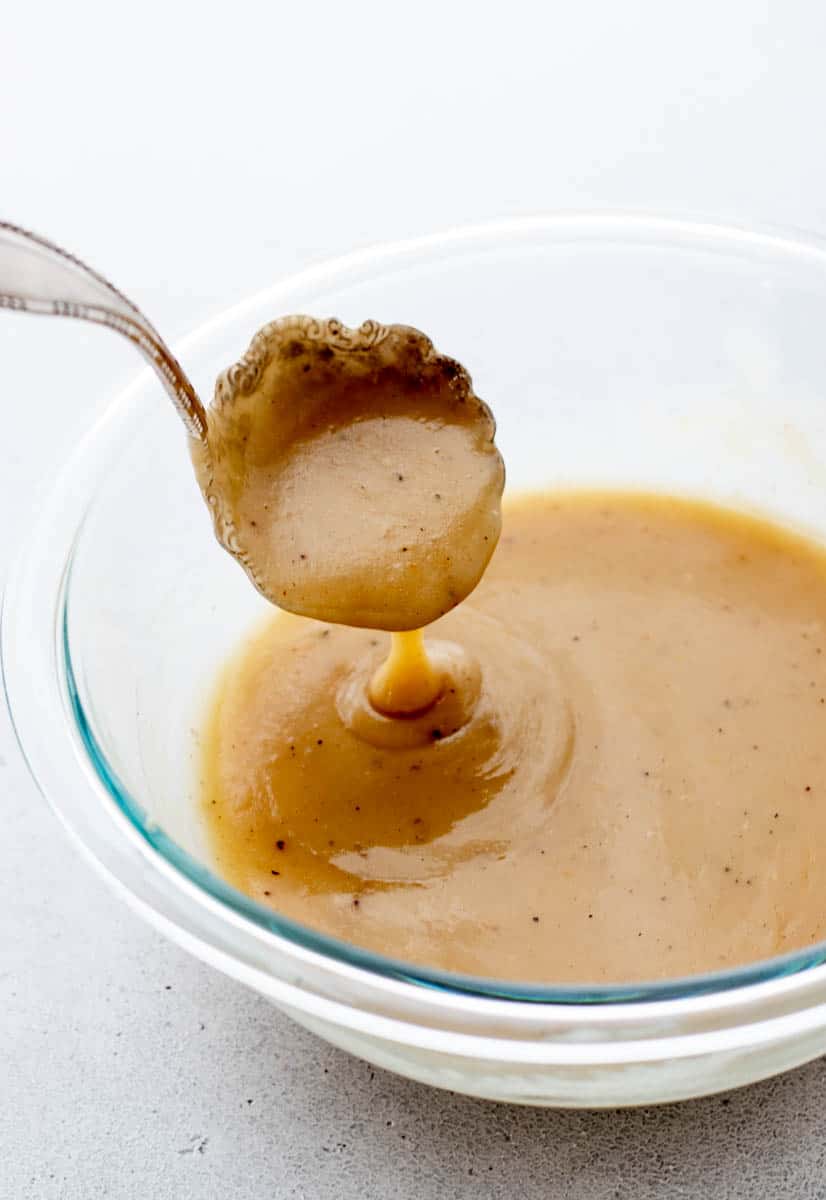
Why We Love This Easy Gravy Recipe
- Easy: Instead of roasting a whole turkey, all you have to do is combine and simmer the ingredients in a saucepan and strain the gravy when it’s finished. The perfect last minute thanksgiving gravy!
- Healthier: The beauty of making your own healthy gravy recipe is that you can control what goes into it! This recipe is lower in sodium and made with fresh produce for a boost of nutrients.
- Simple ingredients: All you’ll need are some veggies and pantry staples to make this easy homemade gravy recipe!
What Are Drippings?
In most cases, the term “drippings” is used to refer to the leftover fat, juices, and small pieces of meat found in the bottom of the pan that result from cooking proteins like turkey, pork, or beef. These meat drippings are often incorporated into gravy.
The good news is, with this easy recipe, you can create an equally tasty gravy recipe without turkey drippings! Here’s what you’ll need.
Ingredient Notes
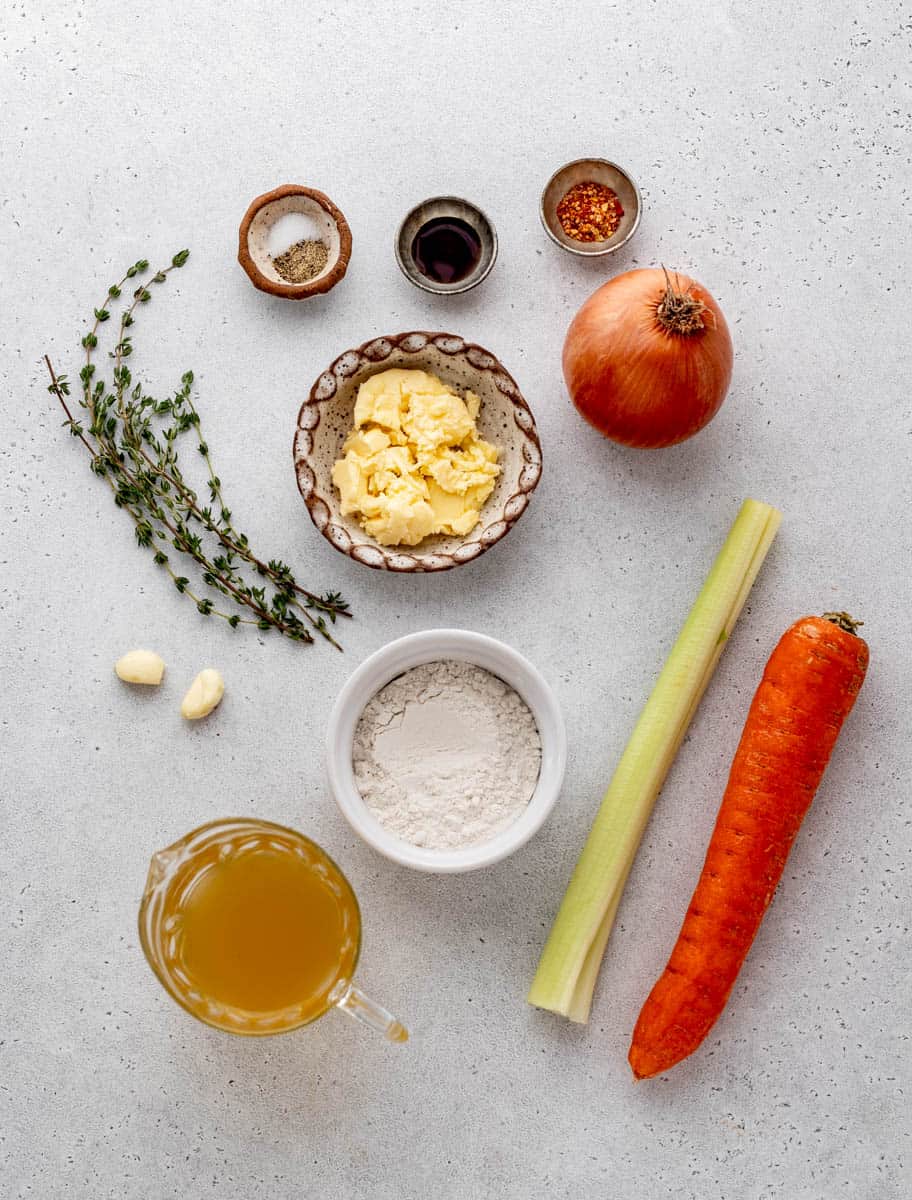
- Butter: Just a small amount of butter provides that classic gravy flavour. I prefer to use unsalted butter to limit the amount of sodium in this recipe, while enhancing the flavour of the vegetables.
- Veggies: Onion, garlic, celery, and carrots form the base of the gravy, adding extra flavour and nutrients.
- Flour: I include regular all-purpose flour to help thicken the mixture. Or, a 1:1 gluten-free all-purpose flour can also be substituted.
- Stock: I typically use a reduced-sodium chicken broth to cut down on the sodium, but homemade stock works well too. You can also sub in turkey stock, beef broth or vegetable broth.
- Flavour enhancers: Poultry seasoning, Worcestershire sauce, fresh herbs, salt, and black pepper are mixed into the gravy, making it taste like it was cooking all day.
How to Make Gravy Without Drippings – Step by Step Instructions
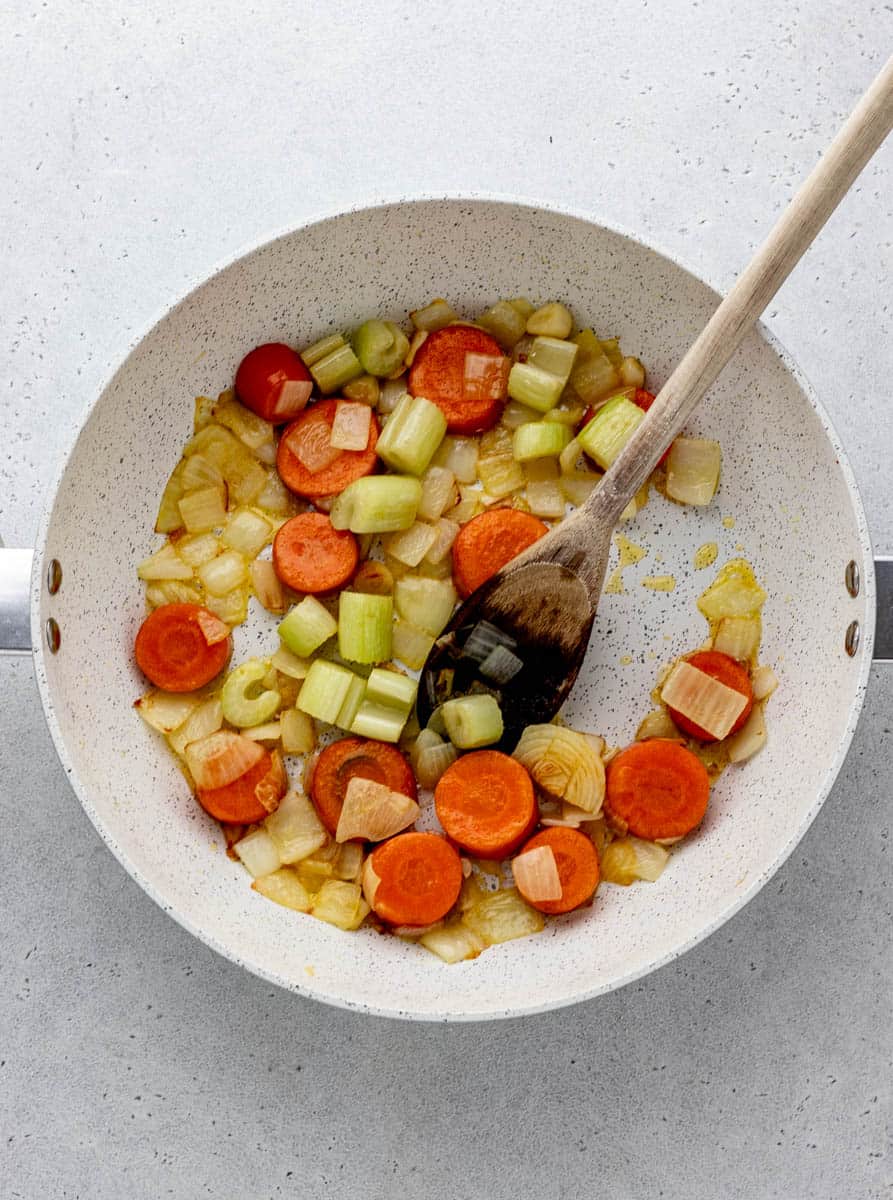
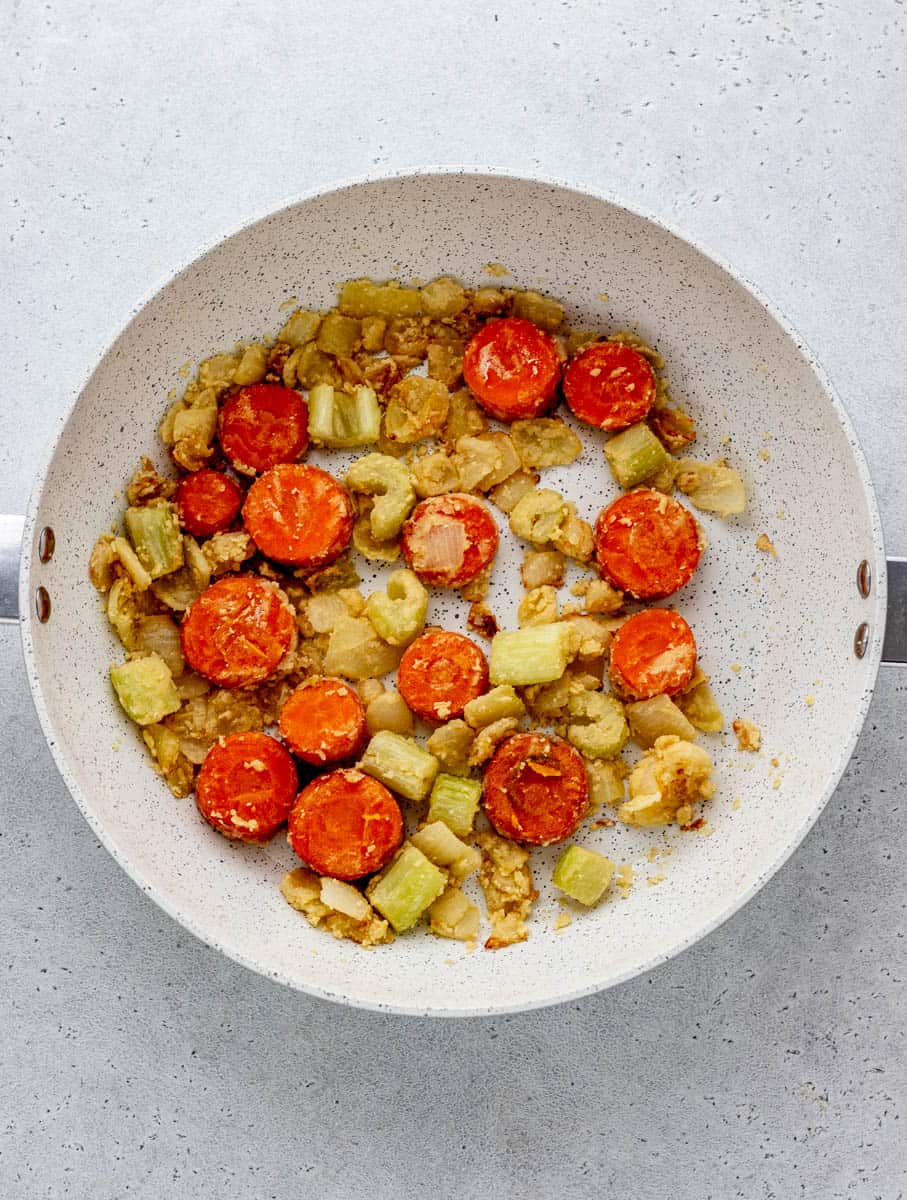
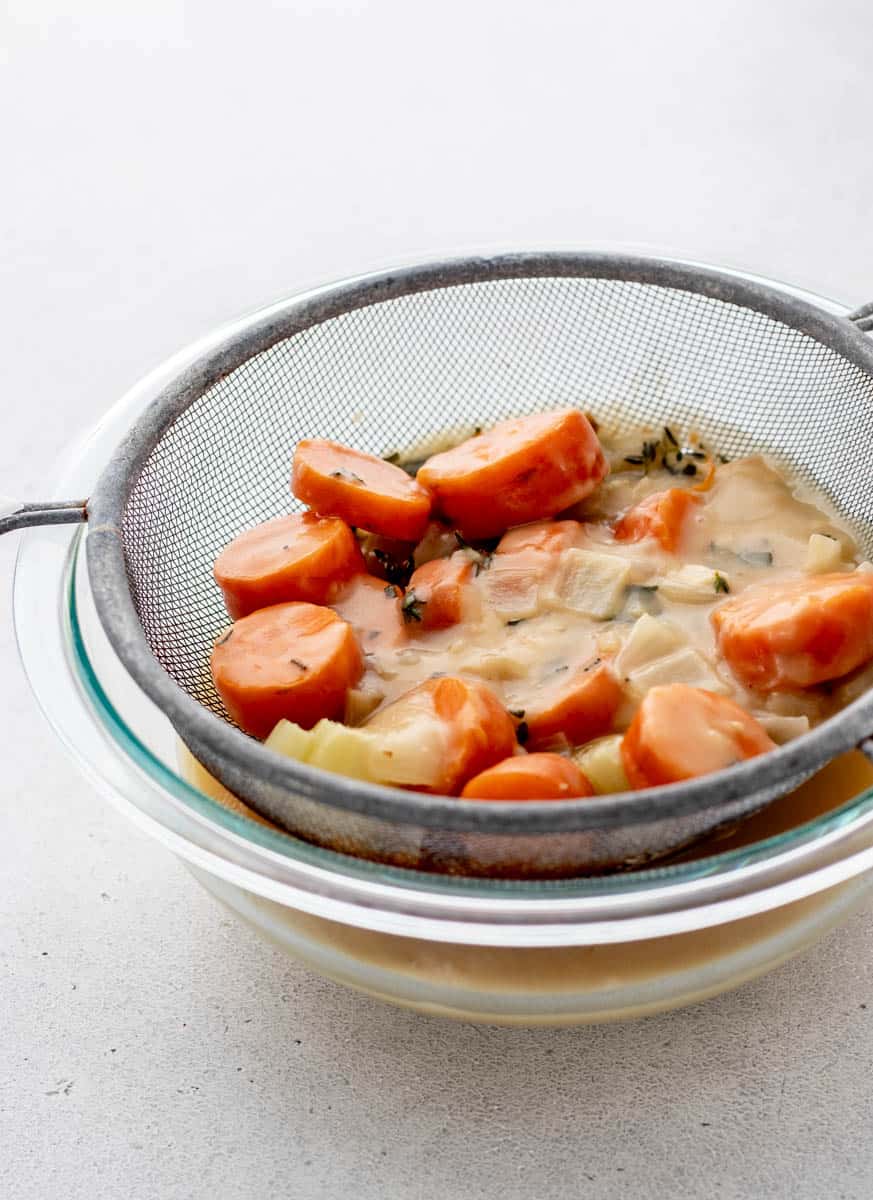
- Step 1 – Melt butter in a large skillet over medium heat until it is slightly browned. Then, add in the onion, garlic halves, celery, and carrot. Cook, stirring often until the veggies are fragrant and beginning to brown, about 10 minutes.
- Step 2 – Remove the skillet from the heat, and whisk in the flour. Then, place it back over the heat, and continue to cook, whisking the mixture until it is light brown in colour.
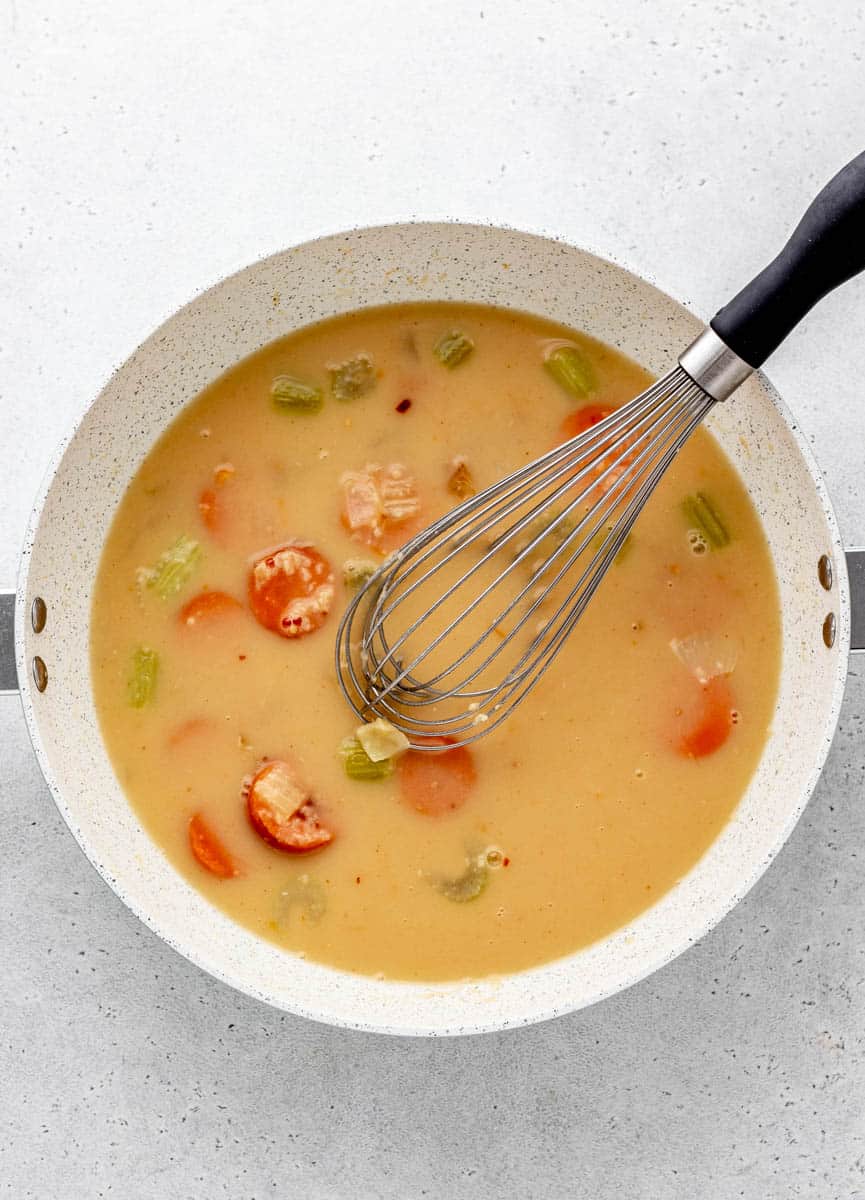
- Step 3 – Add 1/4 cup of the broth to the skillet, and stir to help deglaze the pan. Remove it from the heat once more, and whisk in the poultry seasoning.
- Step 4 – Next, whisk in the chicken broth 1/4 cup at a time, keeping the mixture smooth as you pour.
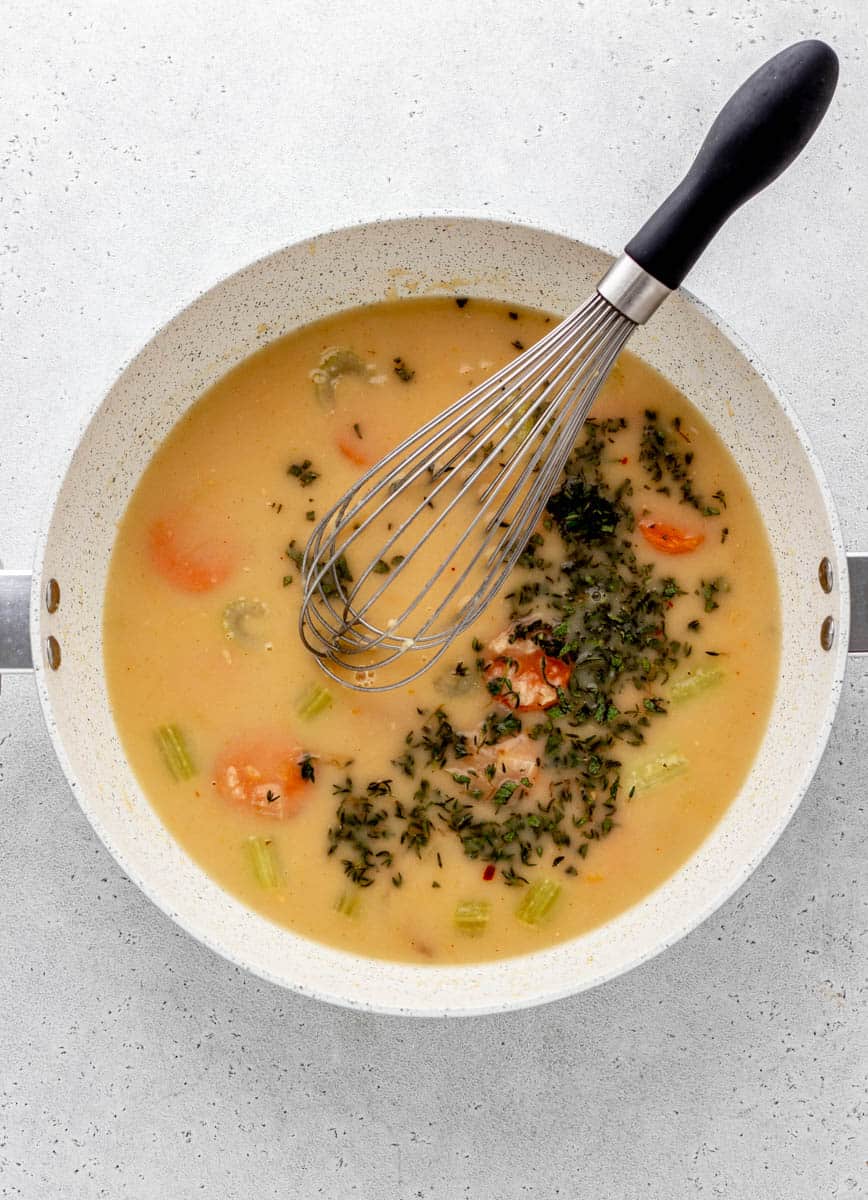
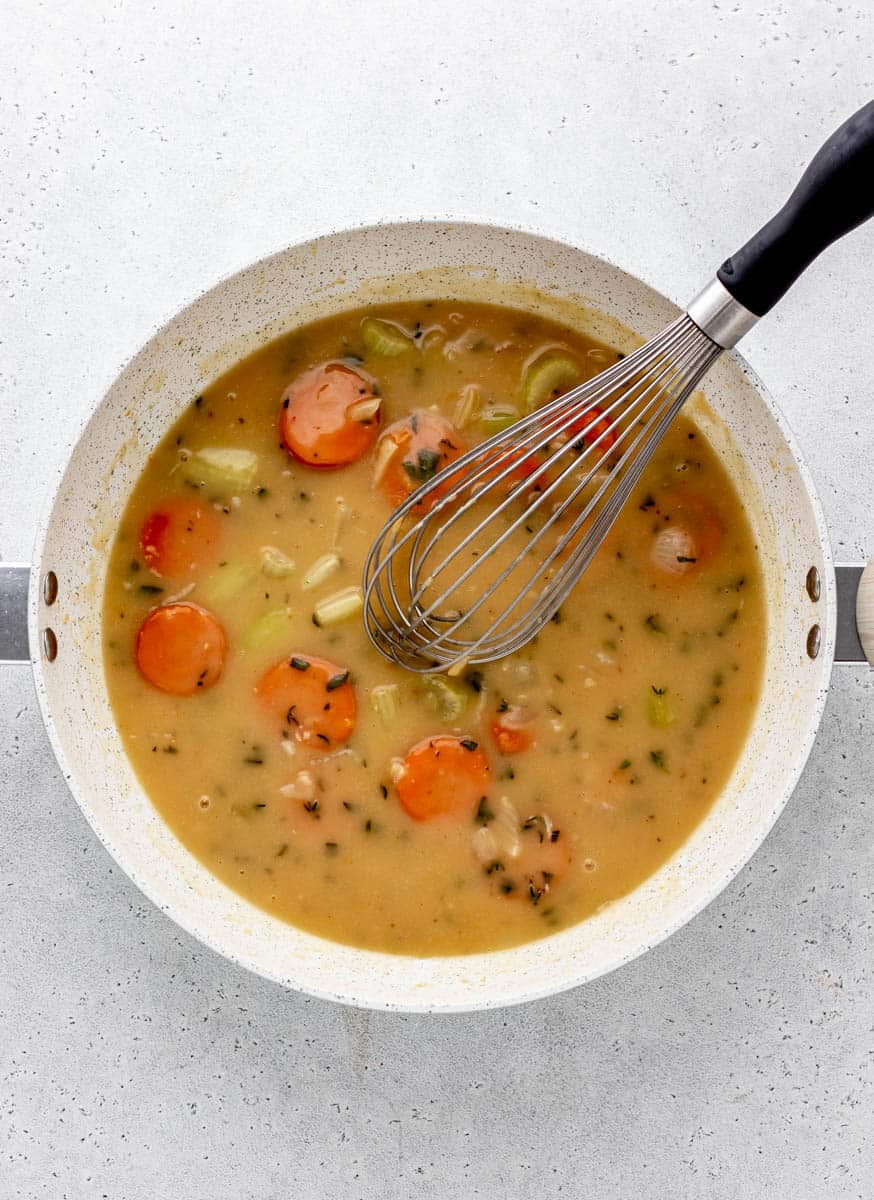
- Step 5 – Once all the broth has been added, add the chopped fresh herbs and Worchestershire sauce. Heat the gravy mixture over medium heat until it starts to simmer, stirring often.
- Step 6 – Place a fine mesh sieve or fat separator over a medium-sized bowl, and strain the gravy.
- Step 7 – Taste the gravy mixture. Stir in salt, pepper, and additional seasoning, if desired. Transfer to a small pitcher or gravy boat and serve warm.
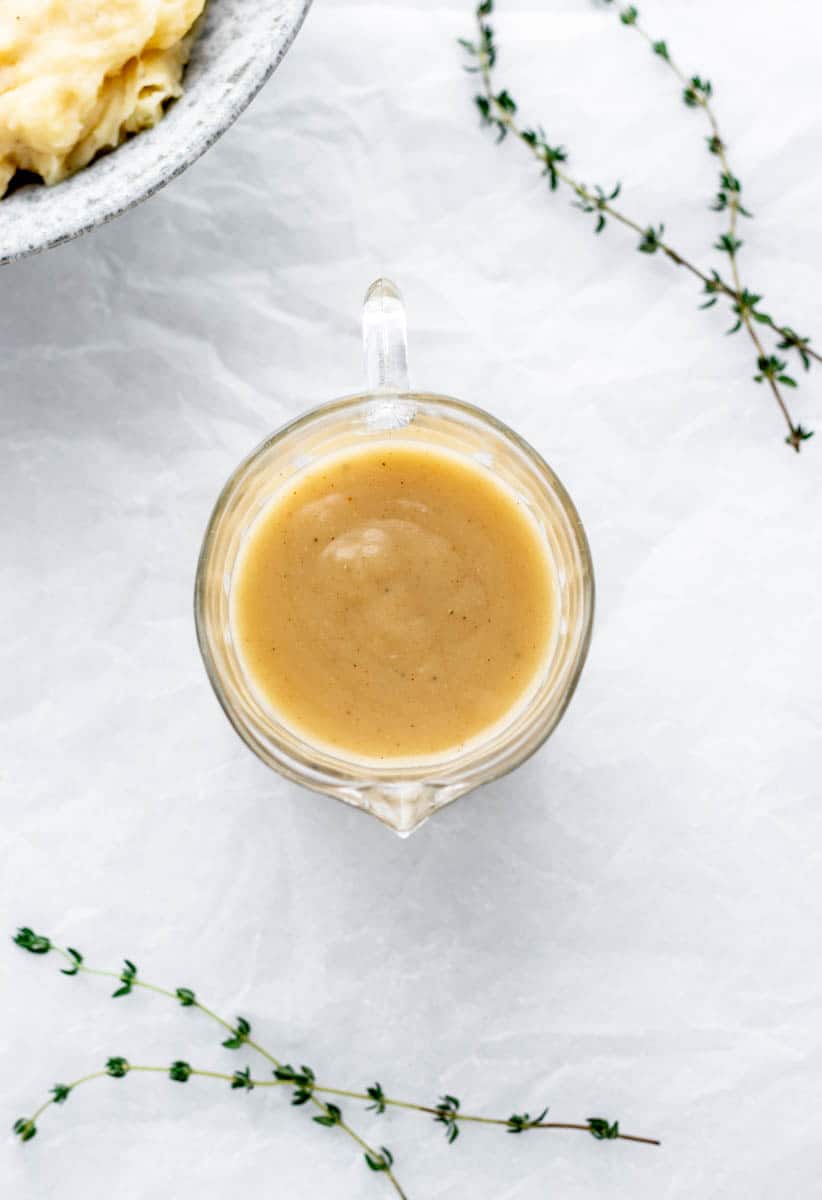
Keep scrolling to the recipe card below for the full printable recipe!
Tips for the Best Turkey Gravy Recipe
- To switch up the flavour profile, you could also use apple cider or white wine instead of the 1/4 cup of chicken broth to deglaze the pan.
- I added a combination of fresh herbs including fresh sage and thyme. Use whatever you have on hand.
- Be sure to keep whisking the mixture while adding the broth to ensure that the gravy stays smooth and not lumpy.
- The gravy tends to thicken the longer that it sits. If you plan to make it ahead of time, you may wish to whisk in a bit of extra broth while reheating to thin it out slightly. Or, leave it as is for a creamy and thick gravy.
Recipe FAQs
Yes! Once cooled, this gravy recipe without drippings can be stored in an airtight container in the freezer for up to 3 months.
This gravy will stay fresh in an airtight container in the fridge for up to 3 days.
One common reason why gravy turns out lumpy is because the flour was added all at once. You’ll want to slowly pour it into the mixture, stirring continuously to even out any lumps and make sure it is well incorporated. You’ll also want to make sure to strain the gravy well to remove any last lumpy bits.
If your gravy is too thin, you can either continue to simmer it on the stove until it cooks down and thickens. Or, you can slowly stir in one more tablespoon of flour at a time, until desired thickness is achieved. Just be careful not to add too much to avoid lumpy gravy!
If your gravy is too thick, simply stir in an extra splash of stock or water until your desired consistency is reached.
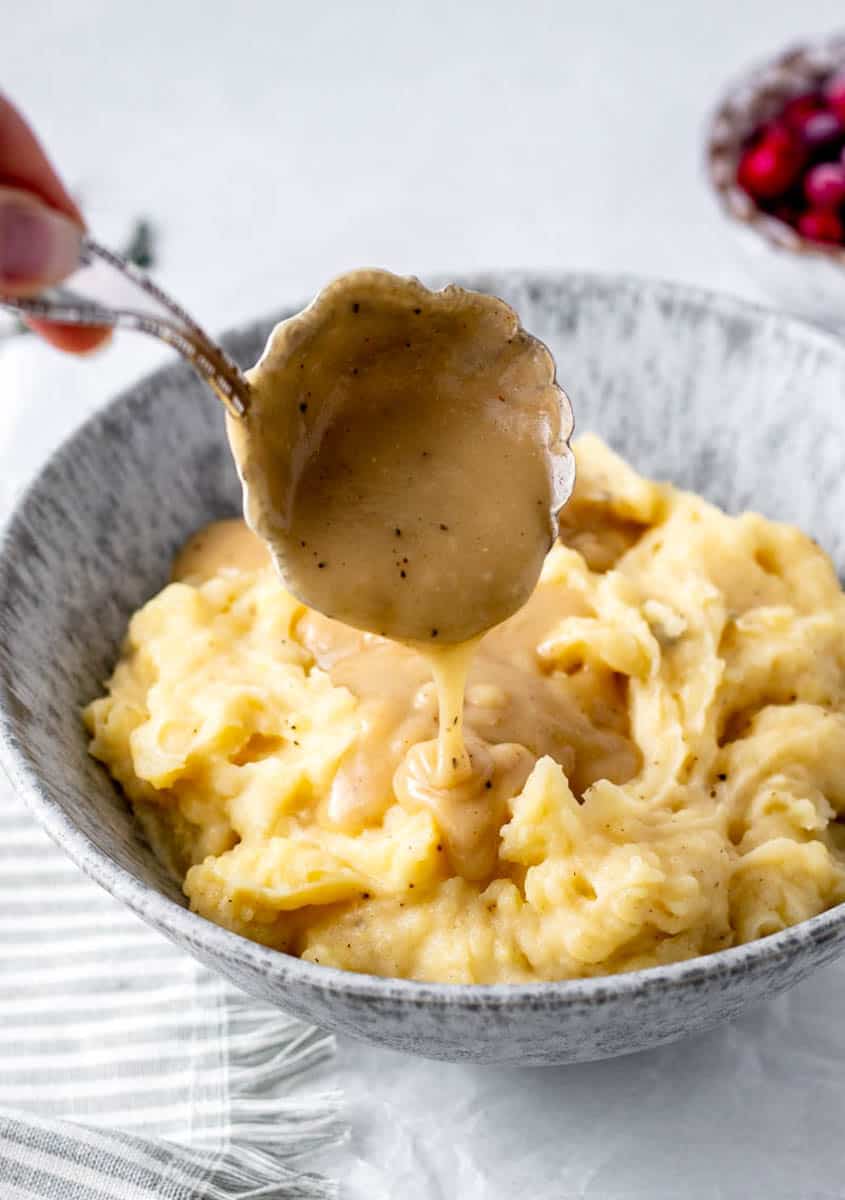
Storage & Reheating Guidelines
Refrigerator: Let your gravy cool completely. Then, transfer any leftover gravy to an airtight container, and store it in the fridge for up to 4 days.
How to freeze gravy: Once cooled, place your turkey gravy in a freezer-safe container, and keep it frozen for up to 4 months.
How to reheat: When you’re ready to serve, simply place the gravy back in a saucepan over medium heat on the stove, frozen or thawed. Let it heat until your desired temperature has been reached, stirring occasionally.
How to Serve Gravy
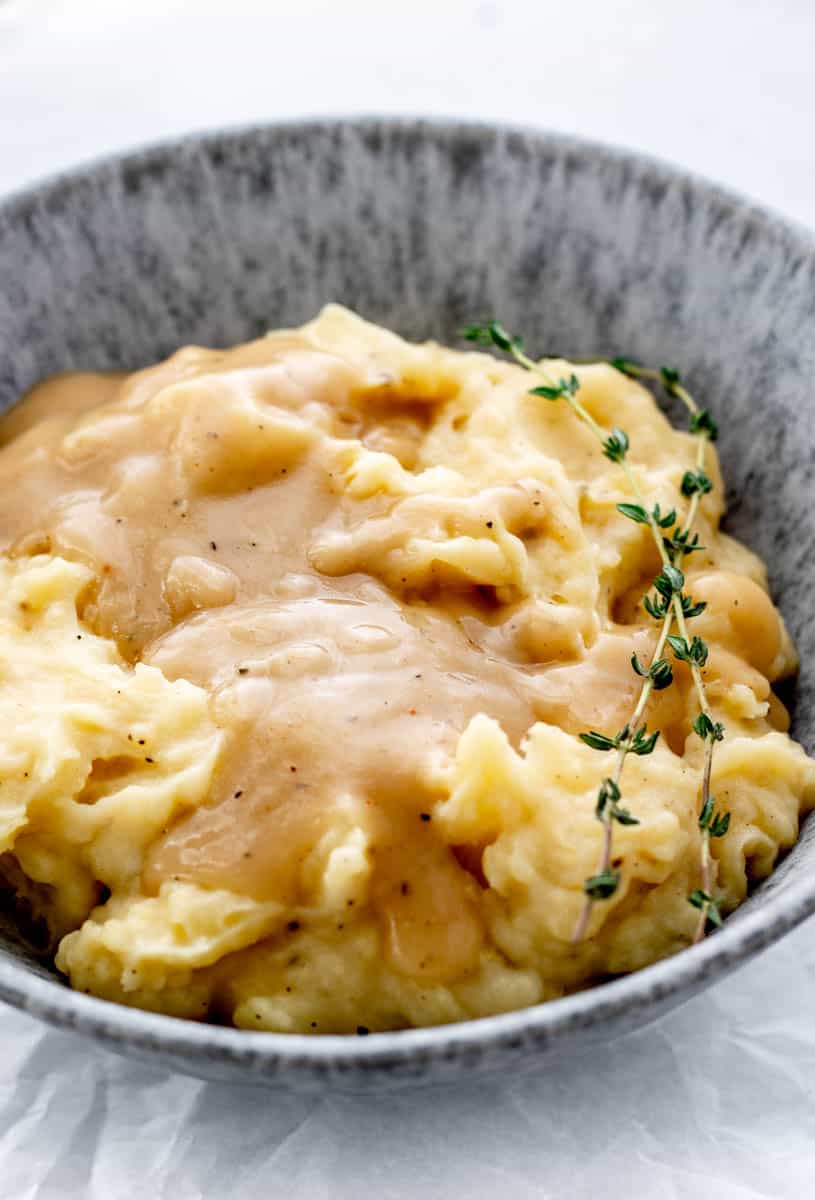
I’m pretty sure there’s nothing this gravy recipe without the drippings doesn’t taste incredible on.
However, for more traditional pairings, try serving it along with your favourite thanksgiving turkey recipe or with any of the following:
- Air Fryer Boneless Turkey Breast
- Stuffed Turkey Breast
- Thanksgiving Sausage Stuffing
- Healthy Mashed Potatoes
- Sauteed Green Beans
Recipe Variations
- To make dairy-free/vegan: Replace the butter with vegan butter or oil, and use vegetable stock in place of chicken stock.
- To make gluten-free: Swap out the flour with a 1:1 gluten-free flour alternative.
- Add extra veggies: Feel free to simmer extra veggies like mushrooms, tomatoes or peppers to the gravy for even more flavour and nutrients.
- Umami: Sautée mushrooms along with the other veggies for an umami flavour and extra plant-based protein.
- Switch up the base: Use beef stock instead of chicken stock to create an easy beef gravy recipe.
More Similar Recipes
- Healthy Chicken Marinades
- Easy Steak Marinade
- Healthy BBQ Sauce
- Healthy Stir Fry Sauce
- Roasted Garlic Spread
Did you make this recipe? Scroll down to leave a star rating and review!
How to Make Gravy Without Drippings
Ingredients
- 2 tablespoons unsalted butter
- 1 small onion roughly chopped
- 2 garlic cloves peeled and halved
- 1 rib celery roughly chopped
- 1 large carrot roughly chopped
- 1/4 cup all-purpose flour
- 2 1/4 cups reduced sodium chicken stock
- 1/2 teaspoon poultry seasoning
- 1/2 teaspoon Worcestershire sauce
- 1 tablespoon chopped fresh herbs (i.e. thyme, rosemary, sage, etc.)
- Salt and pepper to taste
Instructions
- In a large skillet over medium heat, heat the butter until melted and slightly brown. Add the onion, garlic halves, celery and carrot. Cook, stirring often, until fragrant and vegetables are starting to brown slightly, about 10 minutes.
- Remove pan from heat. Whisk in the flour. Place the pan back over heat, whisk and cook the flour mixture until it's lightly brown.
- Add 1/4 cup of the broth and stir to help deglaze the pan. Remove from heat once more. Whisk in the poultry seasoning.
- Next, whisk in the chicken broth 1/4 cup at a time, keeping the mixture smooth as you pour.
- Once all the broth has been added, add the chopped fresh herbs and Worchestershire sauce. Heat gravy mixture over medium heat to a simmer, stirring often.
- Place fine wire mesh over a medium sized bowl and strain the gravy.
- Taste the gravy mixture. Stir in salt, pepper, and more poultry seasoning, if desired. Serve warm.
Notes
- To switch up the flavour profile, you could also use apple cider or white wine instead of the 1/4 cup of chicken broth to deglaze the pan.
- I added a combination of fresh herbs including fresh sage and thyme. Use whatever you have on hand.
- Be sure to keep whisking the mixture while adding the broth to ensure that the gravy stays smooth and not lumpy.
- The gravy tends to thicken the longer that it sits. If you plan to make it ahead of time, you may wish to whisk in a bit of extra broth while reheating to thin it out slightly. Or, leave it as is for a creamy and thick gravy.


Leave A Review: