
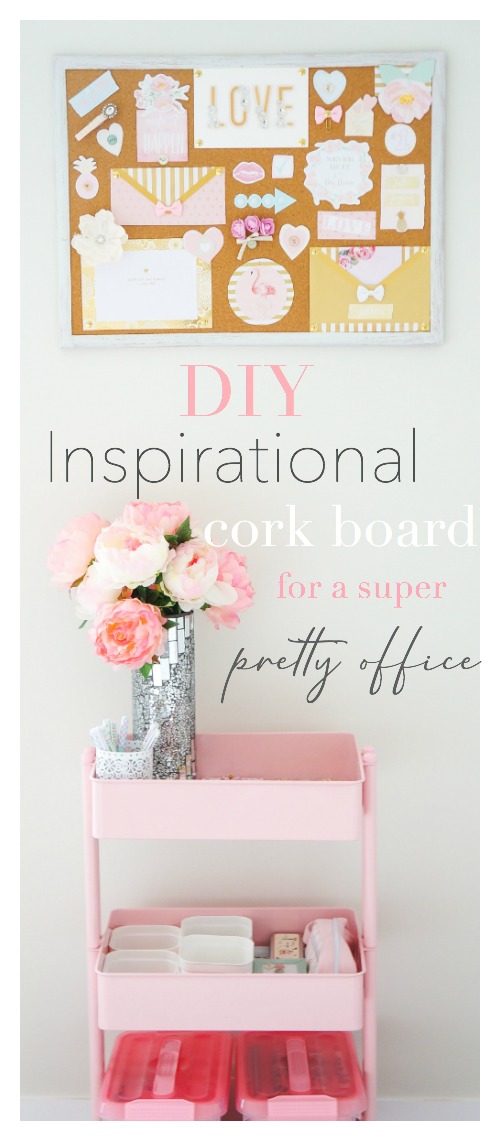
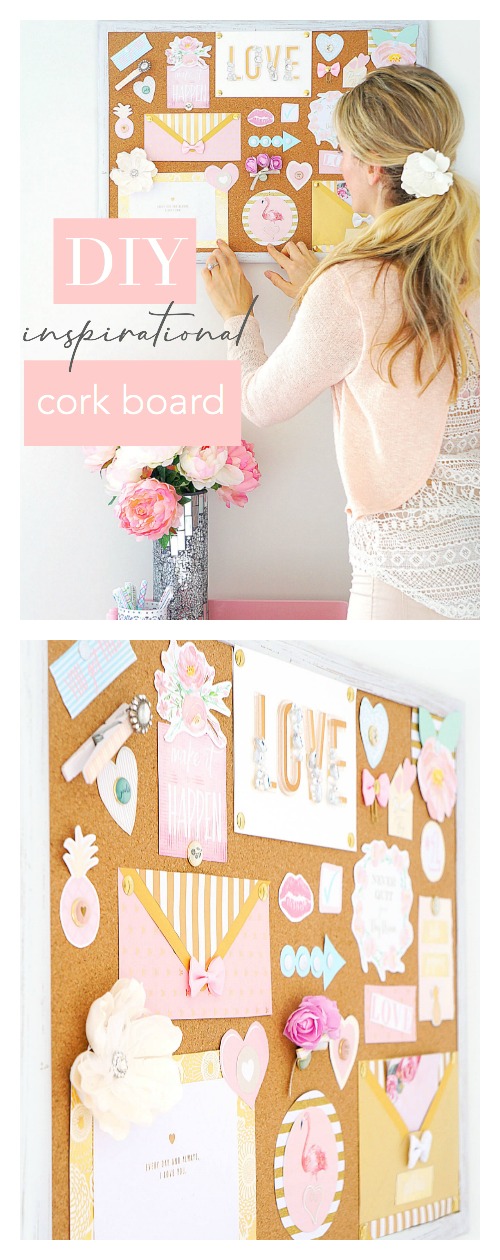
This DIY Inspirational Cork Board makes the perfect cute and feminine office, bedroom or dorm room wall decor to help you stay organized and inspired. Customize it with inspirational quotes and pretty accessories to incorporate your own personal touch! Free printables included.
So the office makeover continues.
Last week, I posted these DIY Tin Can Vases, which I am still absolutely in love with, but despite filling up my new shelves with lots of pretty things, I was noticing that the walls still looked a little bare.
We recently had the whole house painted a lighter colour which really brightened up the room, so I had a vision of incorporating some soft pastels on the wall to go along with the whole blush and gold theme in the rest of my office.
I knew that I wanted to put up a cork board on the wall, but I didn’t just want some junky looking board with a bunch of random sticky notes.
No.
I wanted a happy and pretty board that consisted of lots of cute designs and inspiring words.

After all, reading those positive words day after day is the the number one way I stay focused and motivated.
And that’s how this idea for my DIY Inspirational Cork Board came about.
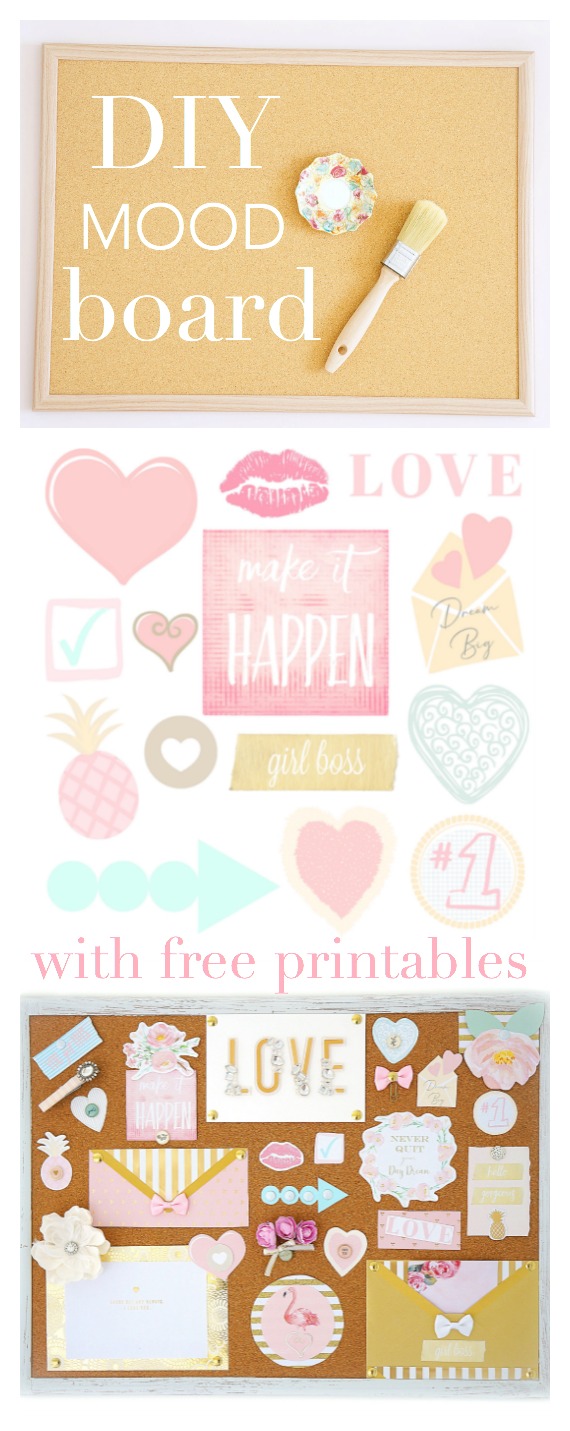
I purchased a cork board from Michaels that just had a plain wooden border so that I could paint it with white chalkboard paint. You can also find a similar one here.
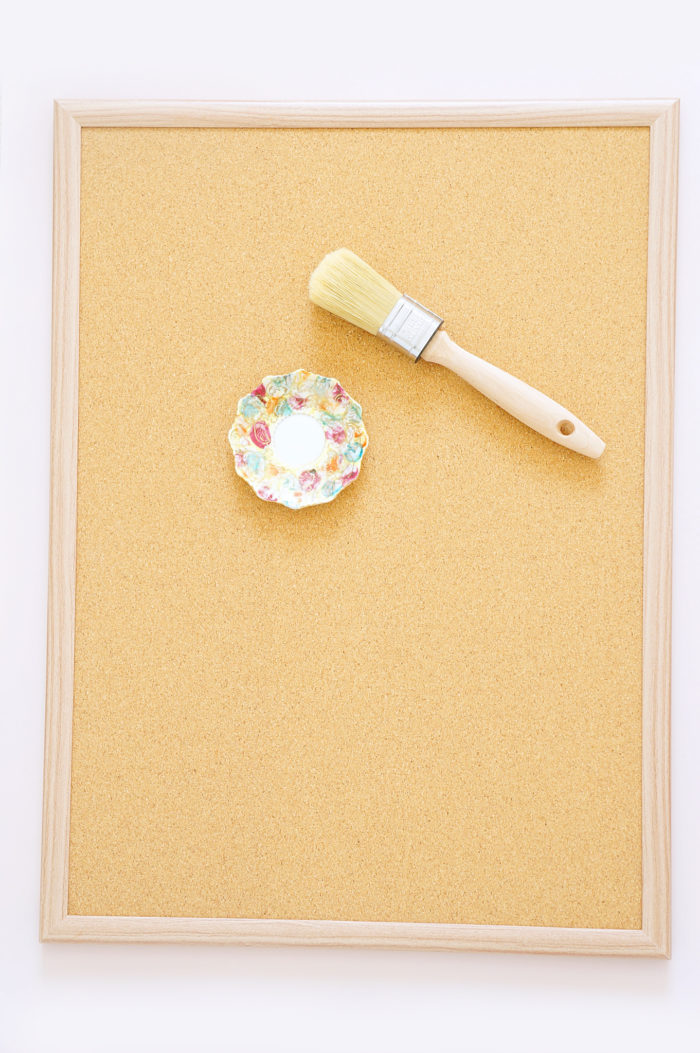
Depending on which type of board you get, you may need to sand down the border with sand paper first before applying the paint.
I only applied one layer of chalkboard paint since I wanted it to have a more rustic appearance with a little bit of the wood showing through.
I had some scrapbooking paper left over from my DIY Tin Can Vases that I didn’t want going to waste. It was just way too pretty to stuff in a closet somewhere.
I also thought it might be a nice way to tie the decor together by using similar colours and designs.
So I laid it out in front of me not really knowing what I was going to do with it.
I just wanted to get the creative juices flowing.
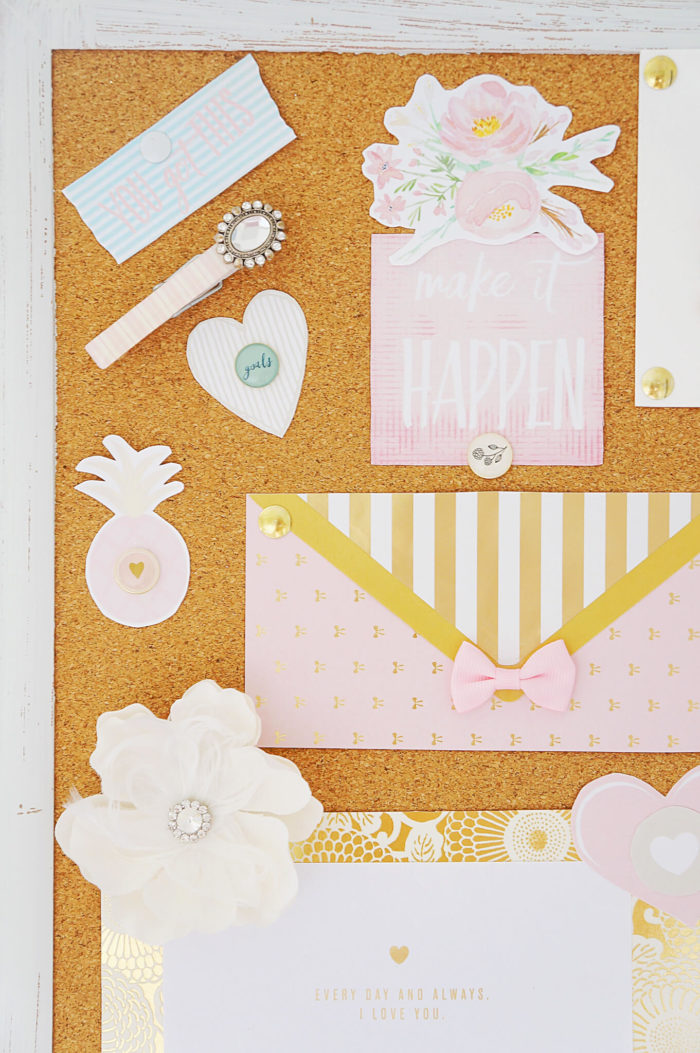
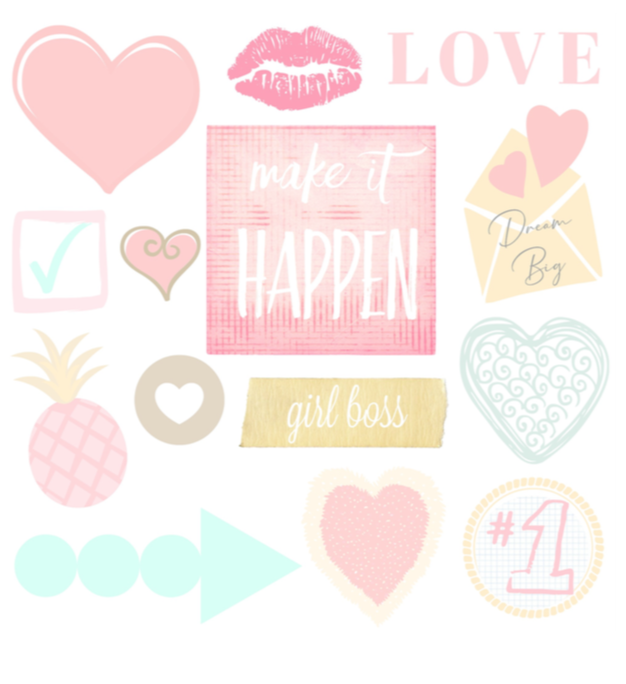
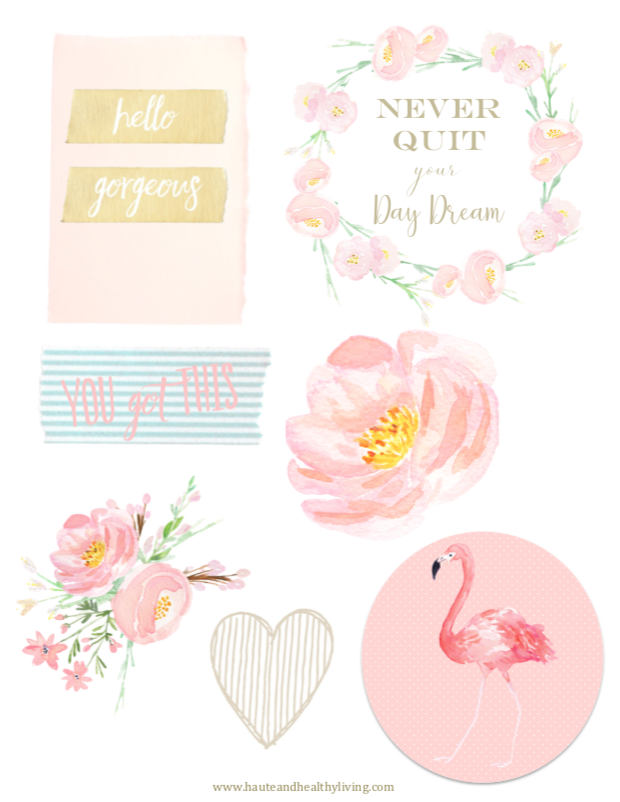
The next step was to design some inspirational pretty printables to stick to the board. You can download the same ones that I used for free below!
I printed them out on card stock paper, which I highly recommend. It just makes the print outs more sturdy and I find that the print quality is better too.
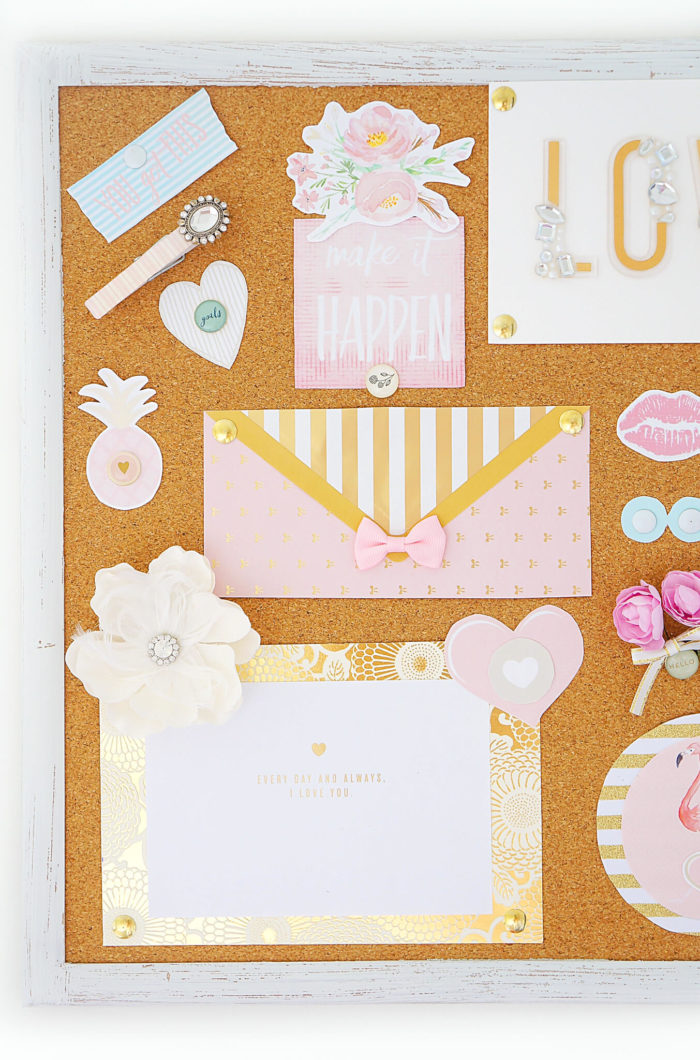
Next, I simply cut them out around the edges and placed them strategically across the board where they looked nice, overlapping some of them where appropriate.
It was like putting together the pieces of a puzzle.
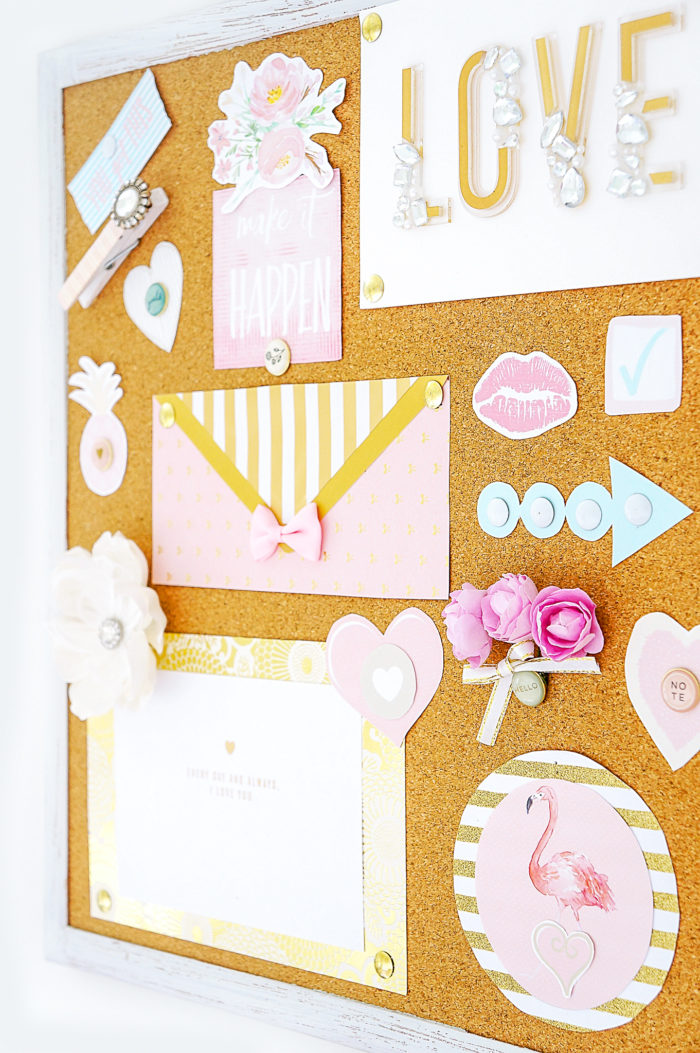
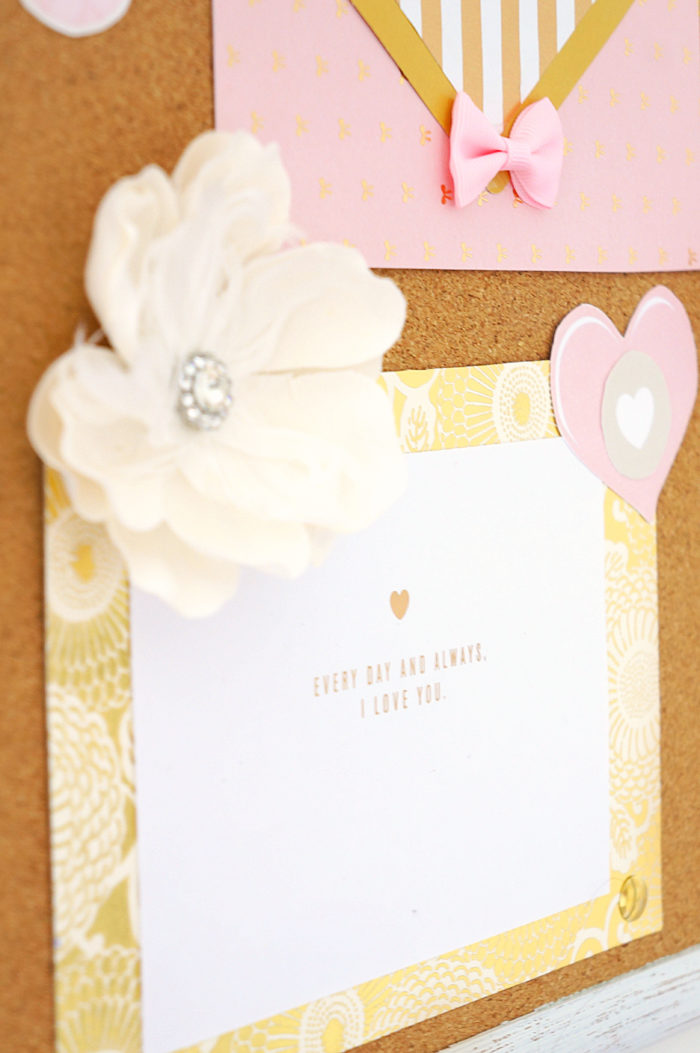
If you checked out my DIY Heart Print project, you probably know that I have a thing for pretty cards. I had been eying this “LOVE” card from the Hallmark signature line, thinking it would make a perfect print for my office.
Instead of putting it in a frame, however, I decided to basically dissect the card to add some pretty elements to my DIY inspirational cork board.
Cause everyone needs a little love on their cork board ;)
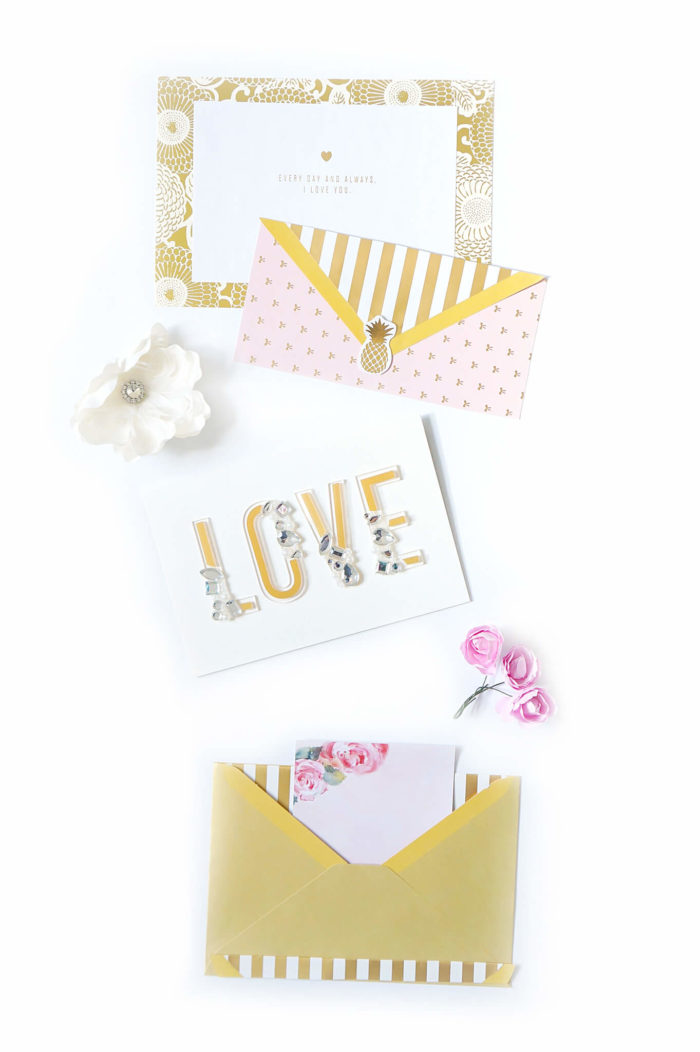
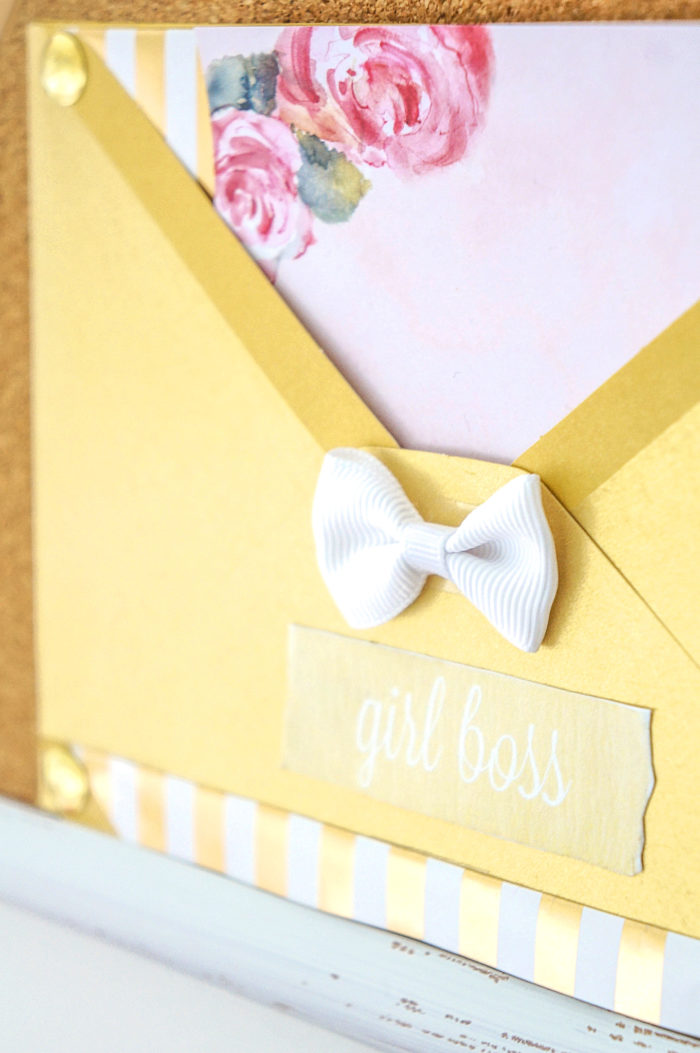
I cut the top part of the envelope off that folds over and stuck it to some scrap paper of a similar length to create another blush and gold envelope.
And then stuck a bow to it…of course.
Because can you really have a pretty cork board without bows?
I actually found these little bows at the dollar store in the hair elastic section. I simply took the bows off the hair elastic and used the bows for my board and the elastics for my hair.
BOOM. Genius idea, right? Sometimes I blow myself away with my brilliant ideas :P
Next, I used the other part of the envelope to house a pretty floral notepad that had essentially been stuffed inside my desk drawer.
Way too nice NOT to have on display.
I also used the front and inside of the card to provide some other decorative elements to the board.
That, my friends is how you take maximum advantage of a pretty card.
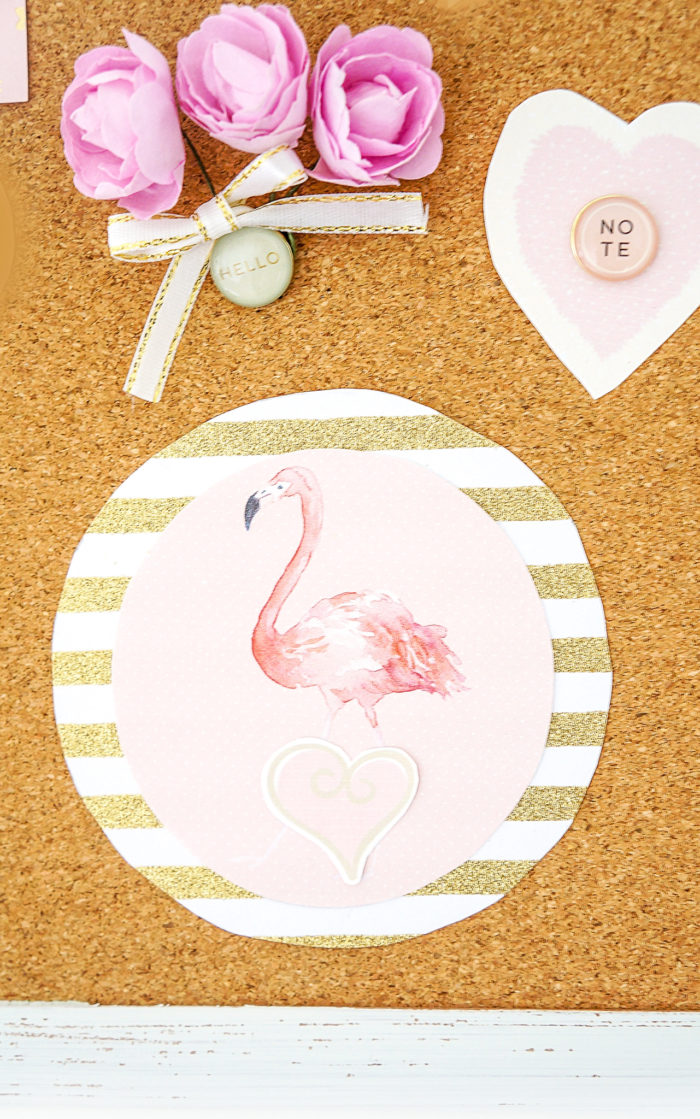
Finally, I used other items like the scrapbooking paper, clothes pins, gold paper clips and thumb tacks and decorative pushpins to secure the items to the board and fill in the empty spaces.
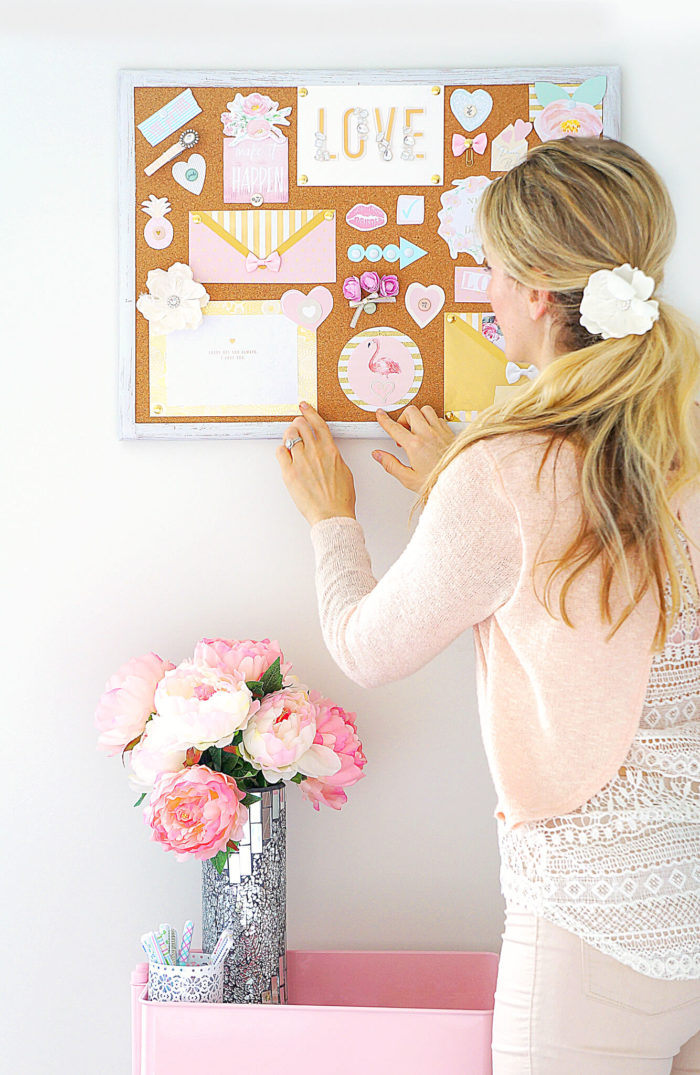
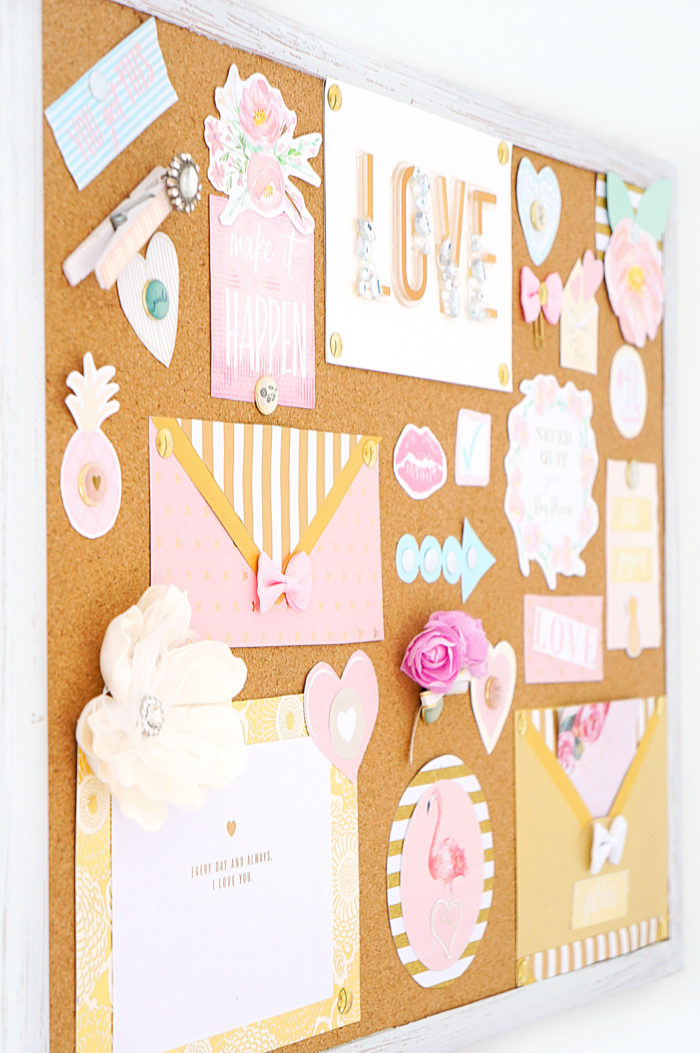
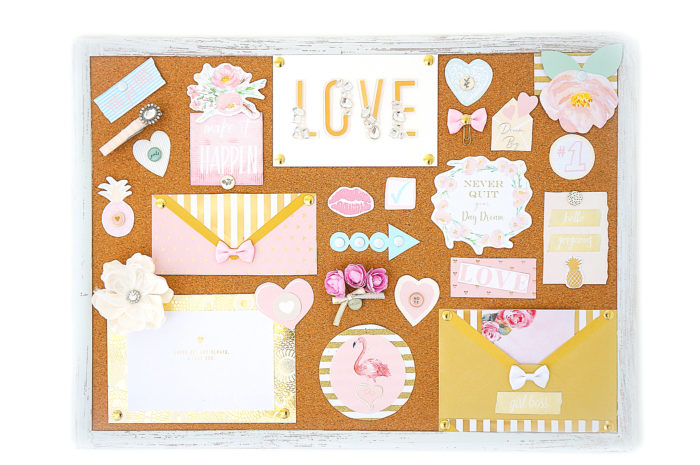
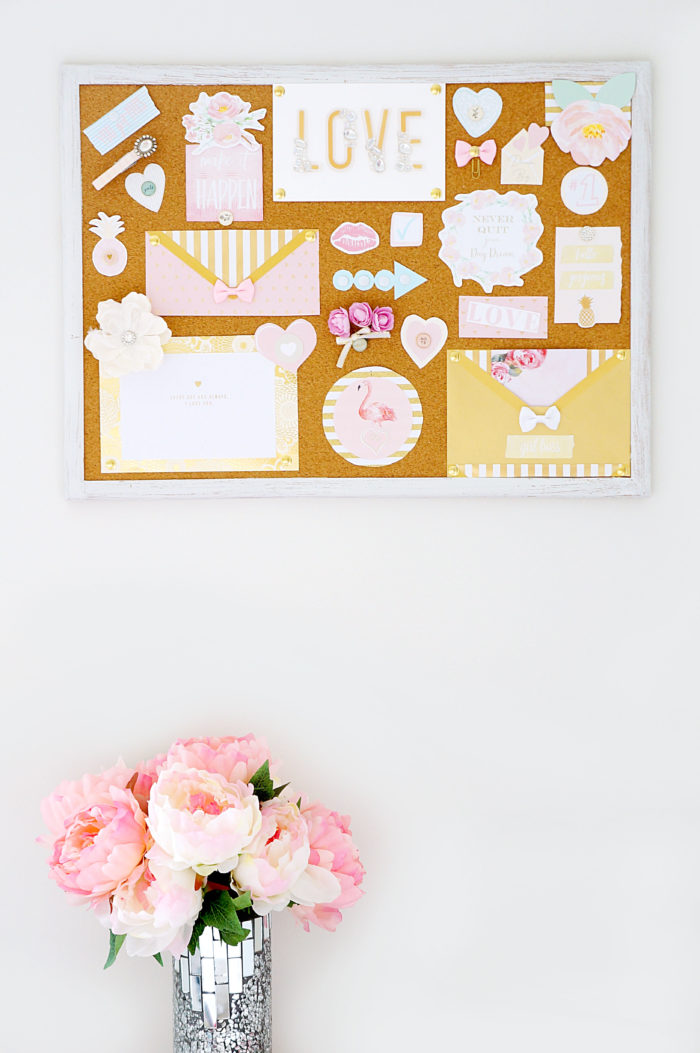
And this was the end result!
I’m so happy with how the board turned out. It’s the perfect addition to the office space ♥
The best part is, you don’t have to break the bank to create this wall decor since you can basically use printables, cards and decorative accessories that you probably already have lying around the house!
Here are the directions and supplies required if you’d like to make your own DIY inspirational cork board!
Required Supplies for DIY Inspirational Cork Board:
- Cork Board
- Masking tape
- White chalkboard paint (or whatever colour you prefer)
- Paint brush
- Gold thumb tacks
- Pretty push pins (or these!)
- Scrapbooking paper
- Love card & envelope (or use other card or picture of choice)
- Decorative accessories (i.e. small bows, fake flowers, bling, ribbon, cute clothes pins, gold paper clips, etc.)
- Scissors
- Double-sided tape or glue
- Inspirational printables
Instructions:
1.Line the inner border of the cork board with masking tape to prevent paint from getting on cork board.
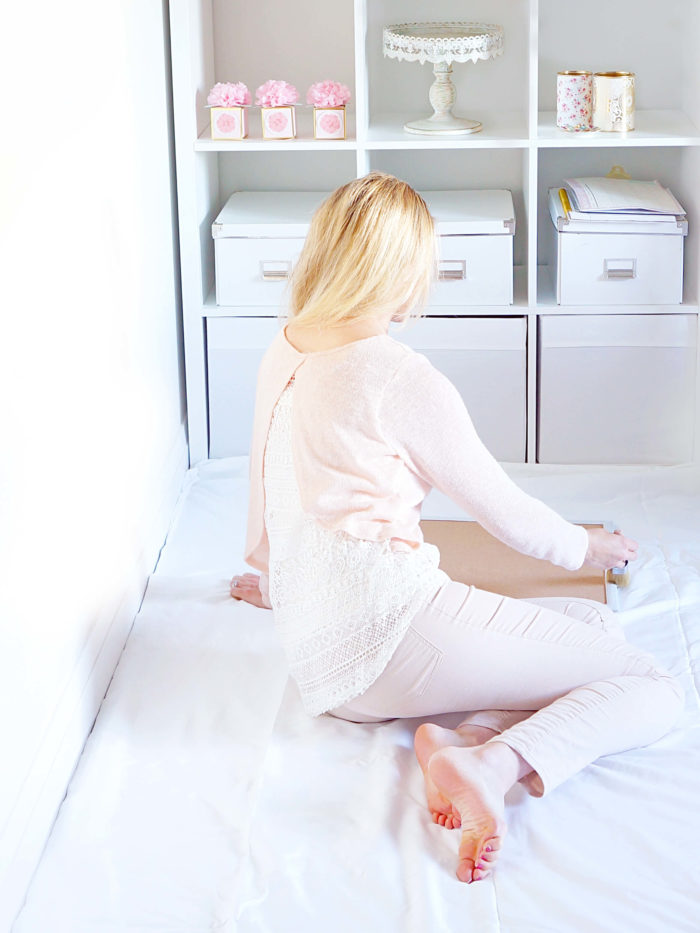
2. Using your desired colour of chalkboard paint, paint the border of the cork board (you may need to sand it down first depending on what the material is made out of). I only used one coat because I wanted it to have a rustic look, but feel free to apply as many layers as you’d like.
3. Print the inspirational printables on card stock paper (can also use regular paper) and cut out neatly along edges, leaving a small white border, if desired.
4. Secure the printables to the board using gold thumb tacks or cute push pins.
5. Next, cut off the top of the envelope (the part that folds over) and using double-sided tape or glue, stick it to a rectangular piece of scrapbooking paper of a similar length.
6. Stick the remaining envelope to the board using thumb tacks or push pins and fill with a pretty notepad.
7. Stick the front and inside of the card to board using thumb tacks, using scrap booking paper as a border, if desired.
8. Decorate the board with desired accessories like flowers, bows, paper clips, push pins, and bling!
More DIY projects
- DIY Ornament Wreath
- DIY Decorative Tin Can Vases
- DIY Wooden Crate Shelf
- DIY Mason Storage Jars
- DIY Glitter House
This post may contain affiliate links which means that I may make a small commission at no extra cost to you. I only promote products that I love and feel will benefit my readers :)


Leave A Review: