
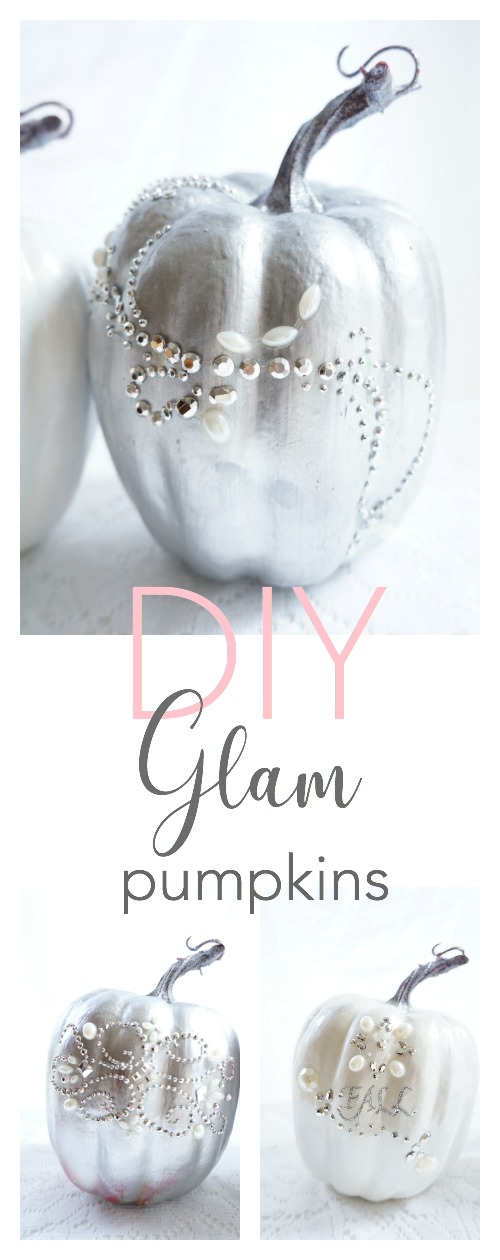
These DIY glam pumpkins make the perfect decoration for fall! The best part is, no one else will have a pumpkin like these unique little beauties!
Call me crazy, but I’ve never really been much of a fan of Halloween. In my mind, it’s always been such a dark time of year.
I’m all about balance and everything, but the idea of having a holiday strictly devoted to stuffing kids with endless amounts of candy doesn’t exactly go along with what I preach day after day. And as much as I love decorating, the dark and spooky Halloween decorations to me look a bit corny.
I’m not one to string skeletons and ghosts across my front lawn.
Despite not really being into Halloween, I do love pumpkins and all the different things you can do with them.
Lately, I’ve been scouring Pinterest and have been getting tons of pumpkin decorating inspiration.

Man, some people are so creative!
If you should know one thing about me, it’s that I LOVE to glam up anything and everything.
I am the queen of bling.
My favourite accessories are blingy necklaces, bracelets and earrings. I frequently get people asking me if I’m going somewhere fancy.
My response?
Nope! It’s just my everyday look. Nothing like some bling to brighten up the day!
When it comes to decorating, I also love shiny and sparkly things.

I really wanted to try doing something different with my pumpkins this year beyond just plopping them by the front door.
This year, I wanted some glam pumpkins.

I was wandering around Michael’s one day (my ultimate place to go when I’m looking for inspiration) and I found these pretty embellishments. I wasn’t really searching for them, they were just there suddenly, right in front of my face. I knew I could find a purpose for them, so I picked them up.
I kept thinking about my pumpkin idea, so I went to the dollar store to see if I could find some cheap plastic pumpkins that I could makeover. In less than 5 minutes, I found the perfect pumpkins to “glam” up.
Everything was coming together perfectly.
Next I bought some spray paint. I had a vision of creating some silver and pearl white pumpkins with sparkly silver stems.
And suddenly, I knew exactly what I was going to do with my embellishments.
Yup, you guessed it…
Bling up my pumpkins!
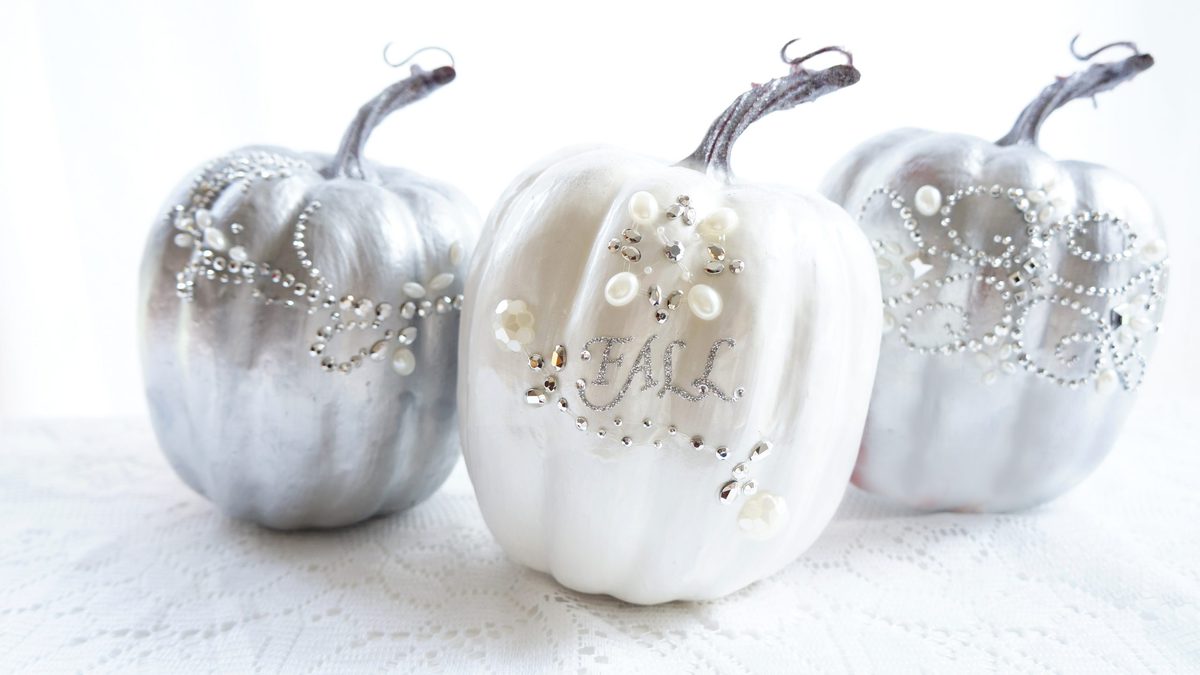
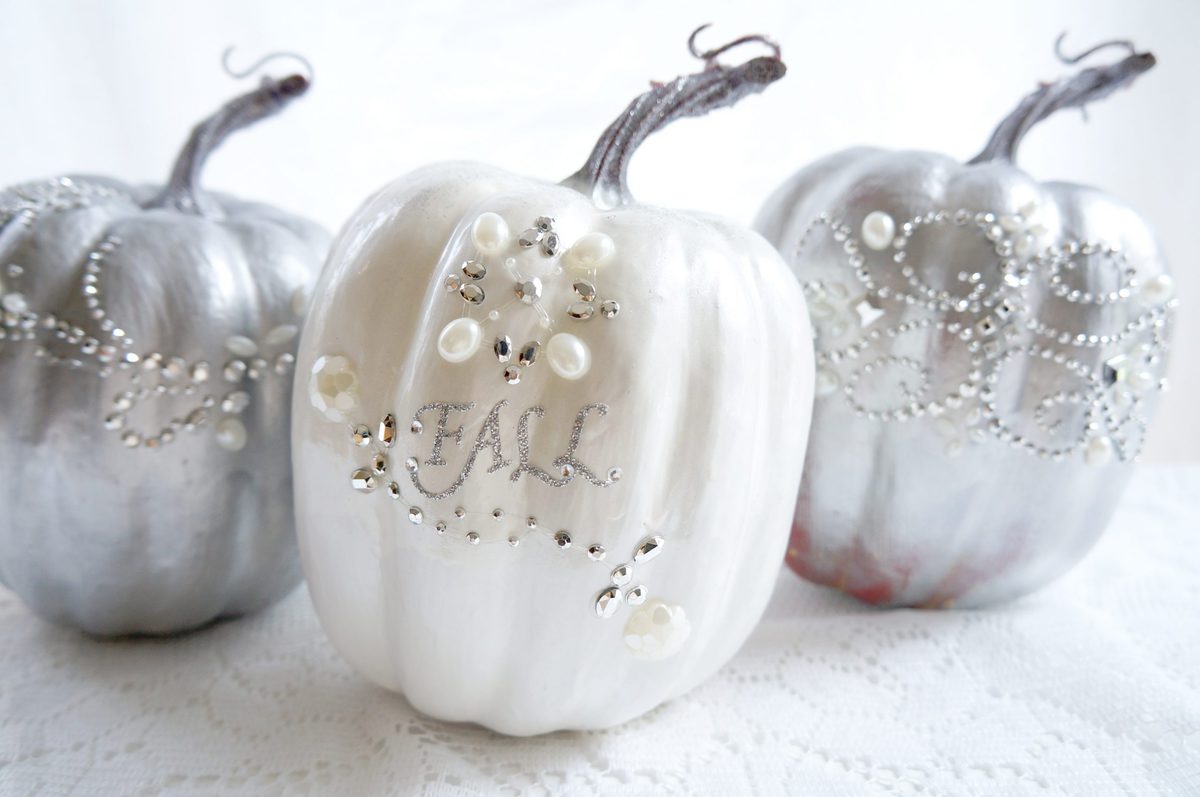
And this was the result.
Gorgeous, right?!
Here’s what you need:
- Three plastic pumpkins (or more!)
- Silver spray paint
- White spray paint
- Silver glitter spray paint
- Pretty embellishments
- Pretty sparkly letters
- Masking tape
- Plastic grocery bags
Instructions:
Cover the stems of the pumpkins with tape to protect them. Spray one pumpkin with white spray paint and the others with silver spray paint. Allow to dry. They may need a couple of coats of paint, depending on the type of spray paint you buy.
Once fully dry, poke a hole in a plastic grocery bag and stick the stem of the pumpkin through it. The grocery bag will protect the rest of the pumpkin while you’re spraying the stem. Spray the stem of the pumpkin with the silver sparkly spray paint. It’s okay if some of the glitter gets on top of the pumpkin. Continue until you’ve sprayed all the stems of the pumpkins. You may need a couple of coats of sparkly spray paint.
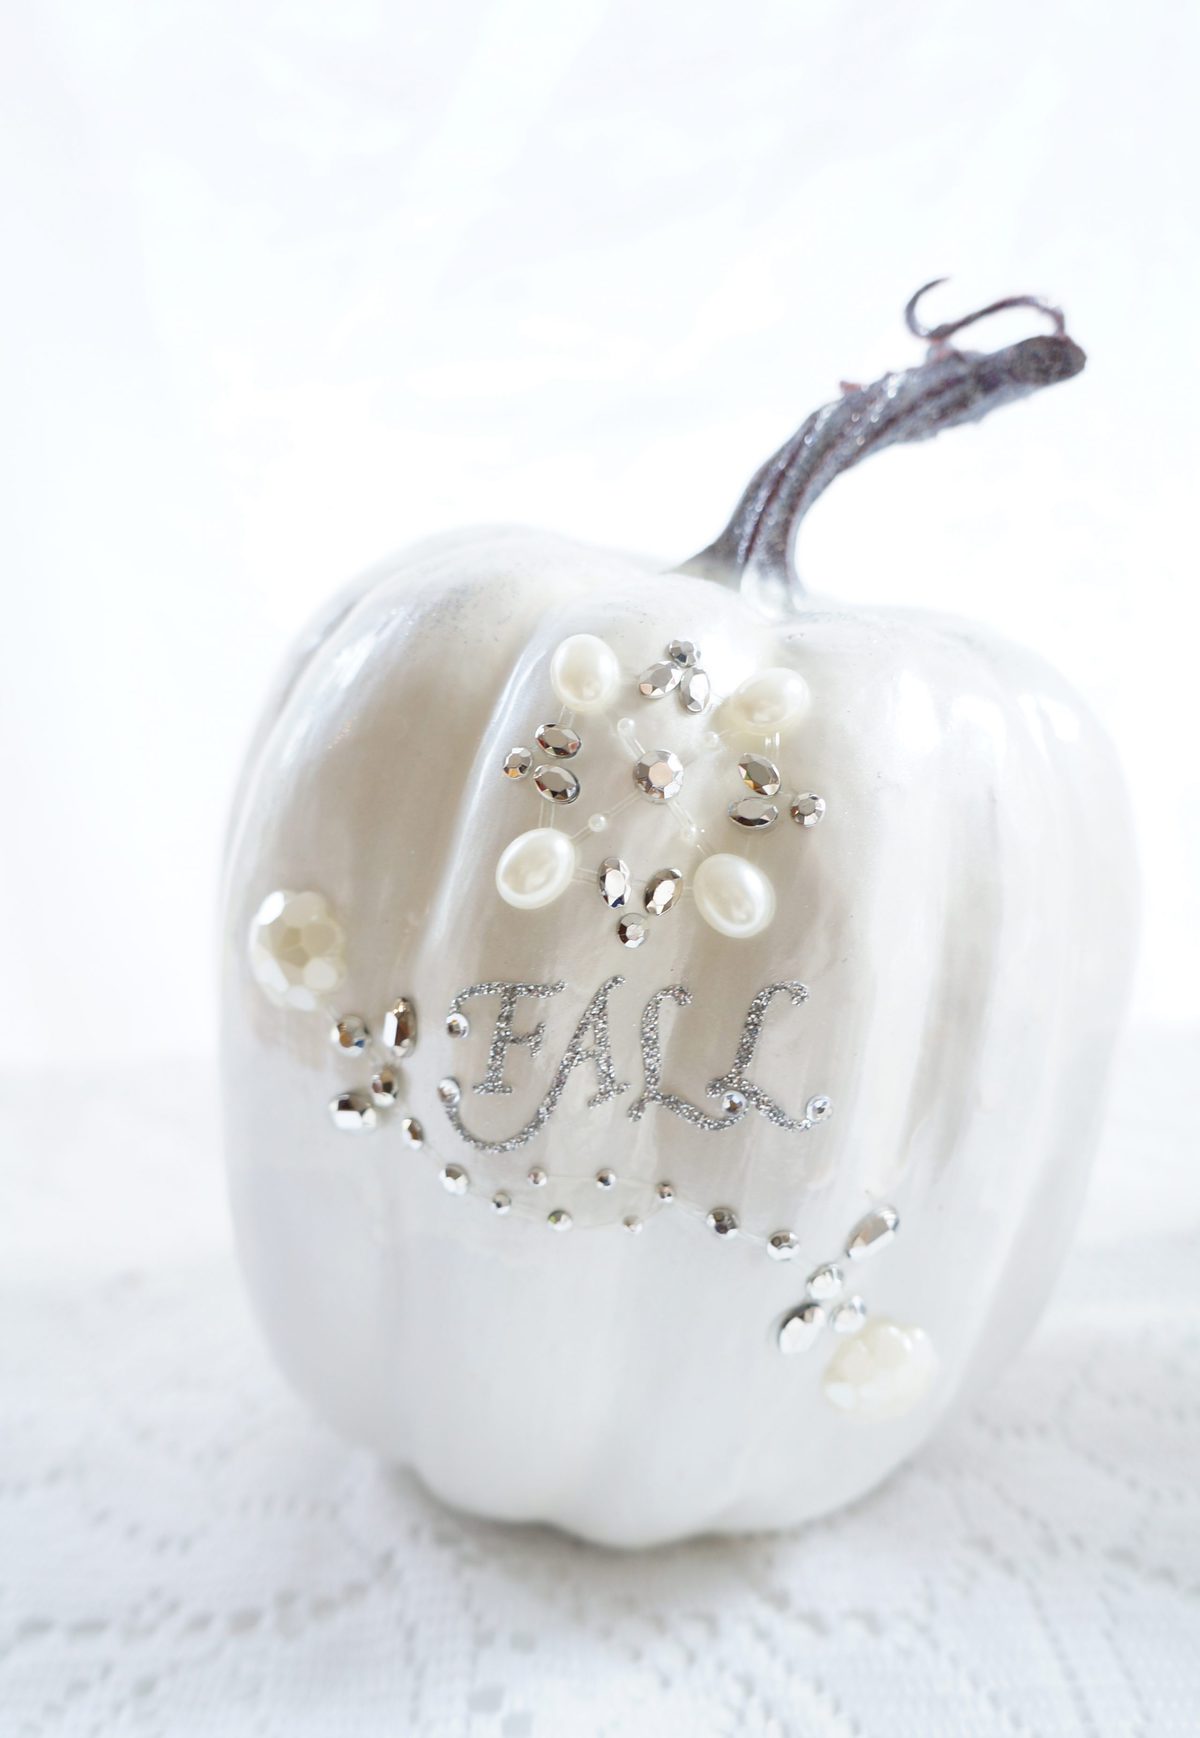
Once fully dry, stick the embellishments on the pumpkins. The embellishments that I purchased had an adhesive on the back already, so all that I had to do was stick it on. You can also use some sparkly sticker letters to write things like “Fall” or “Thankful” on the pumpkins, if desired.
Hope you enjoy these pretty little pumpkins!
More DIY projects
- Fall Party Ideas: Pumpkin Spice Party
- DIY Glitter House
- DIY Ornament Wreath
- DIY Wooden Crate Shelf
- DIY Decorative Tin Can Vases
This post may contain affiliate links which means that I may make a small commission at no extra cost to you. I only promote products that I love and feel will benefit my readers :)


I love these pumpkins!
Her Heartland Soul
http://herheartlandsoul.com
Thanks so much! Loving the bling ;)