
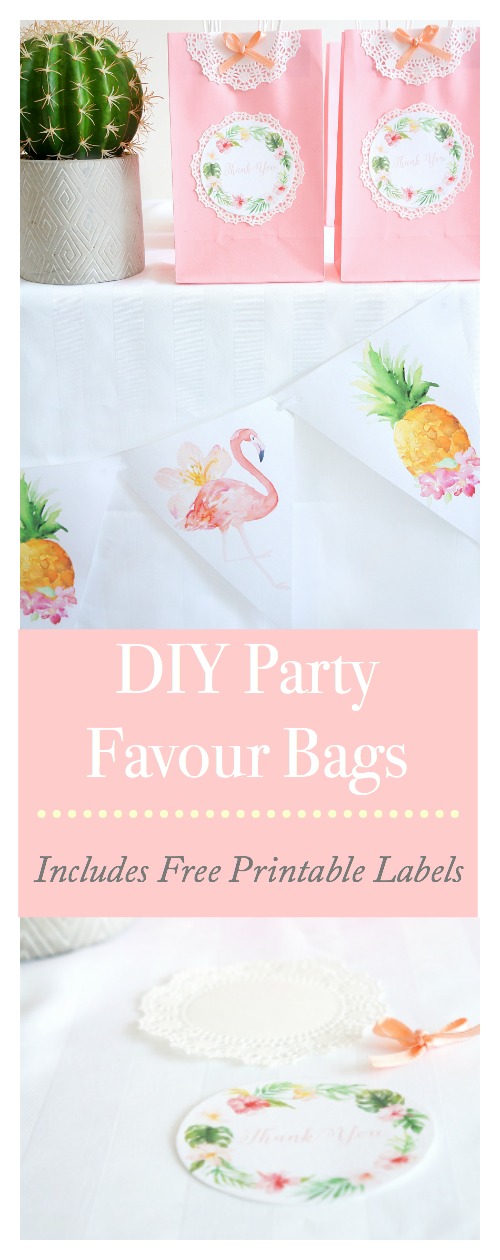
These DIY tropical favour bags make the perfect cute and affordable accessory for your parties, bridal and baby showers! They’re super easy to make and can be easily customized by changing the colour of the bag and ribbon. Fill them with some delicious healthier homemade treats to show your guests your appreciation!

Last year, around this time, it felt like I was going to bridal and baby showers GALORE. I swear there was something in the water because it seemed like EVERYONE around me was either getting married or having babies (and I was one of them!) At this point last summer, I was nearing my second trimester of pregnancy, so I was definitely in good company!
One thing about me that you might not know, is I LOVE going to themed parties because there is SO much inspiration floating around! Nothing beats attending a gathering with great company, delicious food, pretty decor and cute party favours. It’s so hard NOT to get inspired!
At one of the parties that I attended last year, I just happened to receive a really cute homemade favour bag that was packed full of goodies. Most people would probably throw it away as soon as the goodies were gone.
NOPE, not me.
I thought it was SO cute that I decided to keep it because you never know how it might come in handy in the future. I also couldn’t justify throwing away something so pretty in the trash, especially when I knew someone put time and effort into creating it.
A few weeks ago, I was organizing my office and happened to come across it…and thought, HOW PERFECT! I am totally going to adapt this to fit my tropical themed party (which I’ll be posting later this week!)
When it comes to crafts and projects, I’m all about simple. After all, with a busy 6-month old, there’s only so much time in a day to devote to crafting and DIY projects. If it’s too intense or time-consuming, it just ain’t happening.
But in the same breath, I LOVE that feeling of accomplishment when you create something that is not only cute, but also practical (like these DIY Mason Storage Jars or Snack Jars, for instance!)
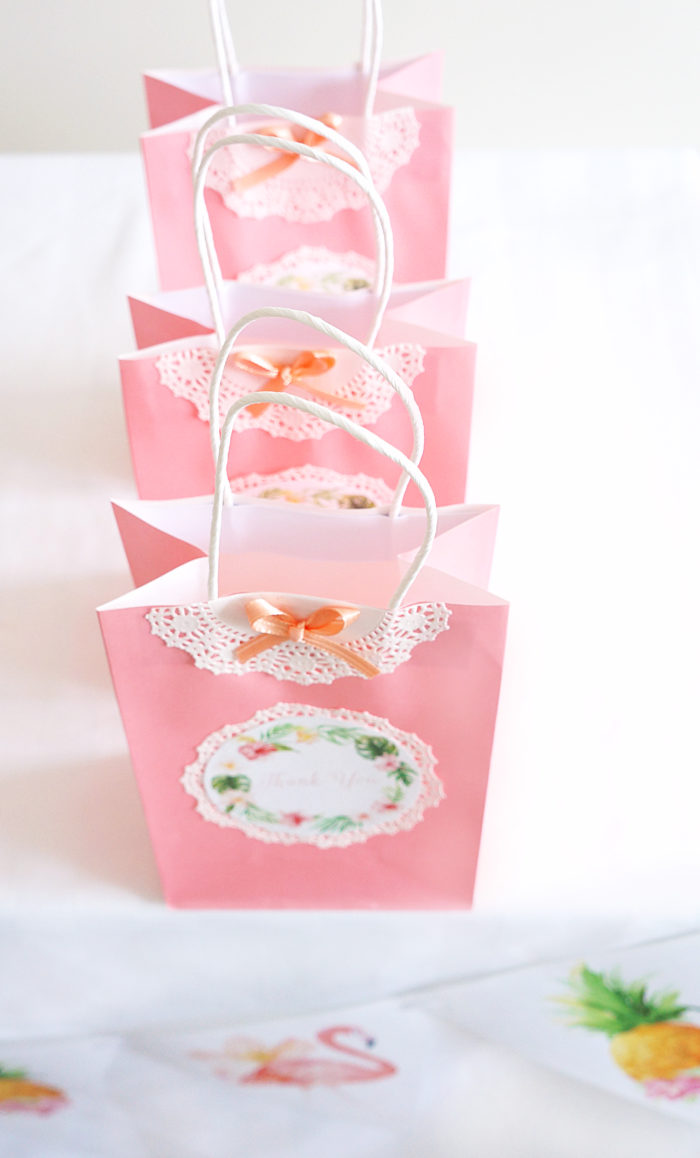
The best part is, everything for this little project I found at the dollar store, so it’s really budget-friendly and it took me less than 30 minutes to complete!
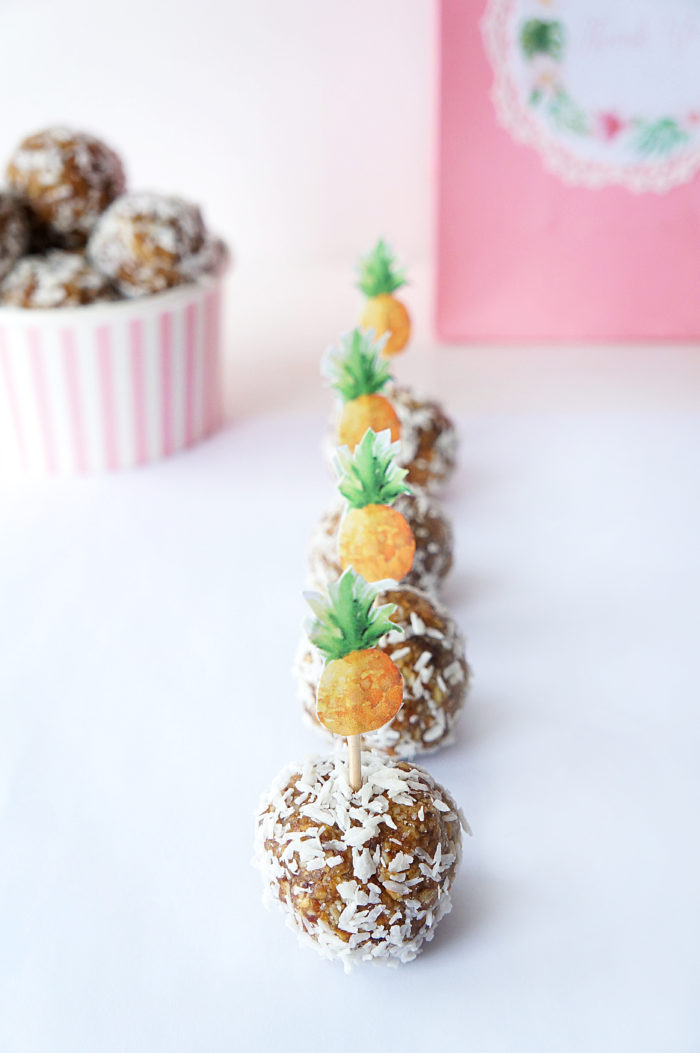
What’s even better is that you can fill these bags with homemade treats that are not only healthy, but also really tasty! I recommend whipping up a batch of these no-bake pina colada energy bites, and putting a few in each bag. It serves as such a nice little thank you gift and won’t break the bank.
Plus, it’s the perfect way to add some tropical vibes to your summer parties. These bags and bites would even make for a pretty and unique hostess gift!
So here are the steps involved to complete the project!
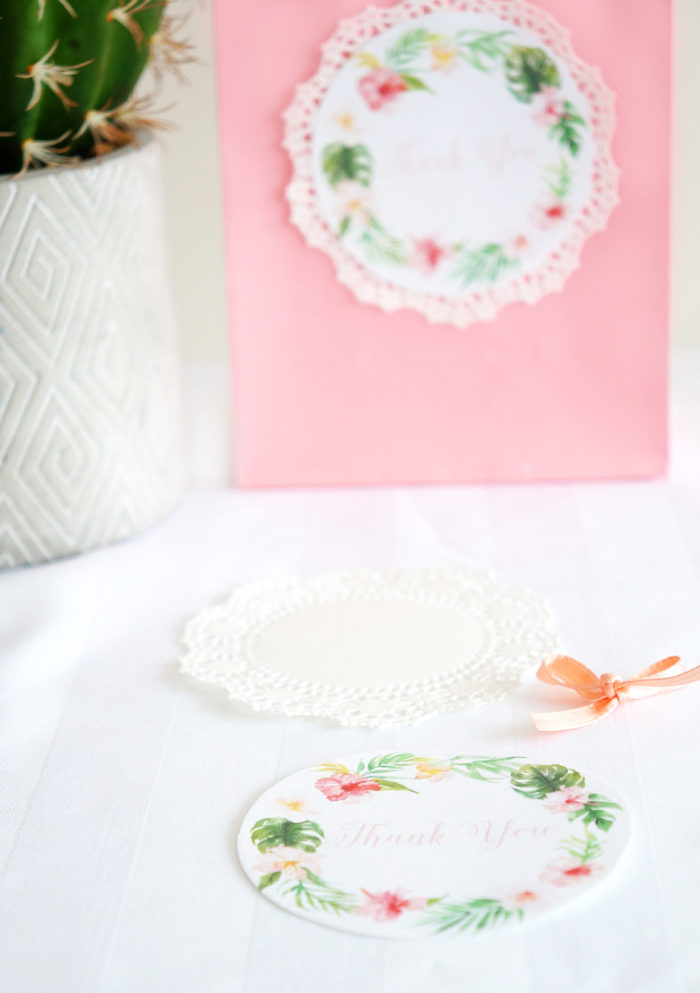
First, I designed some pretty little floral thank you labels. You can actually download them at the end of the post. Simply cut the labels out around the gold line.
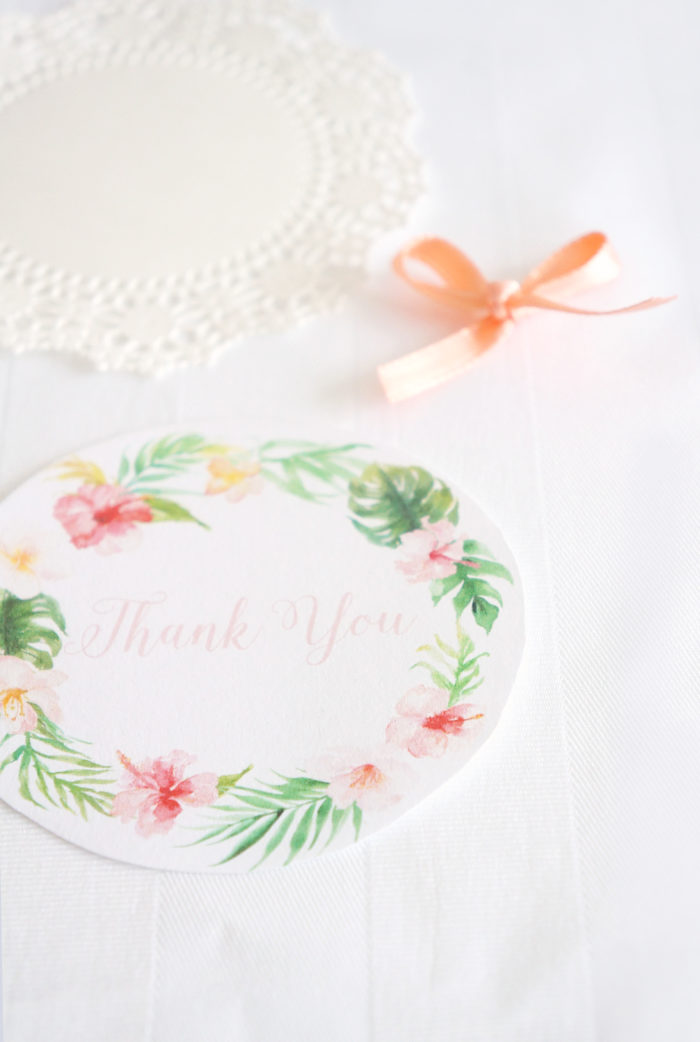
I found some light pink paper bags, mini white doilies and pink satin ribbon at the dollar store. I always check the dollar store before looking elsewhere when it comes to supplies for my DIY projects because I find they always have a great selection of crafting material for a super cheap price.
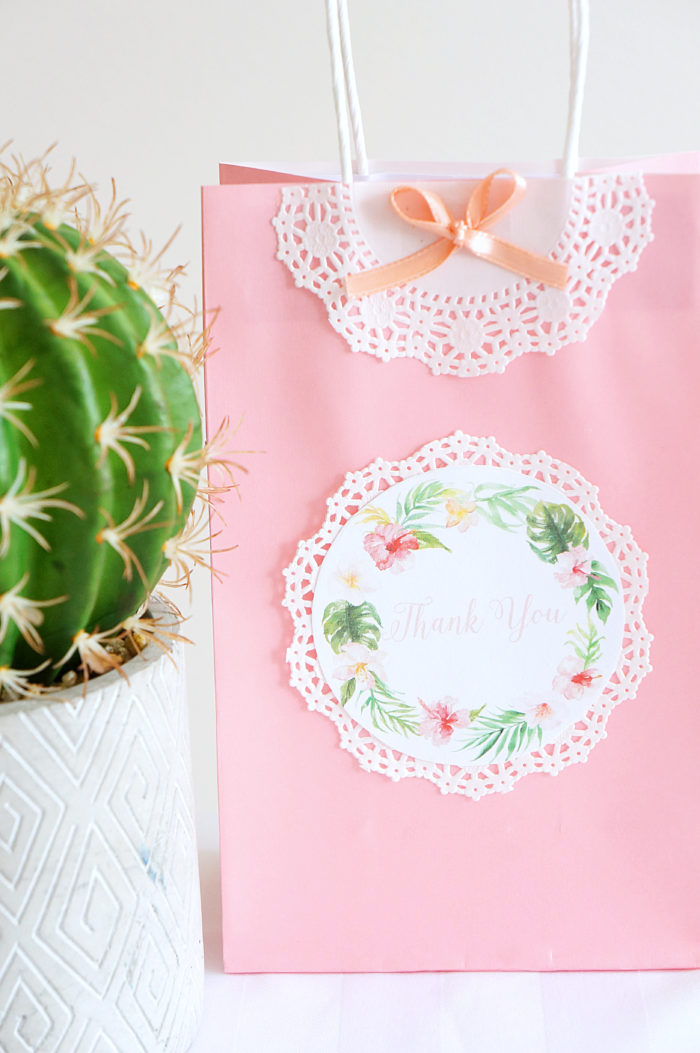
Next, I used some double-sided tape to secure the “thank you” label to the centre of one of the mini doilies and used the same tape to stick it to the bag. You can also use glue as well. Just make sure that you get it all around the edges so that it adheres well to the bag.
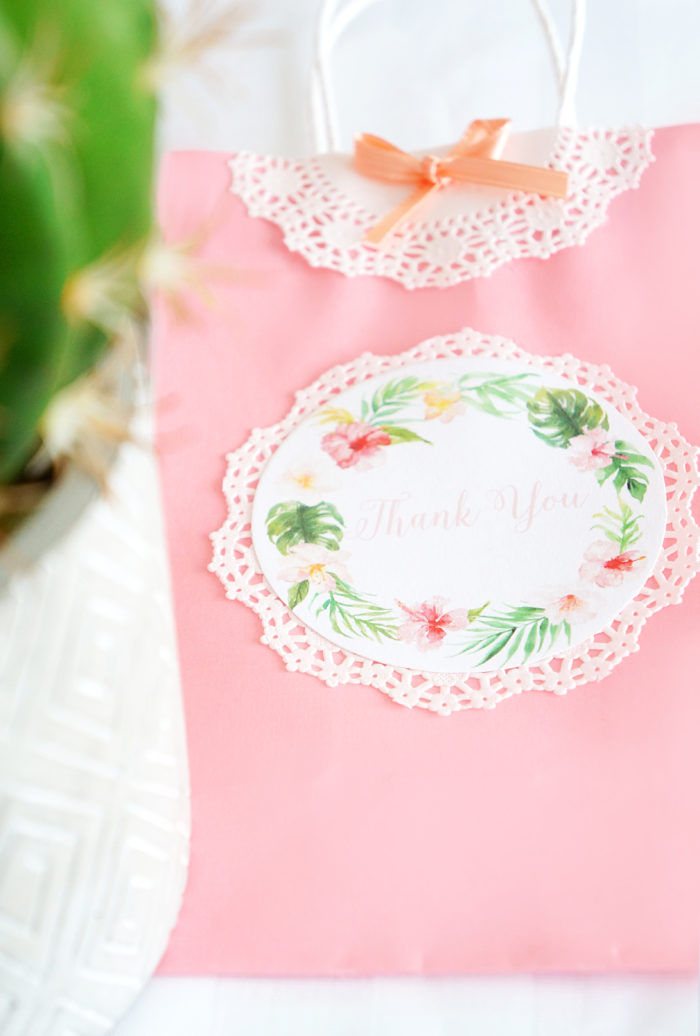
Next, cut desired number of mini doilies in half. I folded a bunch in half and then cut along the line as a guide. Secure the halved doily to the top of the bag with double-sided tap or glue so that the straight edge runs parallel to the top of the bag. Purchase little pre-made bows or make your own using some cute ribbon.
Attach the bow to the centre of the doily with a dab of glue.
Last but not least, fill the bags with goodies of your choice (I recommend these No-bake pina colada energy bites)!
Here are the supplies required to make these simple and pretty little favour bags!
- Light pink paper bags (or select colour of choice)
- Small white doilies
- Printer with coloured ink
- Printer paper (can use regular or card stock)
- Thank you labels (you can download the ones I used for free below)
- Scissors
- Double-sided tape
- Glue
- Pink satin ribbon or small pre-made bows
- No-bake pina colada energy bites (optional, but highly recommended)
Hope you and your guests enjoy these fun and pretty little bags!
This post may contain affiliate links which means that I may make a small commission at no extra cost to you. I only promote products that I love and feel will benefit my readers :)


Leave A Review: