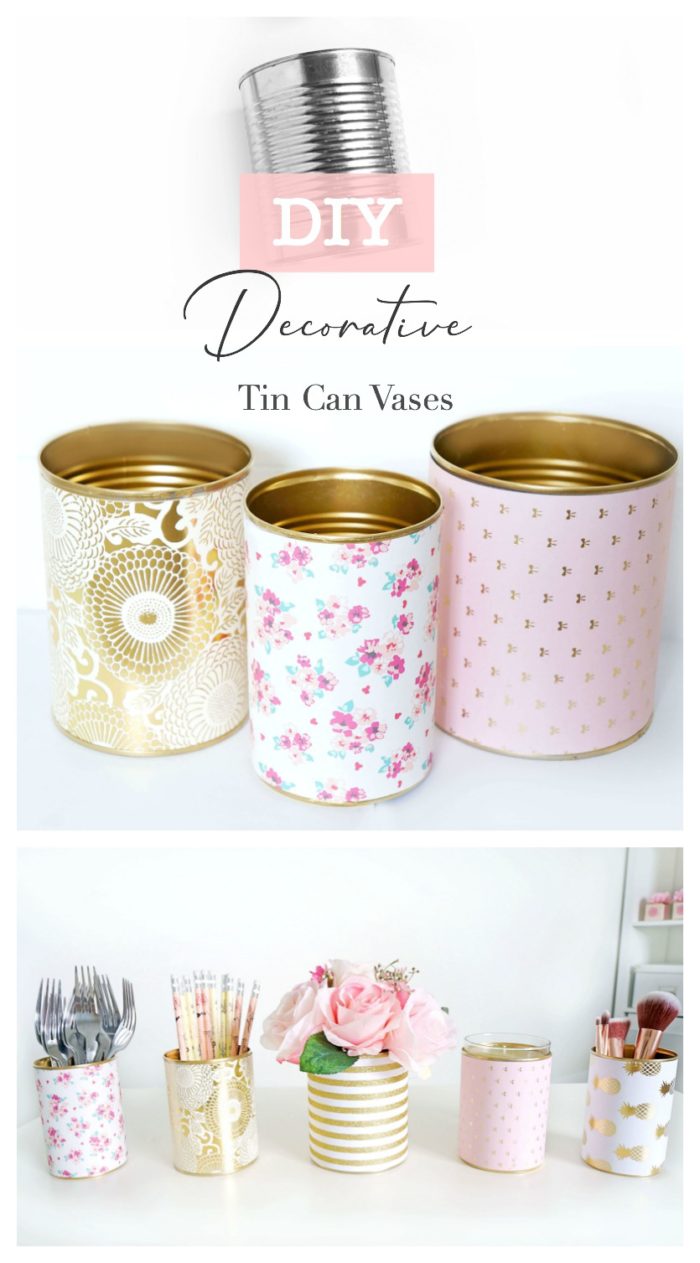
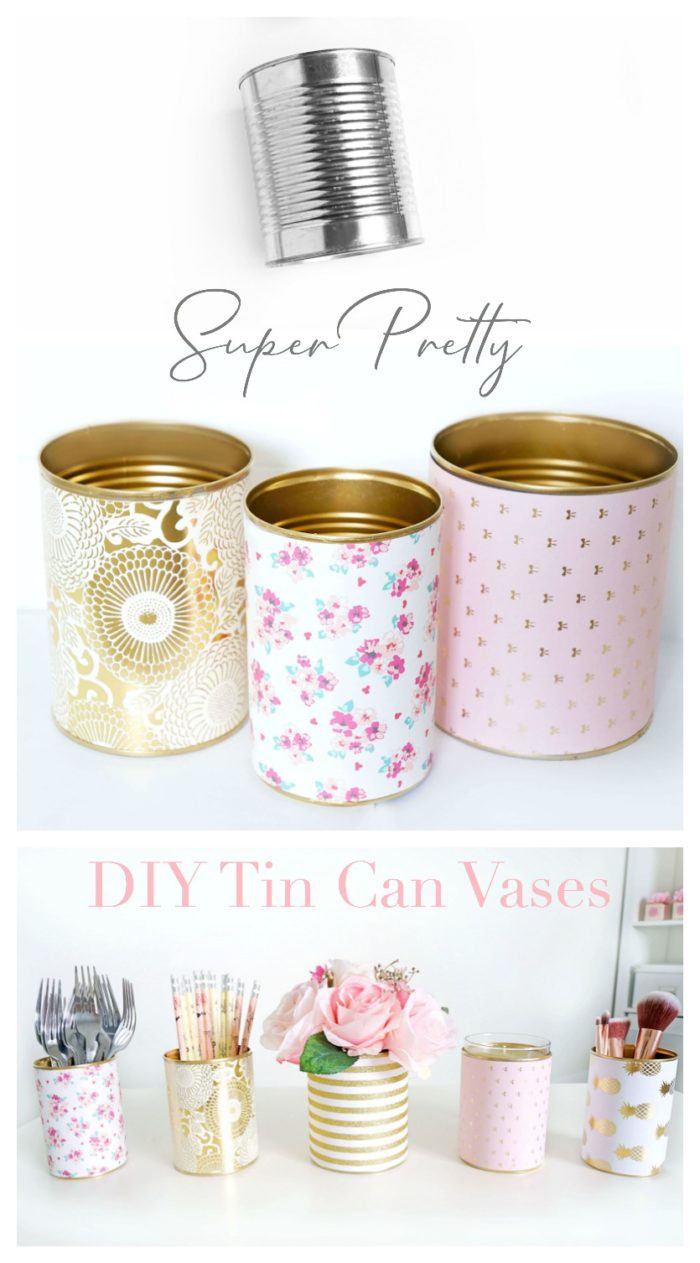
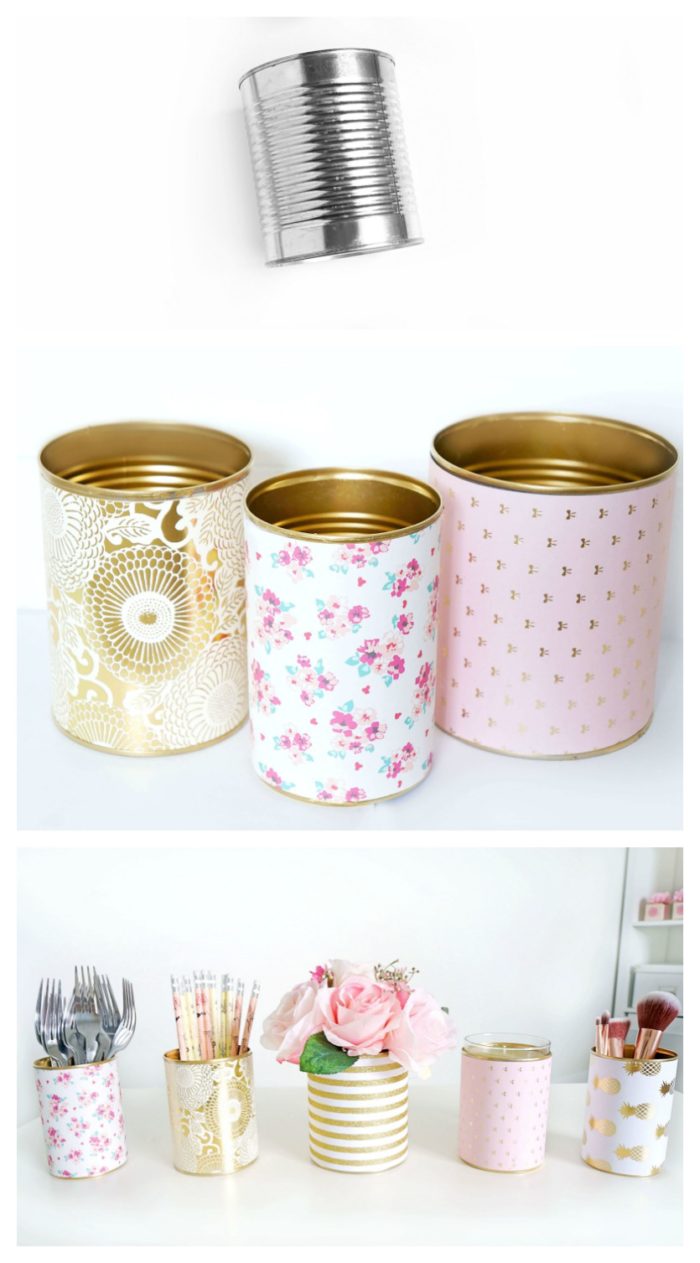
These DIY Decorative Tin Can Vases not only make pretty decor, they’re also incredibly practical, easy to make and budget-friendly! Use these vases as a candle holder, flower vase, or container for storing pens, cutlery or makeup brushes!
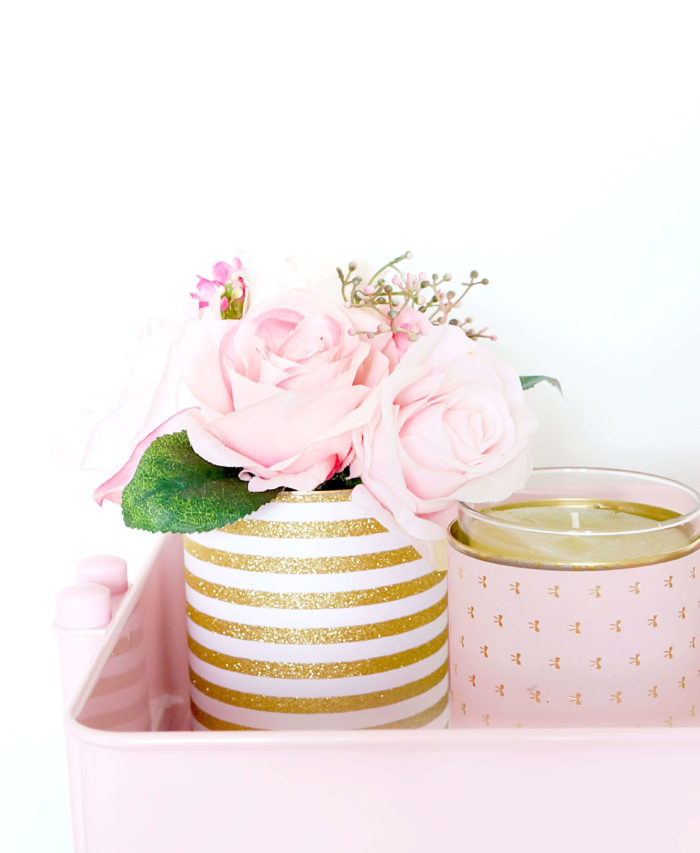
We recently moved into our new house a couple of weeks ago and to say that I’ve been eager to start decorating is a HUGE understatement. Nothing excites me more than having a fresh room to spruce up!
The house just happened to have a spare bedroom that was formerly used as an office, so my husband and I agreed that I could take over the room to set up my office space. After all, a girl needs a pretty room to get those creative juices flowing, right ;)
And yes, that was my totally my rationale.
Anyways. As soon as I set sight on this room, I had visions of making it into the ultra feminine space with hints of blush, gold and florals.
Now as tempting as it is to run out and buy a whole bunch of pretty decor to fill the space, I knew that this wasn’t realistic or feasible. After all, we had just bought a new/bigger place and were trying to adhere to a specific budget.
On the other hand, once I have a vision for a room, I HAVE to execute it or it will seriously drive me nuts until the room is done. I just don’t like to have projects left incomplete!
I had bought this beautiful Kallax shelving unit from Ikea (which is totally awesome by the way) and was looking to fill each compartment with some accessories that matched my colour and design scheme.
So my solution was to create some of my own decor.
DIY style.
And I started off with these DIY Decorative Tin Can Vases.
Not only are they pretty, they’re also practical because you can fill them with all the things!
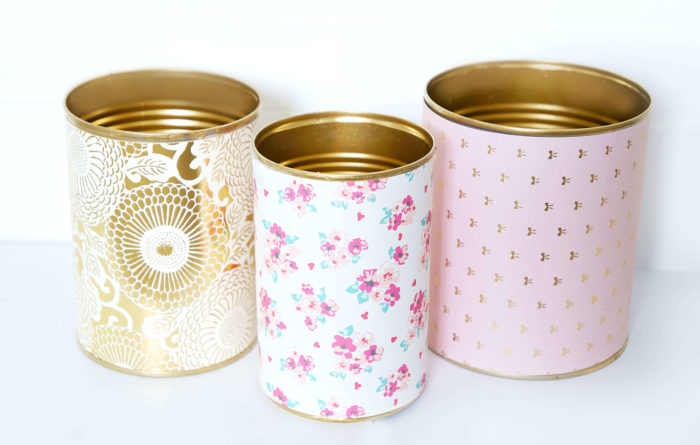
The best part is, they are super easy to make, budget-friendly since all you need are some tin cans, (which you probably have kicking around anyways), gold spray paint and some pretty scrapbooking paper!
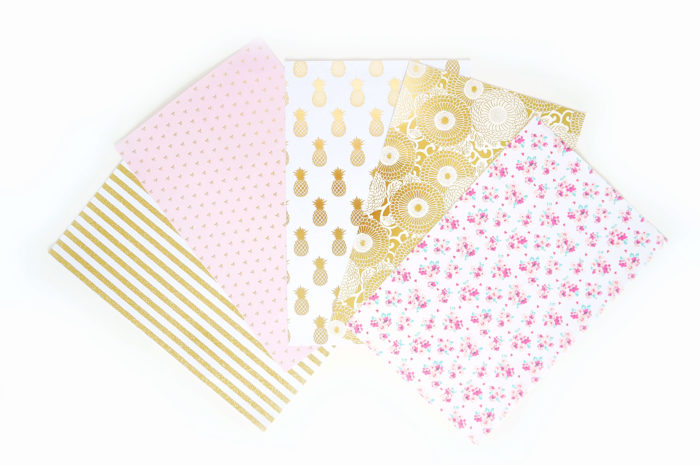
I love how you can customize the vases depending on your colour scheme by selecting different scrapbooking paper designs.
And there are SO many gorgeous designs to choose from. I bought my paper at Michaels and could hardly decide on which ones to get since they were all SO pretty!
There’s the option of either buying single pieces of scrapbooking paper, which is what I chose to do. You could also purchase a pad full of cute designs and use the extra paper for other projects as well!
So here’s the full breakdown for these cute decorative vases!
Table of Contents
How to Make DIY Decorative Tin Can Vases
Supplies Required
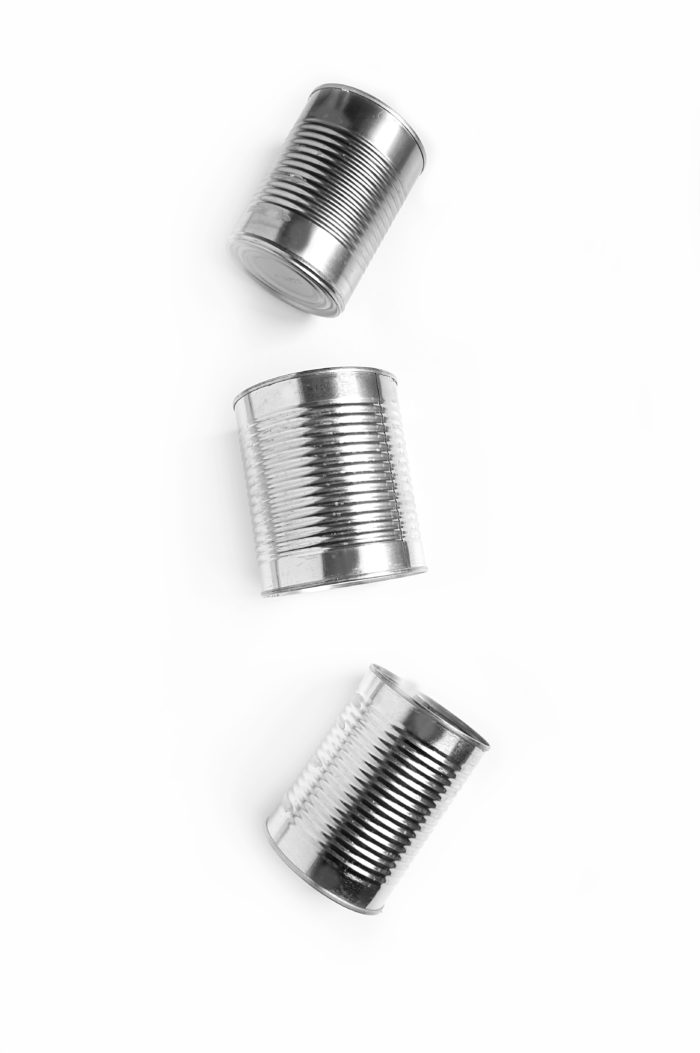
- Tin cans of different sizes, with label removed. I used one large pumpkin purée can (796mL), two chickpea cans (398mL), and two soup cans (284mL).
- Gold spray paint
- Pretty scrapbooking paper with design and colours of choice. You can purchase the paper individually or as a pad (I went with a blush, gold and floral theme, purchased individually)
- Ruler or measuring tape
- Scissors or exacto knife
- Hot glue gun
- Decorative Accessories (optional), such as Washi tape, decorative flowers, rhinestone accessories, ribbon, bows, etc.
Instructions:
- Once the contents of the cans have been used, remove the lid fully with a can opener. Wash out the cans really well using dish soap and water. Allow them to dry completely.
- Next, in a well-ventilated area, spray the cans, both inside and out, using a metallic gold spray paint (I used this spray paint). Allow them to dry completely, approximately 24 hours.
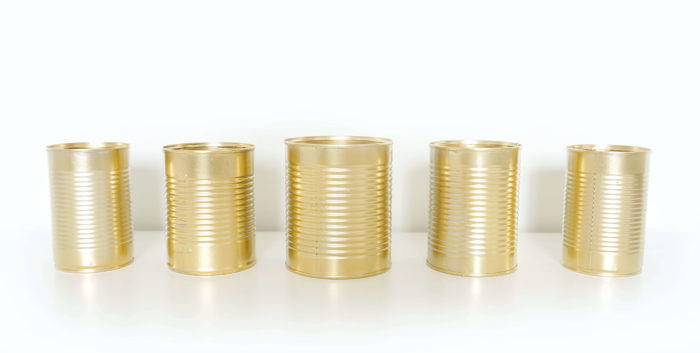
3. Once the cans are completely dry, use your ruler or a tape measure to measure the length of the can from the top rim to the bottom rim lengthwise.
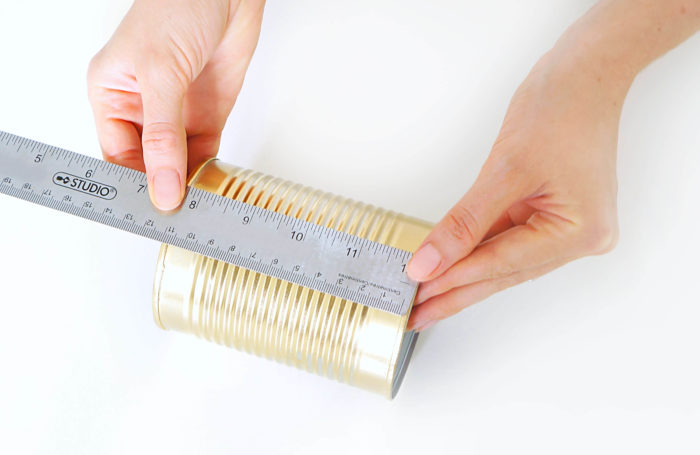
4. Measure that same length on the desired scrap paper and mark with a pencil.
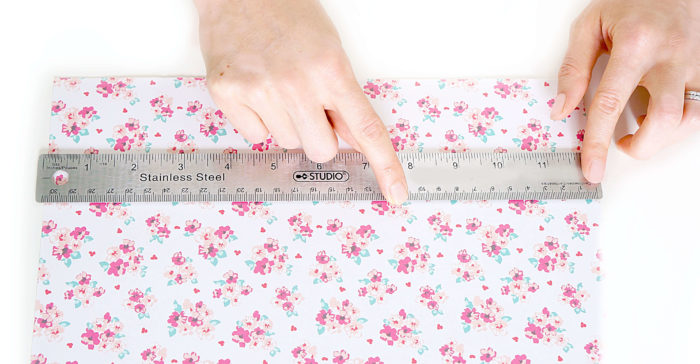
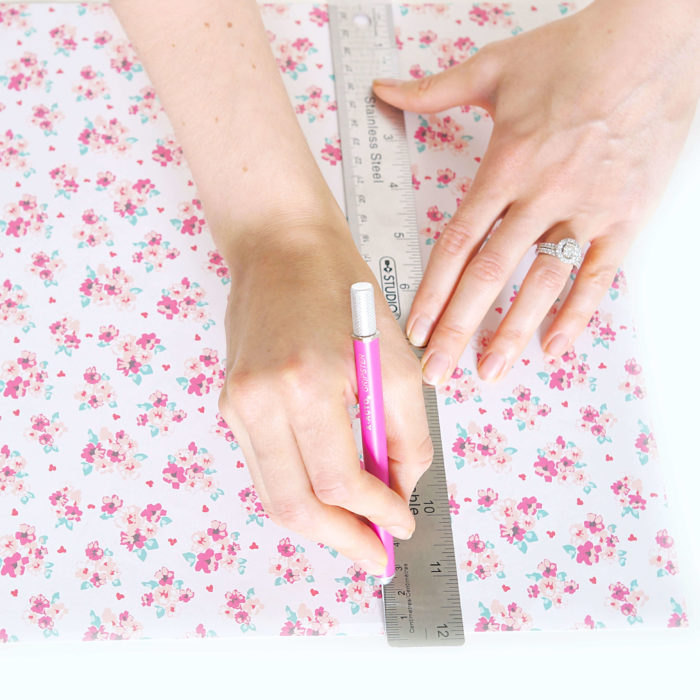
5. Draw a line using the ruler and cut along the line. Alternatively, you can use an exacto knife to cut along the line using the ruler as a guide. I found my hot pink exacto knife at Lowes, but you can also find the same one here! So handy for crafts and projects like this one when you need to cut a really straight line!
Once you’re done this step, you should have a strip of paper that will fit around the can.
6. Wrap the paper strip in a circle around the can so that the whole can is covered other than the top and bottom rim. Trim the length if necessary.
*Just FYI – I found for the largest can, the square scrapbooking paper that I used didn’t fit around the can all the way around. There was still about an inch to spare, so I just simply stuck a strip of sparkly washi tape there length ways to cover the exposed tin can.
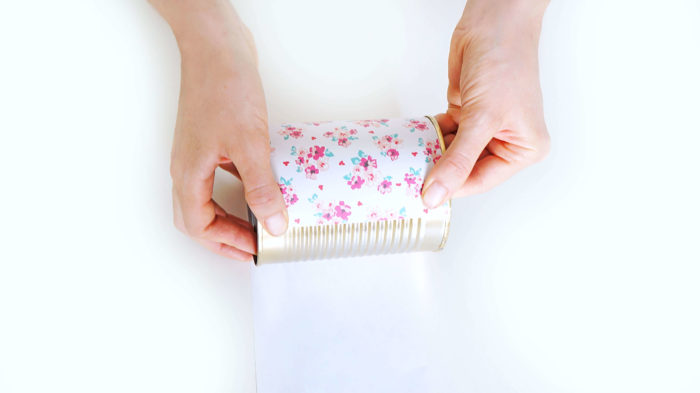
7. Using the hot glue gun, squeeze glue on the under side of one end of the paper and adhere to the can. Wrap the other end of the paper around the can so that the metal is covered and repeat using the the hot glue. Run your fingers against the seam to ensure that the paper is smooth and adhered to the can.
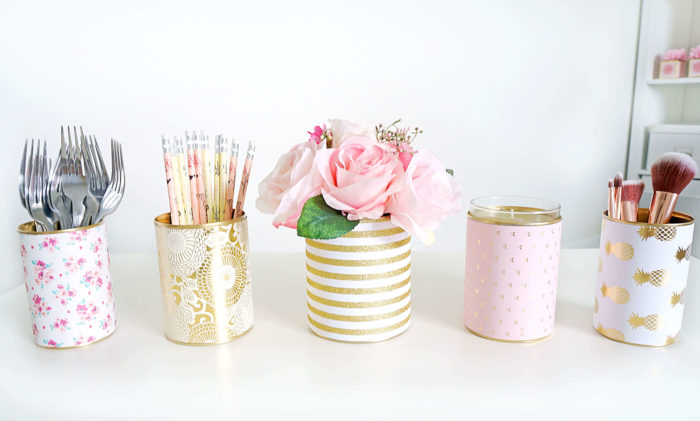
8. Repeat using different sized cans or scrap booking paper. I used five cans and five different scrapbooking paper designs, but you can use all the same if that’s your preference.
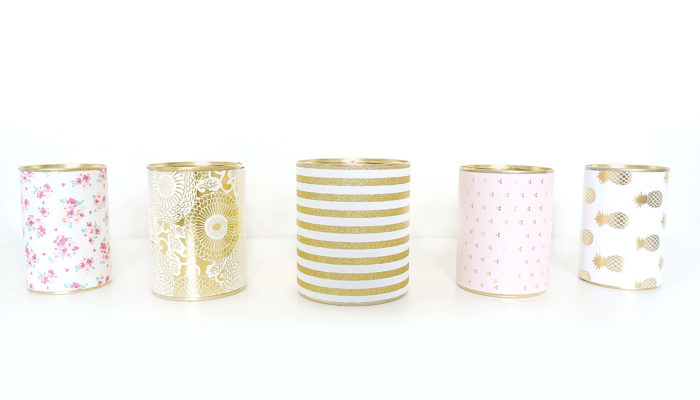
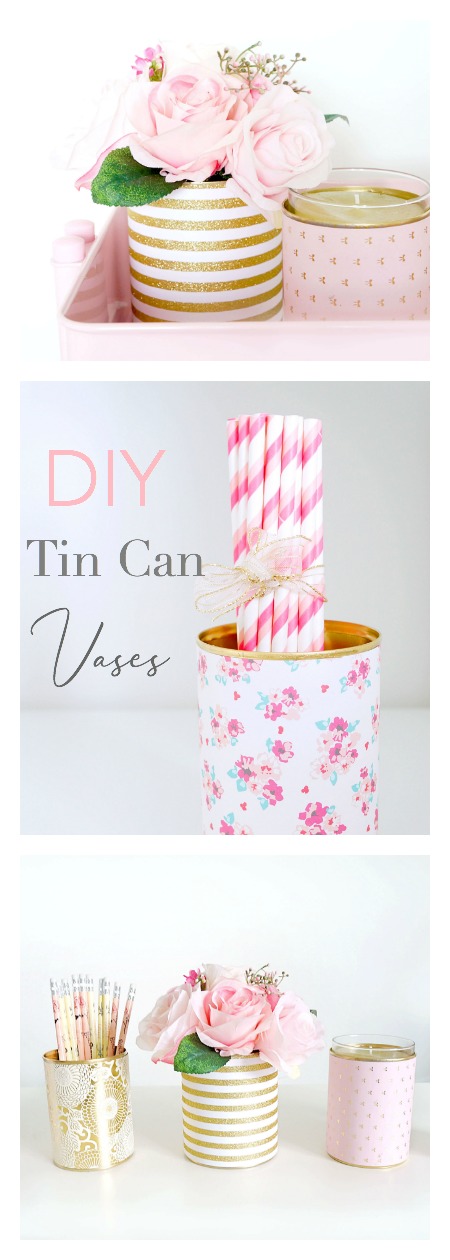
Leave the vases as is, or take it one step further decorate with washi tape, fake flowers, ribbons or bows! Fill decorative vases with desired items.
Some ideas include:
- Flowers
- Cutlery
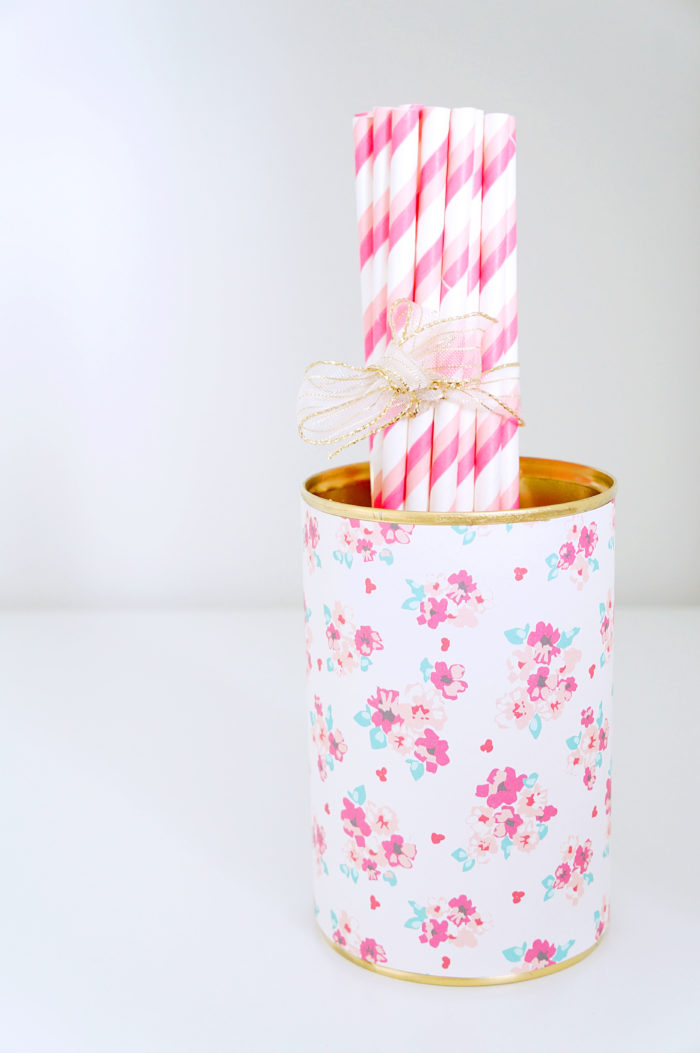
- Cute straws
- A candle
- Pens or pencils
- Desk accessories (i.e. scissors, ruler, hole punch, etc.)
- Makeup brushes
- Paint brushes

All in all, the total cost of this project turned out to be less than $3 per tin can vase. That’s a pretty good deal if you ask me! And they are so frickin’ cute!!! I have them displayed all over my office and they make gorgeous accessories on a desk or bookshelf!
Hope you enjoy this fun little project!
More DIY projects
- DIY Ornament Wreath
- DIY Free Printable Tropical Party Banner
- DIY Wooden Crate Shelf
- DIY Mason Storage Jars
- DIY Glitter House
This post may contain affiliate links which means that I may make a small commission at no extra cost to you. I only promote products that I love and feel will benefit my readers :)



Thanks for sharing this great idea I really learned a lot and enjoyed reading it.
My pleasure! Glad you enjoyed the idea! Thanks for stopping by :)
Hi, these look fantastic. Would they be safe to use as a candle container, meaning filled with wax.?
Thanks for sharing.
Kate.
Hi Kate, thanks so much! I haven’t personally tried it with a candle container, but I can’t see why not! Keep me posted on how it turns out if you try it out!
I love them soooo much.
Thanks Lucy! They make such a cute accessory!
The decorated cans look fabulous. I will try this out.
Thanks so much! It’s a fun little project! Hope you enjoy :)
you can also cover the tin cans with contact paper, or decorative shelf paper. Love teh choices of paper you have used.
That’s a great idea! Thanks for sharing that tip! :)