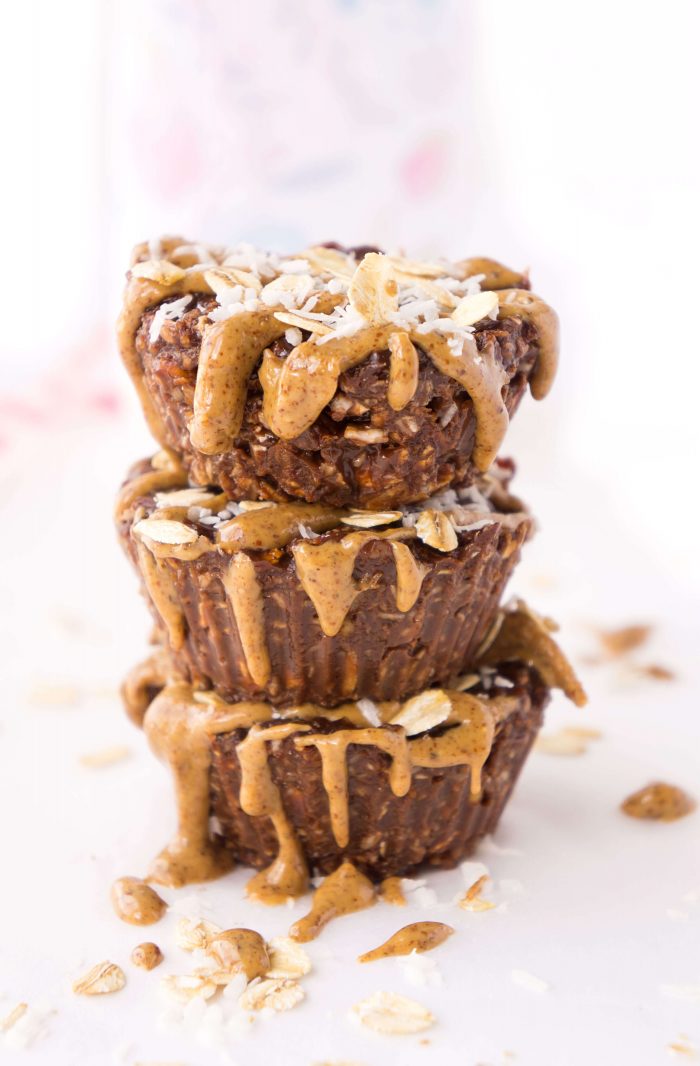
These dairy-free Chocolate Almond Butter Protein Cups are to die for! A perfect snack or treat when you’re craving a little something sweet with a healthier twist! {Gluten-free & vegan}
Life has been super busy lately. And by lately, I mean like the last 10 or so years of my life.
Between completing my undergrad and Masters, becoming a dietitian, having a full-time job, getting married, having a baby and buying a house, I feel like I’ve been running around like a madwoman.
It doesn’t seem to be slowing down much either.
Despite the fact that life is crazy busy, I know that it’s important to eat consistently throughout the day, otherwise I’ll totally konk out.
That’s just the way my brain and body works.
No food = nap time.
I’m not a big fan of packaged grab and go food. I just don’t feel that great about putting all of that processed junk into my body.
That’s why I try my very best to make the majority of foods that we eat on a regular basis from scratch.
BUT, I’m also not into prepping elaborate meals that take hours and hours to cook.
That’s just not my thing.
That’s why I’m always looking for no brainer recipes that I can whip up in a few minutes.
I previously posted my meatloaf muffin recipe, which I LOVE because it’s just one of those no-brainer recipes that can be prepped in bulk.
Prepping in bulk = stress-free meals.
Just like meatloaf muffins are one of my go-to’s for busy days, I also love to make these Chocolate Almond Butter Protein Cups.
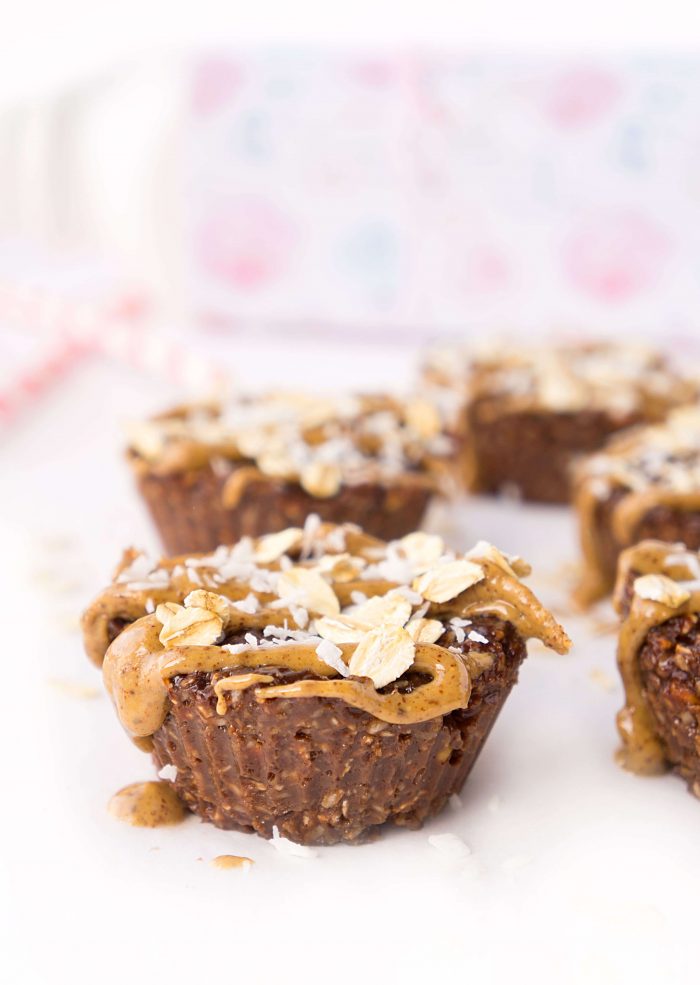
There are a number of reasons why I LOVE these fudgey cups.
1) They taste rich and chocolatey, with a nutty coconut flavour in each bite. Enough said?
2) They are filled with wholesome ingredients like fibre, protein, healthy fats and antioxidants and they’re low in sugar, so you can feel good about consuming them on pretty much a daily basis.
3) They’re small, portable and perfectly portion-controlled. Very important quality for a snack to have.
4) And finally, the ingredients list is pretty short. So short that I have it memorized.
How many recipes can you make off the top of your head and it turns out every time?
I just whip up a batch of these once a week and freeze.
They actually taste great when they’re frozen too.
So let’s chat a little bit more about the details of this recipe.
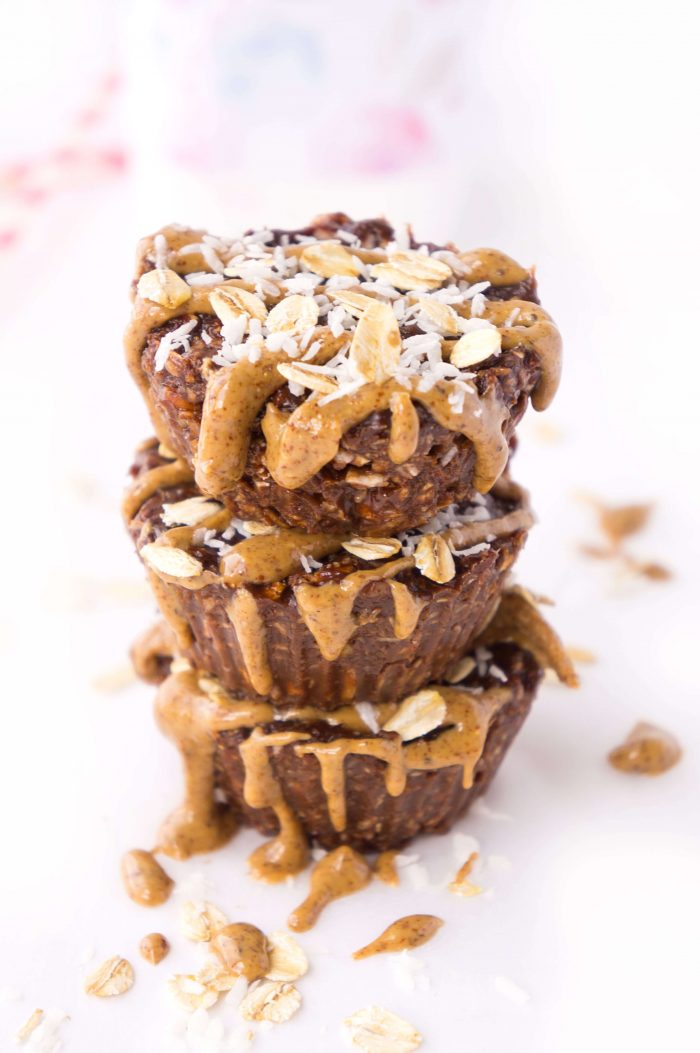
Table of Contents
What kind of protein powder should I use for the Chocolate Almond Protein Cups?
You may have noticed that the recipe calls for protein powder, which adds that extra boost of protein and sweetness to these cups. But which protein powder is the best one to go with?
First off, I recommend going with a vanilla protein powder, preferably one that’s low in sugar and free of a ton artificial ingredients. You can use a dairy-free or whey protein powder, however, keep in mind that many of the vegan protein powders out there tend to get thicker since they absorb more of the liquid, so you may need to increase the amount of almond milk you use to get the right consistency.
You want the mixture to be slightly sticky and thick but not too wet. Once you’ve added the initial amount of milk that the recipe calls for, you can adjust the amount accordingly.
Some of my favourite protein powders are Kaizen vegan and whey vanilla, sun warrior and genuine health vanilla vegan protein powders. These have all worked well for me in this recipe.
If you choose to go with an unflavoured protein powder instead of vanilla flavoured, you may need to increase the maple syrup used since the vanilla protein powder lends some extra sweetness and flavour to the recipe. Also, you might need to decrease the amount of almond milk used to get the right consistency.
How to store and serve these Chocolate Almond Protein Cups
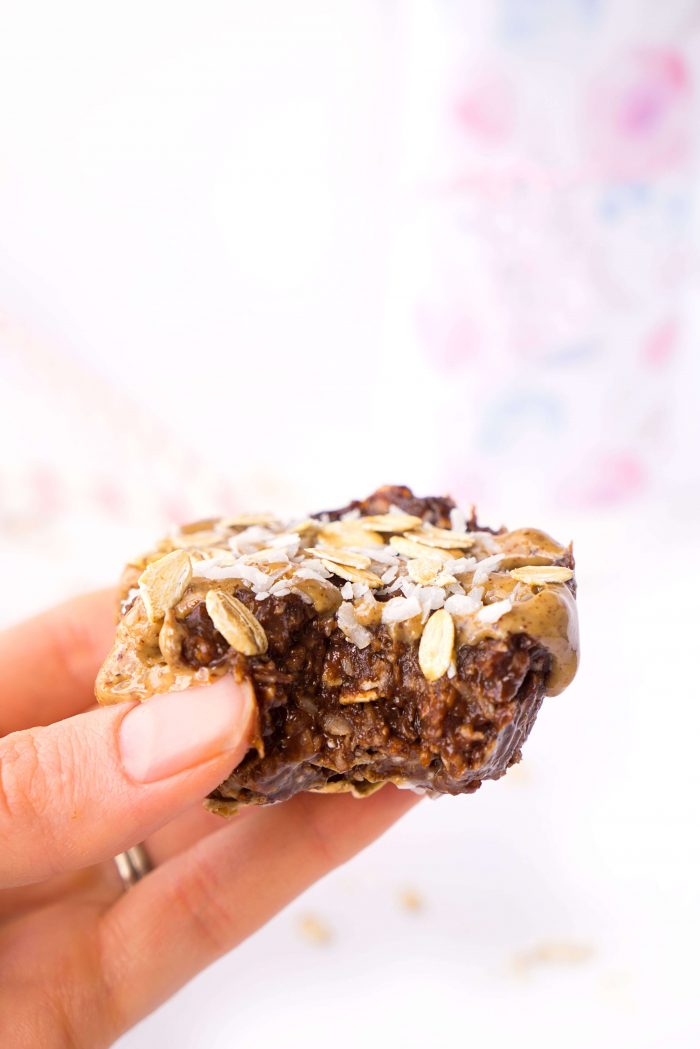
Once you’ve made up a batch of these protein cups, I recommend storing them in the freezer as they tend to get sticky at room temperature or if left in the fridge. I usually just store them in a large ziploc bag or container in the freezer.
The best time to eat them is about 20 minutes out of the freezer. You can definitely still eat them when they’re frozen or at room temperature, just be sure to bring a napkin or some hand wipes along as your hands will probably be a chocolate fudgey mess. It’s so worth it though for all of that chocolatey goodness!
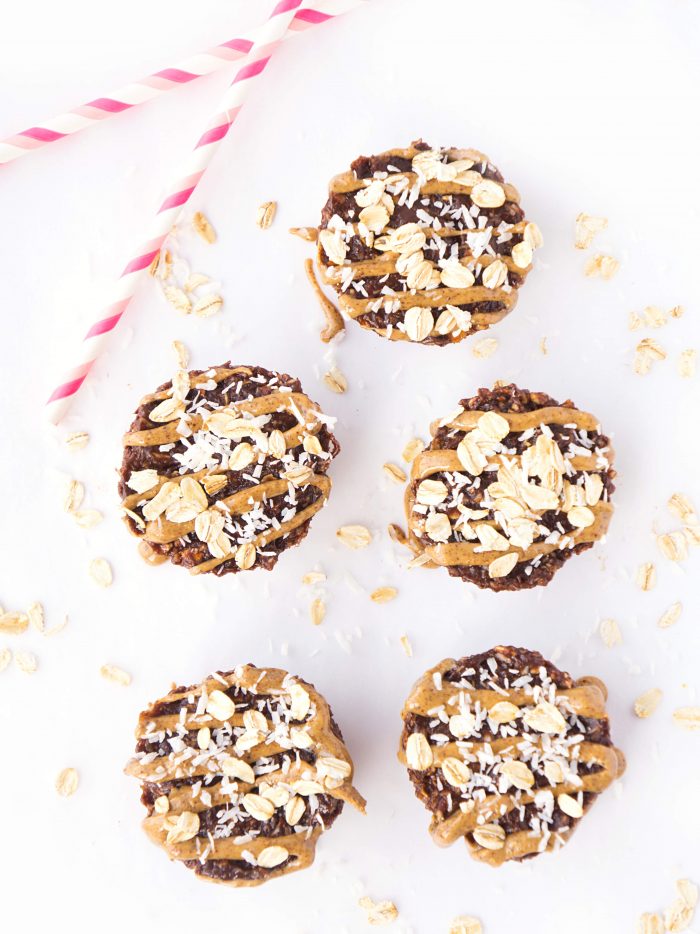
I definitely recommend drizzling some drippy almond butter and unsweetened coconut and large flake oats on top of the cups as it takes them to the next level both taste and presentation-wise.
Totally drool worthy.
To drizzle the almond butter, I generally just cut a small corner off of a medium-sized ziploc bag, put some of the drippy almond butter in the bag with a spoon and squeeze it slowly out of the hole to make a drizzle design.
Doesn’t have to be anything fancy, because they’re amazing despite how pretty they look.
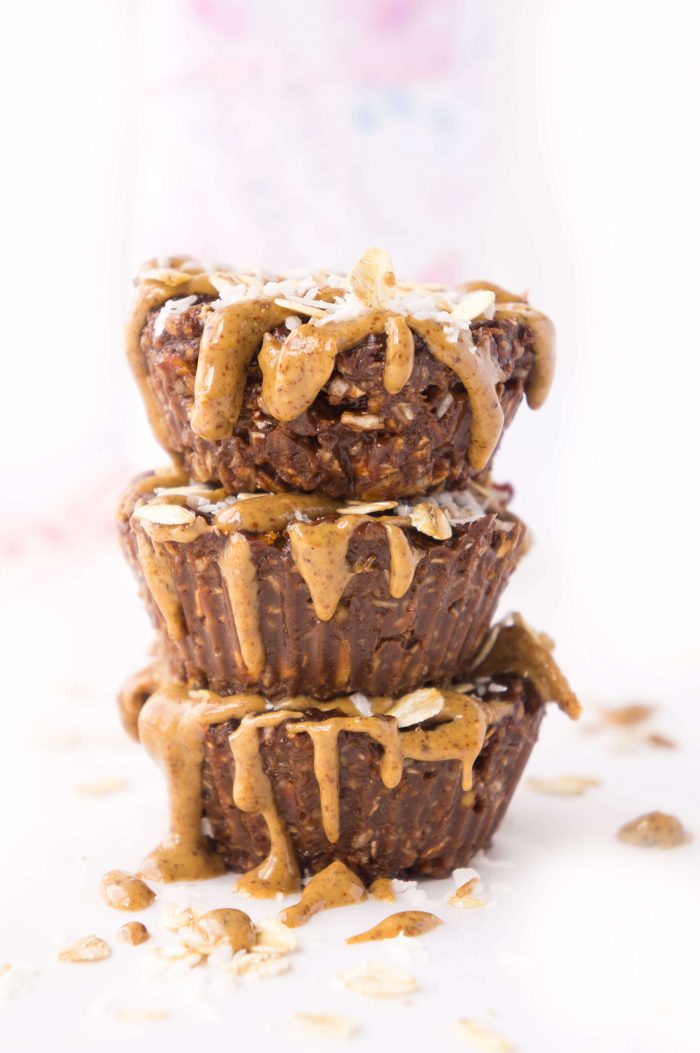
The drizzly almond butter is just the icing on the cake ;)
And that’s basically it!
Eat it post workout, pack it in your lunch bag, take it on a road trip or while running errands — this is one snack you’ll want to keep on hand!
More similar recipes
- Chocolate Coconut Balls
- Larabar Recipe {4-ingredients}
- No-Bake Oatmeal Energy Balls
- Healthy Granola Bar Recipe
- Double Chocolate Energy Bites
- No-Bake Chocolate Mocha Snowballs
Did you make this recipe? Scroll down to leave a rating and review!
Chocolate Almond Protein Cups
Ingredients
Dry ingredients:
- 1/2 cup large flake oats
- 3/4 cup unsweetened coconut flakes
- 2 scoops vanilla protein powder*
- 1/4 cup unsweetened cocoa powder
- Pinch of salt
Wet ingredients:
- 2 tbsp. maple syrup
- 3/4 cup unsweetened almond milk Start with 3/4 cup of the milk. If the mixture still seems dry, add 1 tbsp. at a time until you reach a texture that sticks together
- 1 tsp. vanilla extract
Optional toppings:
- Drizzle of almond butter
- Large flake oats
- Unsweetened coconut flakes
Instructions
- In a medium bowl, mix together the dry ingredients. Add the wet ingredients and stir until well combined. If the mixture is too dry, you may need to add an additional 1-2 tablespoons of almond milk. The mixture should be slightly sticky but not too wet.
- Place 8 silicone molds into a muffin tin and evenly distribute the mixture amongst the cups.
- Press mixture down with a spatula so that the surface is smooth. Top with optional toppings if desired. Place in freezer for at least 30 minutes to allow mixture to solidify.
- Once frozen, remove cups from silicon molds. Top with desired toppings.
- Store cups in freezer in a Ziploc bag or air-tight container. Consume frozen or at room temperature.
Notes
Nutrition
This post may contain affiliate links which means that I may make a small commission at no extra cost to you. I only promote products that I love and feel will benefit my readers :)


Leave A Review: