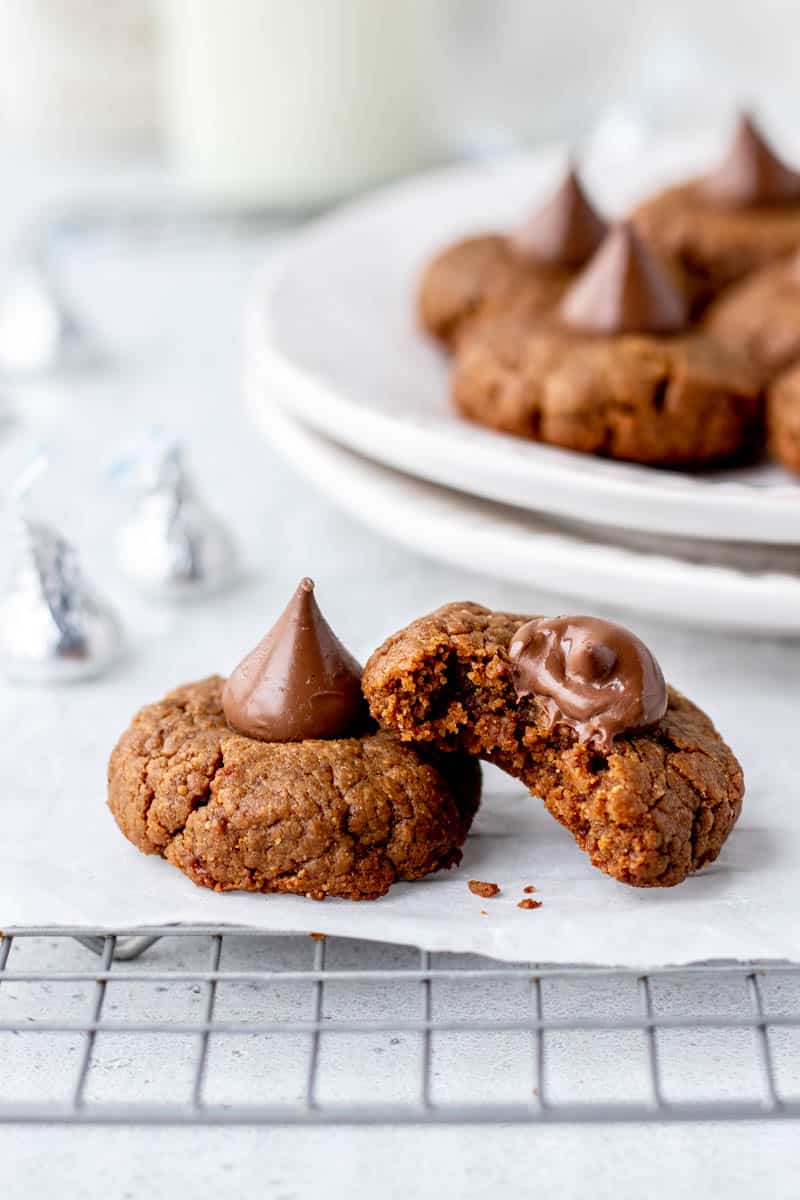
These healthy 3-ingredient peanut butter blossoms are so quick and easy to make and check all the boxes for a yummy snack! A source of protein and healthy fats, they’re great for an after-school snack or healthier treat. With the ultimate combination of rich chocolate and creamy peanut butter, it’s hard to resist these soft and chewy flourless peanut butter cookies! {Gluten-free & Vegetarian}
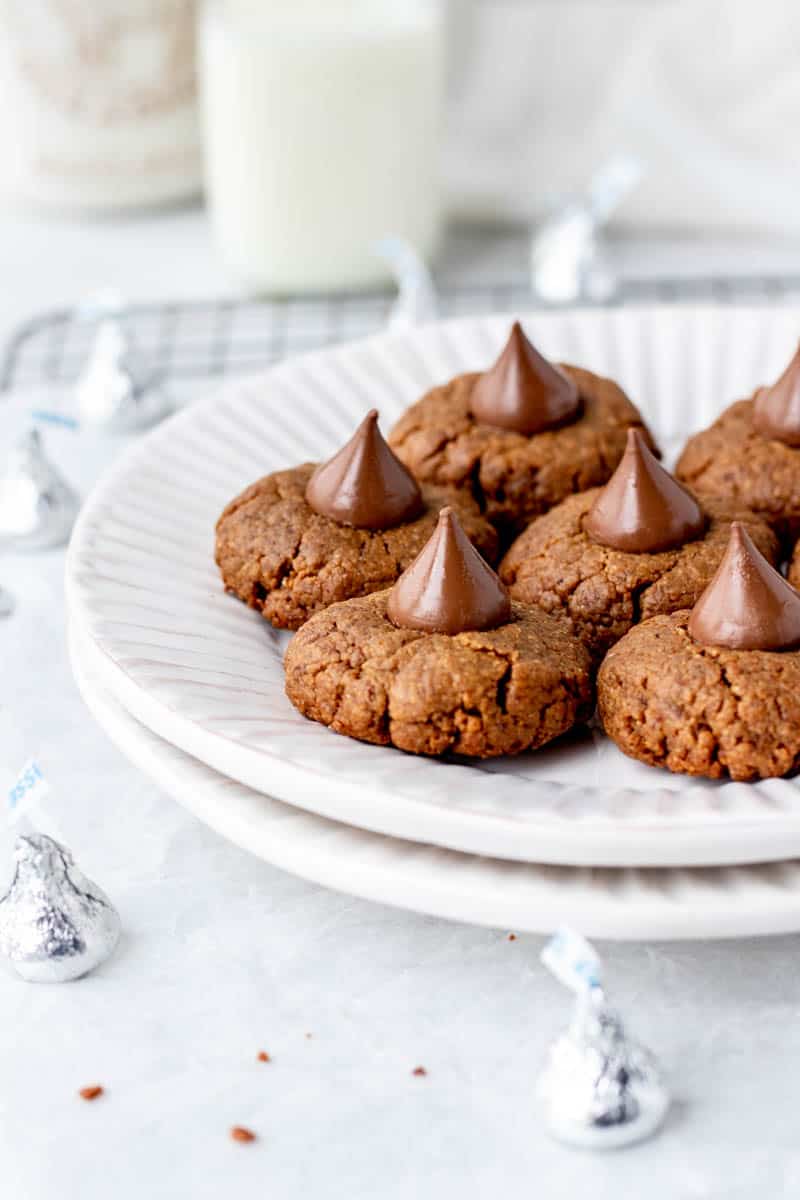
Flourless Peanut Butter Blossoms – Soft & Chewy!
Get ready for the easiest cookie recipe ever! All that’s required to make these simple 3-ingredient peanut butter blossoms is one egg, coconut sugar, and natural peanut butter, and of course, Hershey’s kisses for topping. How simple is that?
Together, these ingredients combine to make soft and chewy cookies that are super delicious and so easy to make!
Better yet, unlike your classic thumbprint cookies, these easy peanut butter cookies are completely flourless and made without shortening for a healthier and lightened up option.
We love these thumbprint cookies for the holiday season and beyond. Topped with a Hershey’s kiss, they’re a great addition to your holiday cookie rotation. Plus, they can easily be made ahead of time and frozen for a grab and go snack or treat.
What’s not to love?
For more healthy cookie recipes, be sure to try out these Almond Flour Shortbread Cookies and Raw Peanut Butter Cookies too!
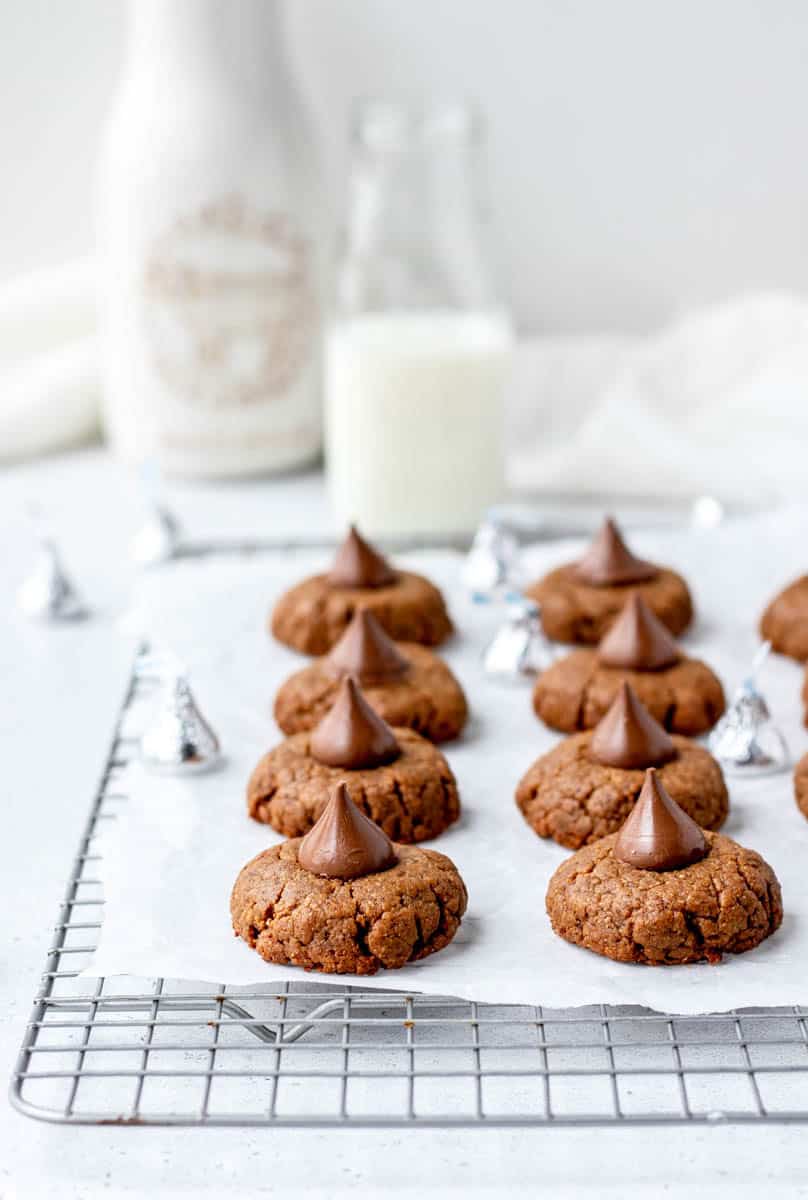
Why We Love These Thumbprint Cookies with Kisses
- Healthier option: Instead of using regular peanut butter which typically contains added sugar and salt, we opted for natural peanut butter made with just peanuts. For sweetness, coconut palm sugar is used, which is lower on the glycemic index than your typical brown or white sugar. The egg incorporates extra protein for a satisfying and healthier cookie option.
- Budget-friendly: It can be hard to find gluten-free baking recipes that don’t require hard-to-find or expensive ingredients. These flourless peanut butter blossoms only contain 3 simple ingredients making these cookies more cost-effective, which is especially handy around the holiday season.
- Simple: Baking doesn’t have to be overwhelming or hard. An easy cookie recipe like this one is great for novice bakers or baking with kids!
Ingredient Notes
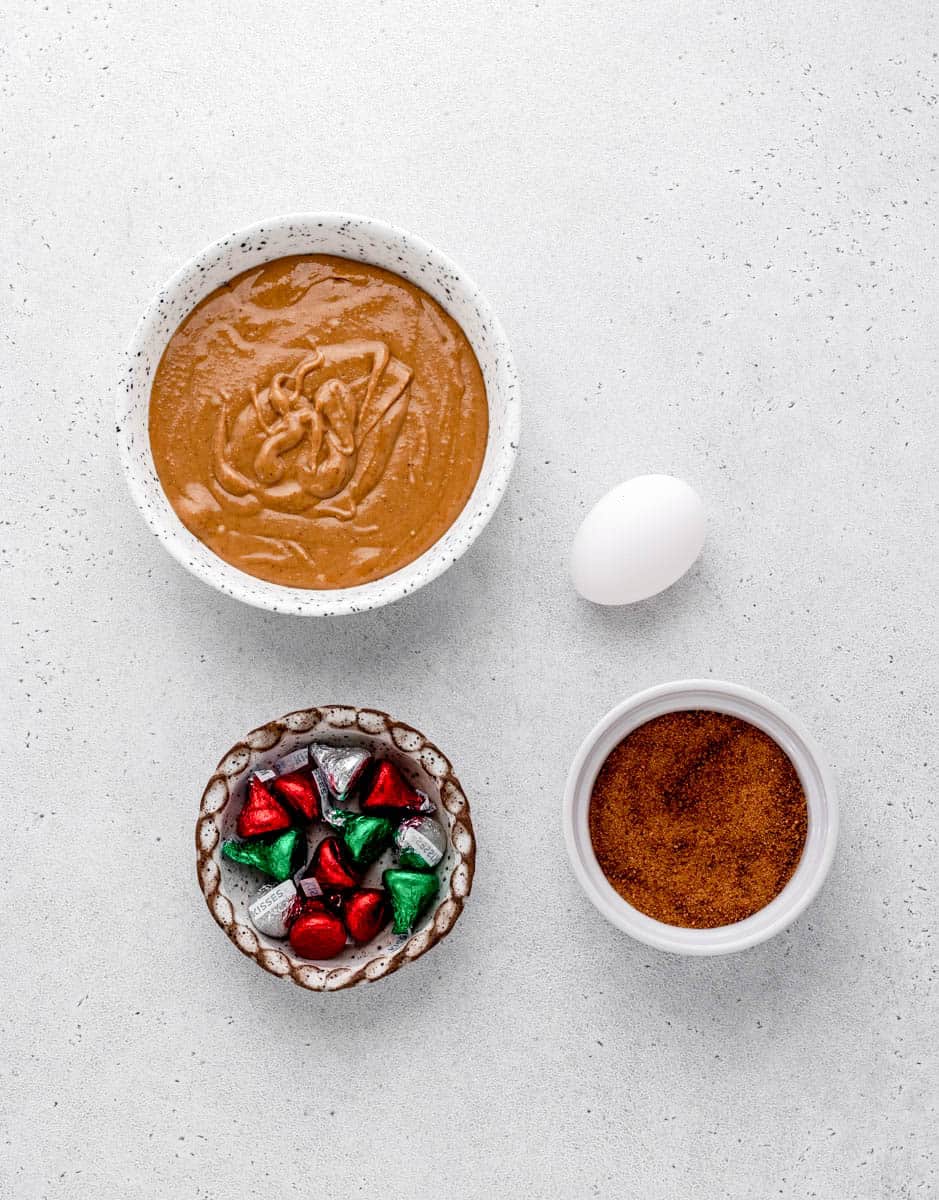
- Large egg: A large egg is used to bind the cookies together when baking. Stir well when mixing the egg with the sugar.
- Coconut palm sugar: To sweeten the peanut butter blossoms. Most large grocery stores carry coconut palm sugar in the health food section or near the regular sugar. Regular brown sugar can also be used in a 1:1 ratio.
- Peanut butter: Natural peanut butter with no added salt or sugar works best. Almond butter can also be used.
How to Make 3 Ingredient Peanut Butter Blossoms
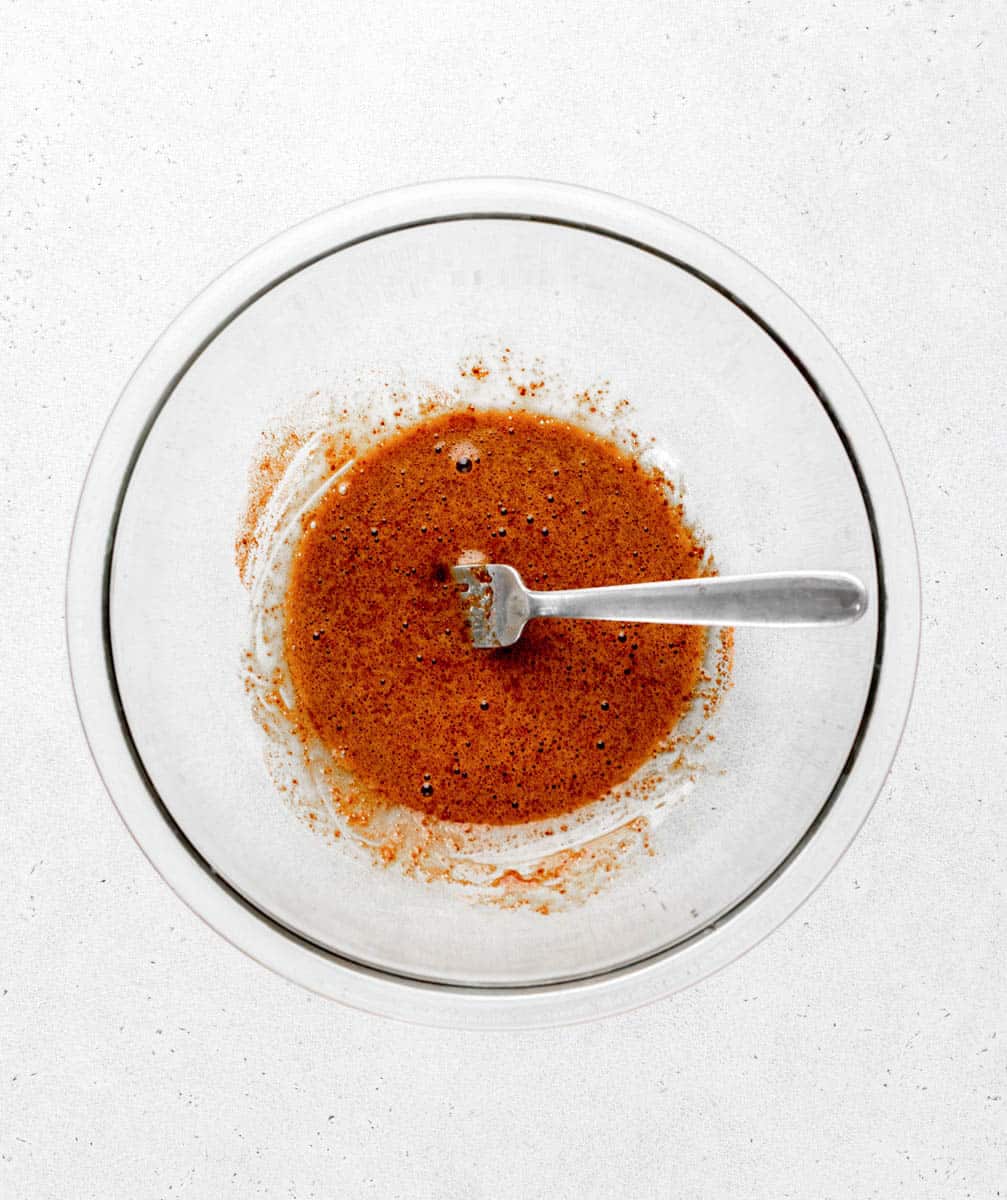
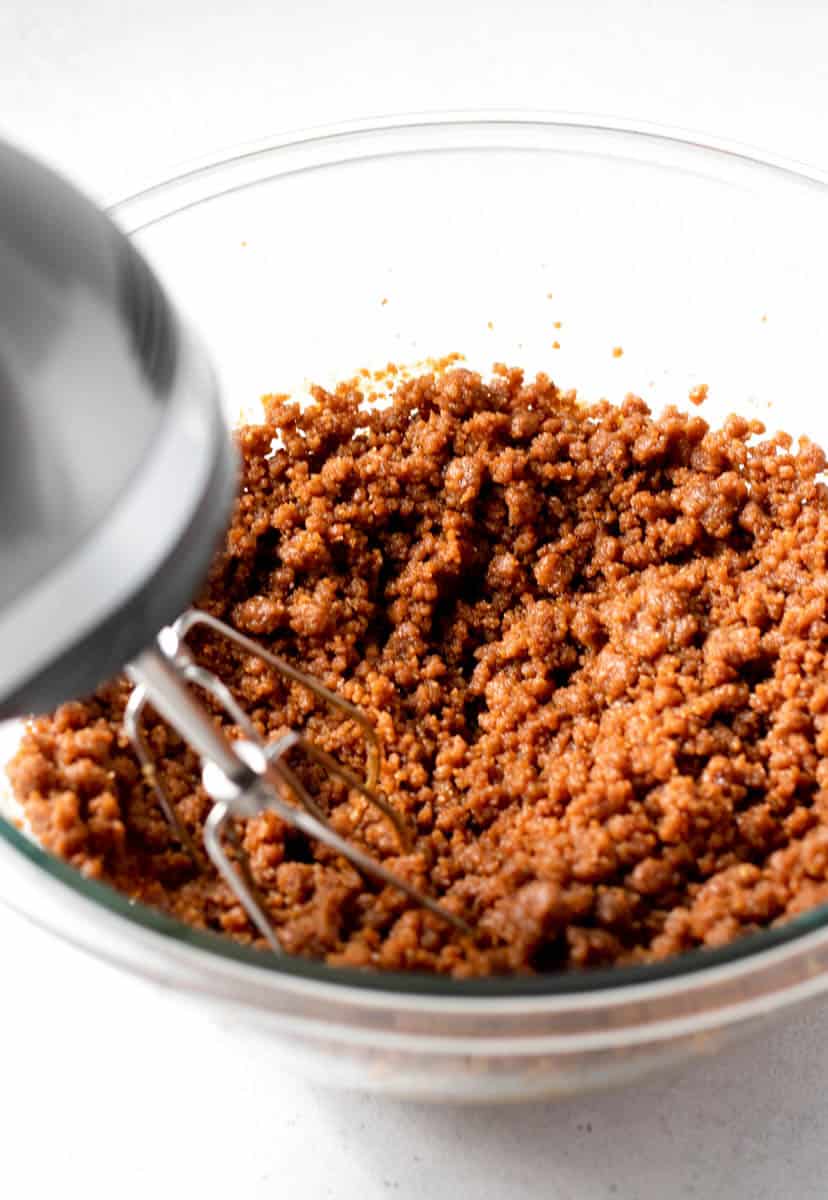
- In a large bowl, use a fork to beat the egg with the coconut palm sugar until combined and slightly frothy.
- Next, using an electric mixer on low speed, beat the peanut butter with the egg mixture until a crumbly dough forms. When the dough is pressed together it should form a dough ball.
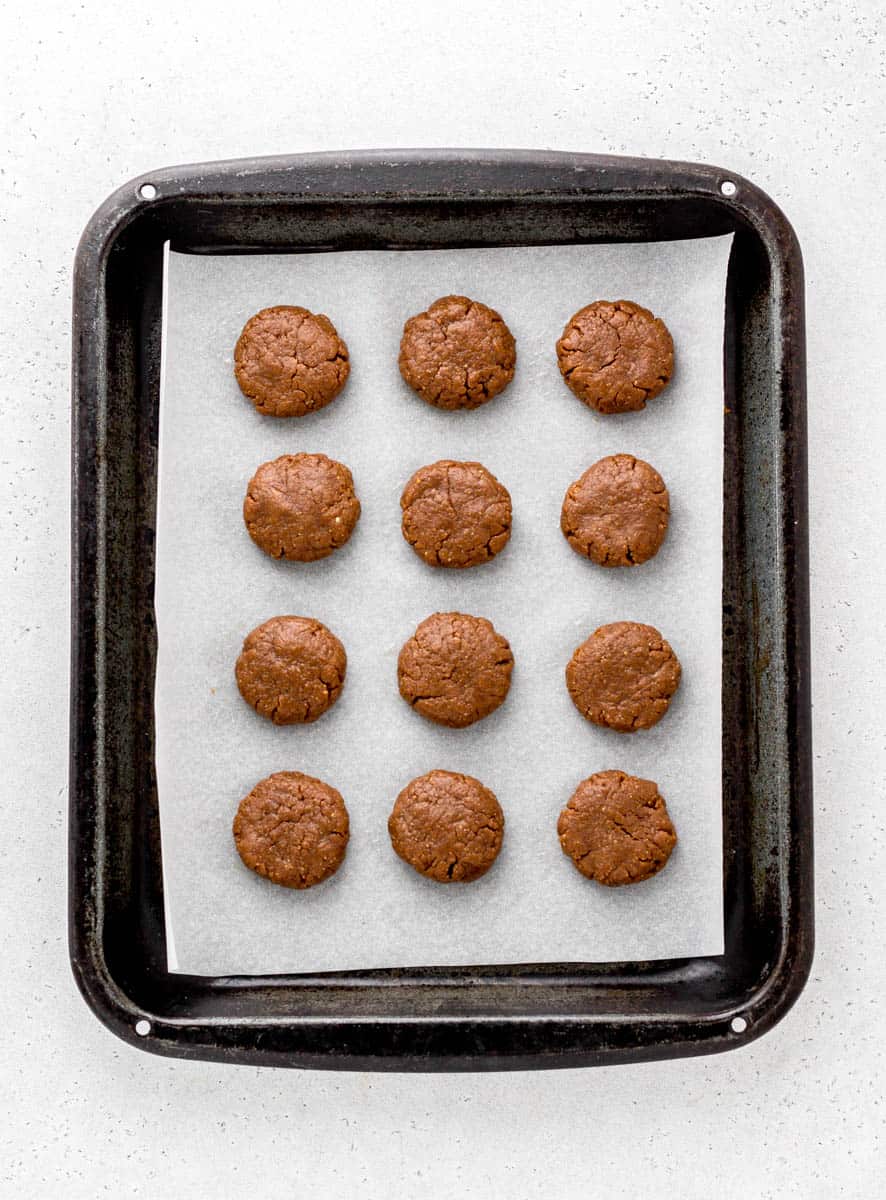
- Form 12 1-inch balls out of the dough (you can use your hands or a cookie scoop) and flatten them slightly with your palm. Place on a parchment-lined baking sheet.
- Press a thumbprint or the bottom of a Hershey’s kiss into each cookie to make an indent for later.
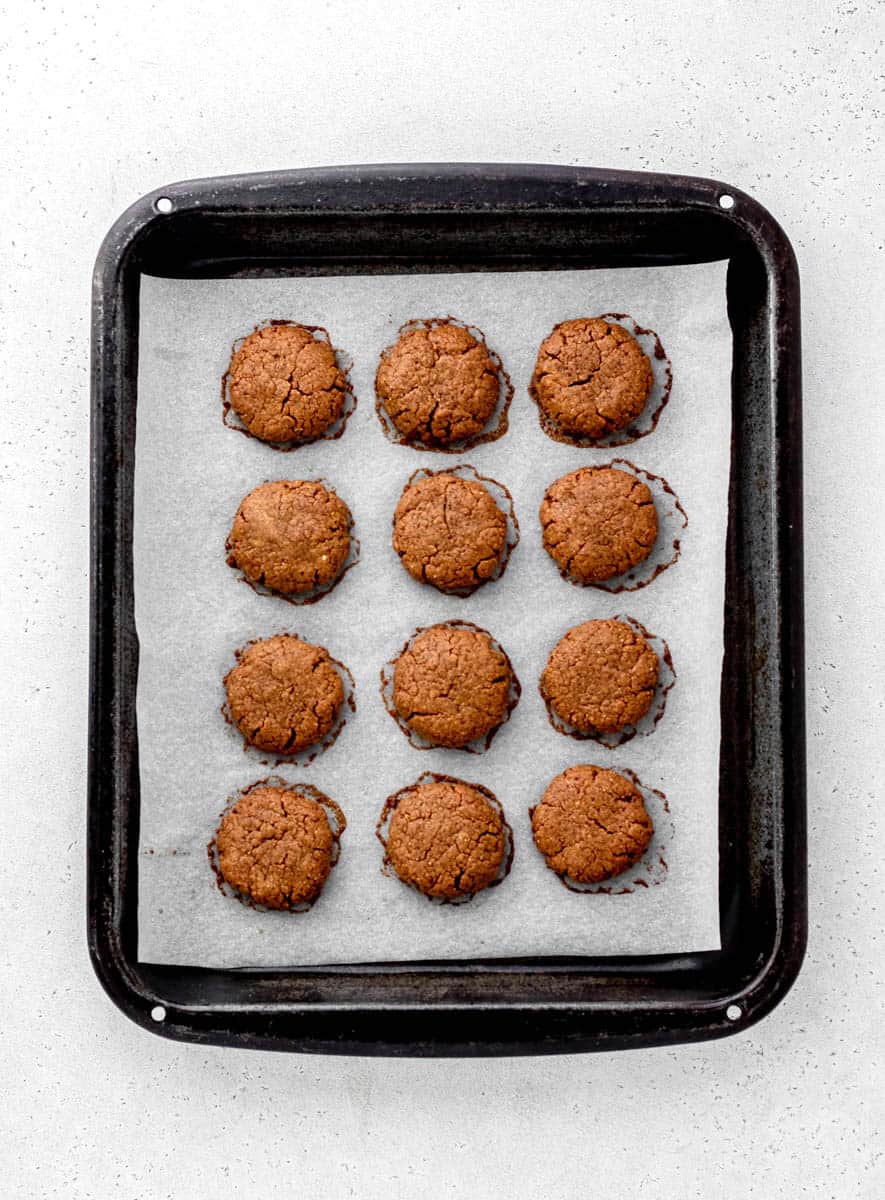
- Refrigerate the dough discs for one hour before baking them in a preheated oven at 350F for 10-15 minutes. Be careful to not over bake.
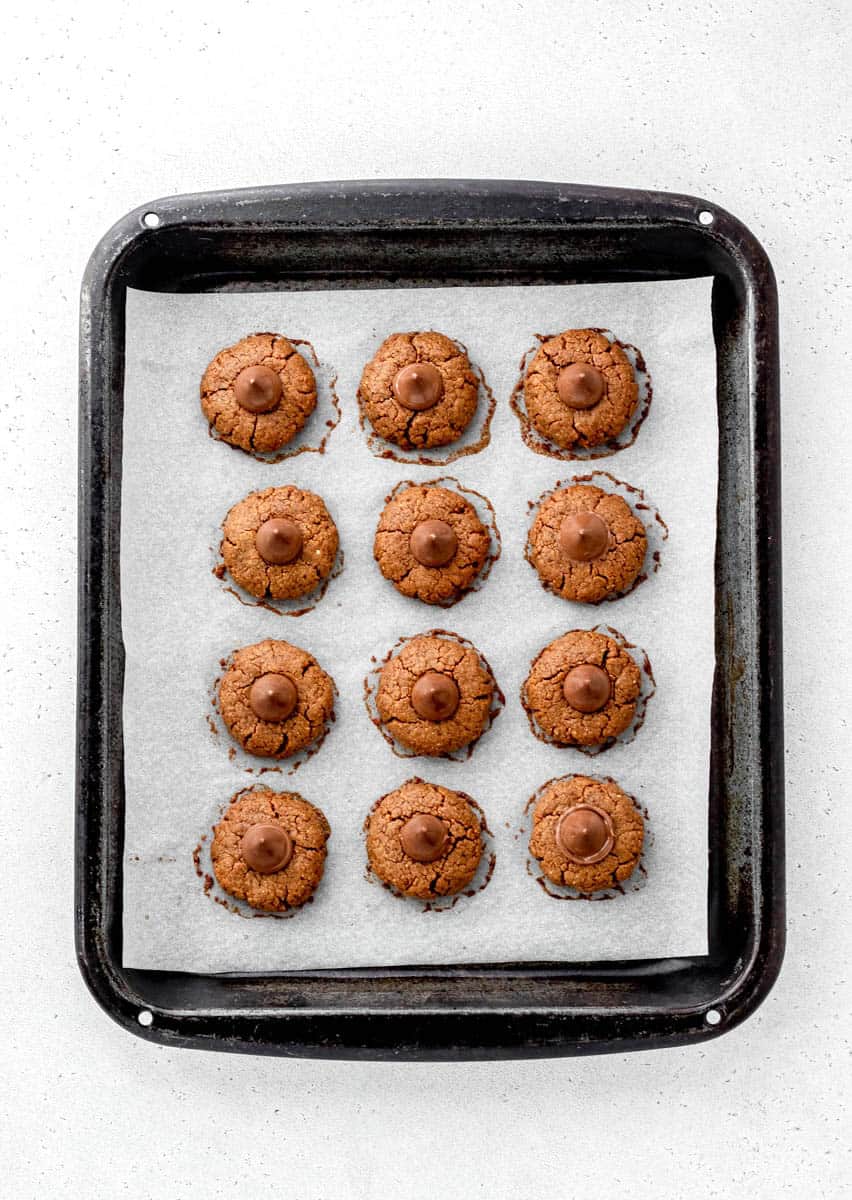
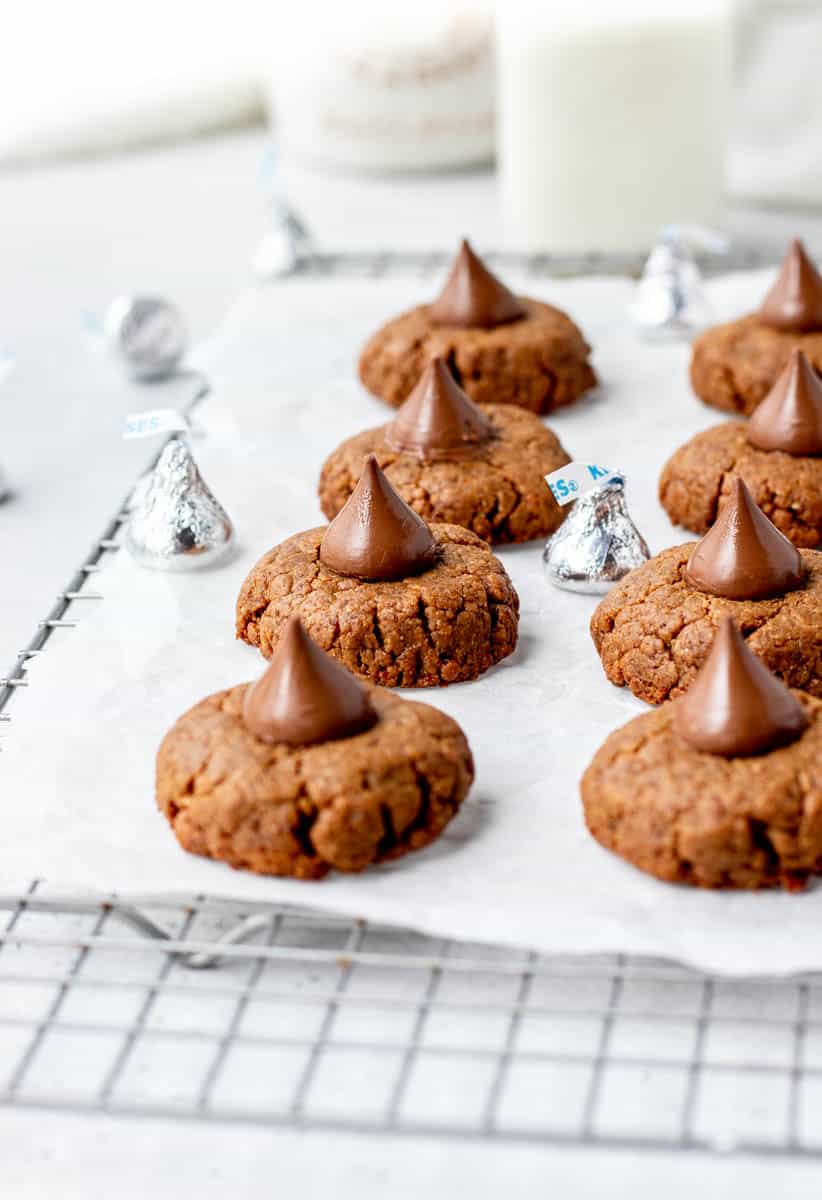
- Let cookies cool for 5 minutes before pressing a Hershey’s kiss into the centre of each soft peanut butter cookie.
Keep scrolling to the recipe card below for the full printable recipe!
Tips for the Best Peanut Butter Blossoms:
- If your natural peanut butter doesn’t contain any salt, you may wish to add 1/4 teaspoon salt to the cookie batter.
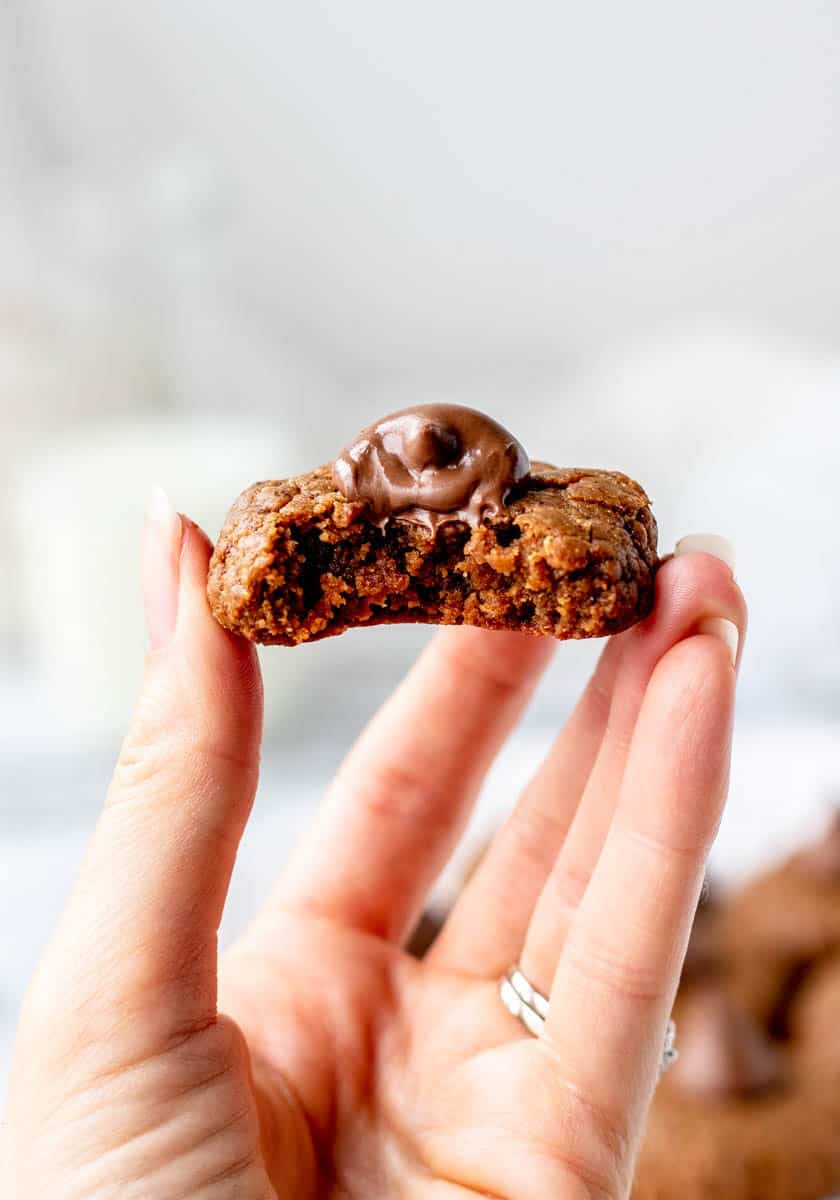
- These cookies will still seem soft to the touch when you first take them out of the oven, but they will firm up as they cool. Don’t be tempted to put them back in the oven as they may get overcooked, resulting in dry cookies.
- For the Hershey’s kisses, you can use dark chocolate or milk chocolate kisses. Alternatively, you can melt some dark chocolate chips and drop a bit of the chocolate into the centre of each baked cookie.
- When you press the Hershey’s kisses into the centre of each cookie, they may start to melt a bit. To solidify the kisses again, place the cookies in the fridge. It also helps to put the kisses in the fridge prior to pushing into the centre of each baked cookie so that they’re nice and cold when you press them in.
Recipe FAQs
The cookies may turn out flat if the dough isn’t chilled properly. Chilling helps solidify the fat in the cookies, making them less likely to spread when baked. To prevent flat cookies, make sure the the dough is chilled for 1 hour in the refrigerator before cooking in a preheated 350F oven.
If your cookies are falling apart, they may have been over baked. Check the peanut butter blossoms after 10 minutes of baking. Remove the cookies from the oven when golden brown on the edges and use a toothpick to check the centre for doneness. It should be soft but not raw.
To keep Hershey’s kisses from melting, refrigerate them before placing onto each cookie. Additionally, be sure to allow the cookies to cool for at least 5 minutes before placing the Hershey’s kiss on. If they do start to melt, place the cookies into the fridge to solidify the chocolate kiss again.
Peanut butter blossoms are excellent to make ahead and freeze. Be sure to let the cookies cool completely before freezing. Store in an air tight container or bag for up to 3 months.
Peanut butter blossom cookie dough can also be frozen. Make the recipe as stated but instead of chilling the dough discs in the fridge, chill them for 1 hour in the freezer on a parchment lined baking tray. Then remove the cookie dough and store in a freezer safe bag or container for up to 3 months. To bake the frozen cookies place the blossom cookie dough on a parchment lined baking sheet and bake at 350F for 13-17 minutes.
How to Store Peanut Butter Blossoms
Room temperature: Store these healthy peanut butter blossoms in an airtight container for up to 3 days. Keep in mind that the chocolate may soften and melt a bit if not stored in a cooler environment.
Refrigerator: Store in the fridge on a plate covered with plastic wrap or in an airtight container for up to one week.
Freezer: Place completely cooled peanut blossoms, finished with a Hershey’s kiss into a freezer-safe bag or container, and store for up to 3 months. Thaw in the fridge or at room temperature and serve when ready to enjoy!
Serving Suggestions
These 3-ingredient peanut butter blossoms are easy to make ahead of time for cookie exchanges, after school snacks or to add to your Christmas cookie platter. With all that peanut butter flavour and chocolatey goodness, you can’t go wrong!
Serve them on their own or as part of a larger spread with any of the following:
- 3-Ingredient Christmas Fudge
- 3-Ingredient Almond Flour Cookies
- Oat Thumbprint Cookies
- Hot Chocolate with Cacao
- Turmeric Latte with Almond Milk
- Fresh fruit (like this Christmas Fruit Wreath)
Recipe Variations
- To make vegan: To make vegan peanut butter blossoms, mix together 1 tablespoon of ground flax seed and 3 tablespoons of water to form a flax egg. Let sit for 5 minutes to gel together. Continue making the recipe as stated.
- To make nut-free: Use Wow, sunflower or pumpkin seed butter instead of peanut butter.
- Sub in jam: Instead of using a Hershey’s kiss in the thumbprint, jam can be substituted (try this Strawberry Chia Jam). Just spoon in about a teaspoon of jam on top of the cookies.
More Healthy Treats
- Heart Thumbprint Cookies
- Chocolate Covered Pecans
- Vegan Lemon Cookies
- Healthy Banana Oatmeal Cookies
- Almond Flour Brownies
Did you make this recipe? Scroll down to leave a star rating and review!
3-Ingredient Peanut Butter Blossoms {Gluten-free}
Ingredients
For the peanut butter cookie dough:
- 1 large egg
- 3/4 cup coconut palm sugar (or sub in brown sugar)
- 1 cup natural peanut butter*
To top each cookie:
- 12 Hershey's Kisses
Instructions
- Line a cookie sheet with parchment paper. Slightly grease the the paper with cooking spray or coconut oil. Set it aside.
- In a mixing bowl, beat egg and sugar with a fork or hand mixer until combined and slightly frothy.
- Next, add in the peanut butter and beat on low with an electric hand mixer until a crumbly dough forms. The dough should come together into a dough ball when you press it together.
- Form 12 1-inch cookie dough balls. Place them onto the prepared cookie sheet leaving about an inch between each. Slightly press down the ball with the palm of your hand to form a thick patty about 3/4 inch in thickness, fixing any large cracks that form with your fingers. At this point, you may wish to make an indent in the centre of each cookie with the bottom of the Hershey's Kiss to make it easier to press it in after the cookies have baked.
- Refrigerate peanut butter cookie dough patties for at least an hour. Near the end of the chilling time, preheat the oven to 350°F.
- Bake in the center rack for 10-15 minutes until golden brown on the sides, but still soft on the inside. Do not overbake.
- Allow cookies to cool for 5 minutes, and then carefully press a Hershey's kiss in the centre of each cookie. Allow cookies to fully cool before storing.
Video
Notes
- *If your natural peanut butter doesn’t contain any salt, you may wish to add 1/4 teaspoon salt to the cookie batter.
- These cookies will still seem soft to the touch when you first take them out of the oven, but they will firm up as they cool. Don’t be tempted to put them back in the oven as they may get overcooked, resulting in dry cookies.
- For the Hershey’s kisses, you can use dark chocolate or milk chocolate kisses. Alternatively, you can melt some dark chocolate chips and drop a bit of the chocolate into the centre of each baked cookie.
- When you press the Hershey’s kisses into the centre of each cookie, they may start to melt a bit. To solidify the kisses again, place the cookies in the fridge. It also helps to put the kisses in the fridge prior to pushing into the centre of each baked cookie so that they’re nice and cold when you press them in.


Leave A Review: